Simplified 1890s Corset Tutorial By Rajendora @ Sewing Box Designs
Previous tutorials:
Continuing our series of Victorian Era under garments, this is a late century corset, one of the simplest, (before things got really complicated again) and a good starter for a beginning corset project. Because Dolls have a default set figure, for this project I’ve tossed out the whole boning issue in favor of making it ‘look’ boned, and skipped the grommet part for lacing. Setting grommets is something that can be quite expensive (the tools) and tricky. Nothing breaks a heart like making a perfect corset, only to have the grommets mess up and tear the project up. Practice setting grommets on something else first. Check YouTube or Craftsy classes for expert tutorials. If you want an easy laced up corset, use some loop trim and thin gross-grain ribbon. Believe me, your sanity is thus saved.
~~~~~
For this project you’ll need a small amount of pretty and thin fabric of your choice, and a very thin lining fabric, along with any trim you would like to use. Corsets are like cupcakes; you can keep it simple or go all out with ruffles and ribbons. And like cupcakes, after you’ve made one corset and seen how easy it can be, you might go a little nuts as you realize what you can do with the simple version now in your skill set.
Patterning
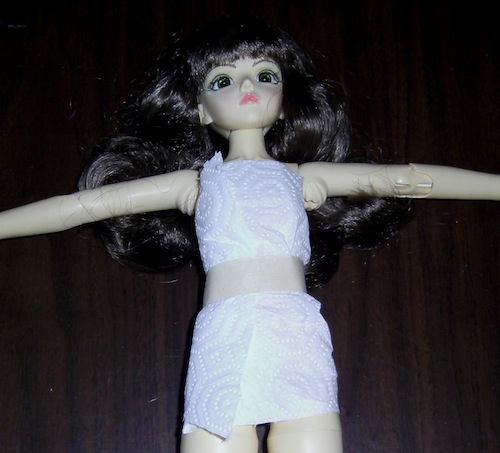
Start out by making a simple fitting shell of your doll. You’ll need a paper towel and masking, or washi tape. Wrap a strip of paper towel around your doll’s torso and secure it around the waist with a strip of tape, as tightly as you can. Then continue to tape the paper up until you’ve gone over a little more than the area your corset will cover. You don’t need to mummify the doll, just cover the paper towel with tape. If there are any small gaps in the tape that don’t overlap, the shell will fall apart, so watch that.
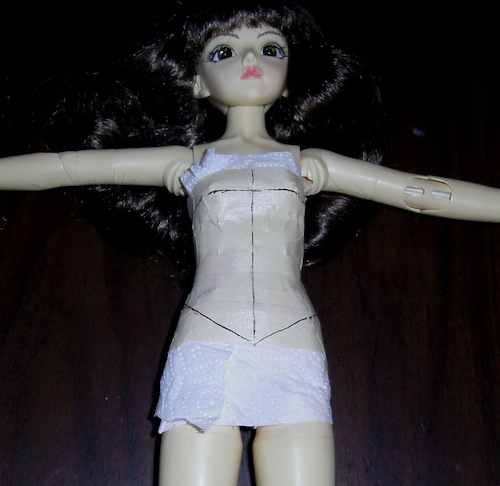
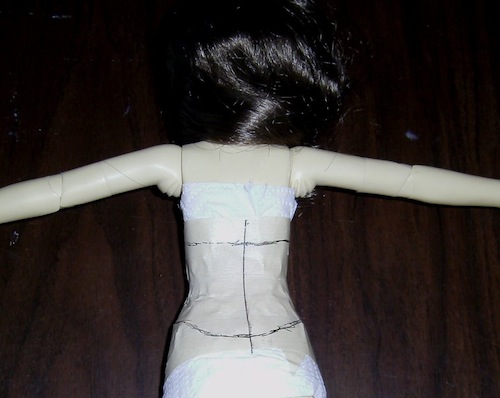
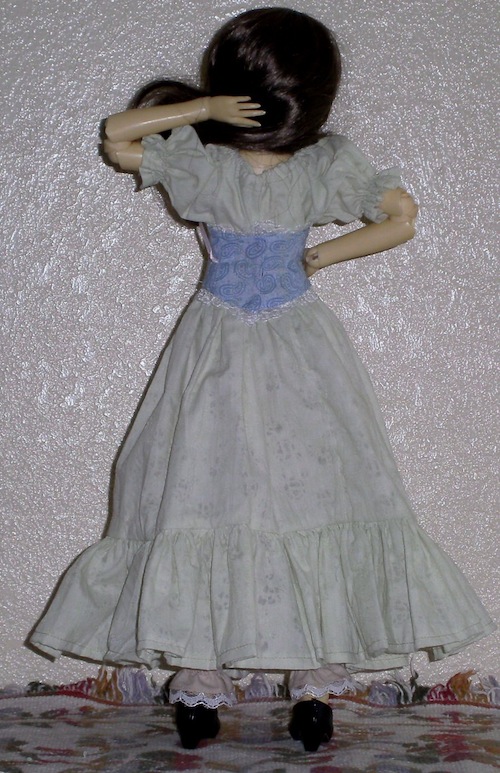
Once you have your fitting shell wrapped, take a pen (pencils don’t work so well on tape) and being very careful not to mark your doll, draw the outline of the basic corset as shown. Take a small plastic ruler and use that to mark the center line, side lines, and back center where your main seams will be. The 1890 corset came up to just the nipple line of the bust, as shown. Under the bust would be a waist cincher. This is also one of the corsets that can be authentically made for either sex. Men wore corsets for centuries to protect their spines, and yes, keep their figures.
Now slide a pair of scissors carefully up the back of the shell and snip it off the doll along the center back seam.
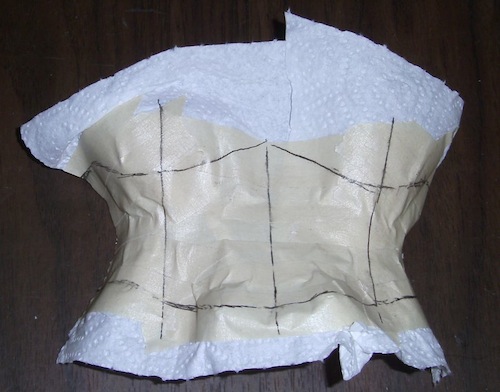
Trim off the excess paper and tape, and cut out half of the shell for your pattern template pieces. Because my little Dragon Doll MSD Kiki has a rather slim figure, I’m going with four pattern pieces (not marked yet), and the center will be cut on the fold.
If you have a big, curvy girl like an Iplehouse or a Soom, for example, you’ll need more pattern pieces.
My rule of thumb is: how ever many it takes to get the pieces to lay flat on the pattern paper.
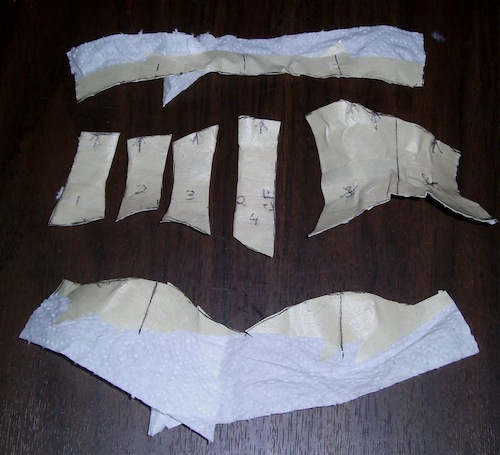
Mark your pieces, number in order of assembly as well as indicating which end is up. One of the most common errors in corset making (even for specialists in the business) is getting a piece turned upside down. As you can see, they do tend to look very alike, so mark your pattern pieces carefully!
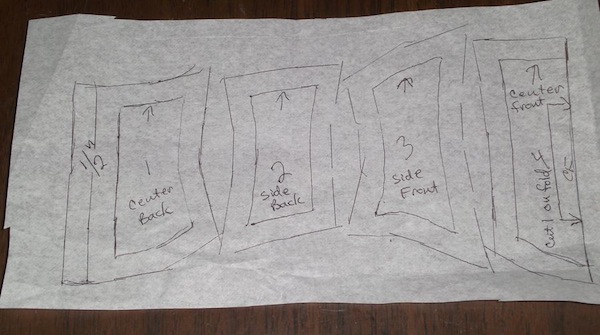
Next, trace your shell pieces on to pattern paper. Be sure to leave space for adding your seam allowances. I always use a 1/4 inch seam. Because the center front of this pattern is on the fold of the fabric, mark it as shown. This bracket shape with arrows pointing to the seam line is an industry standard mark; whenever you see it, it means to cut the piece doubled, on the fold, even without the words written in.
I used a 1/2″ seam along the center back, and found out in making the corset that 3/4″ would have been a better choice, because she’s wearing it over her chemise. Depending on what your corset will be going over, make sure you use enough of a back seam. For a corset dress top, 1/2″ should do, but for wearing over other garments, add enough back seam allowance, and trim off excess later. It’s always easier to cut down than add up.
Making the Corset
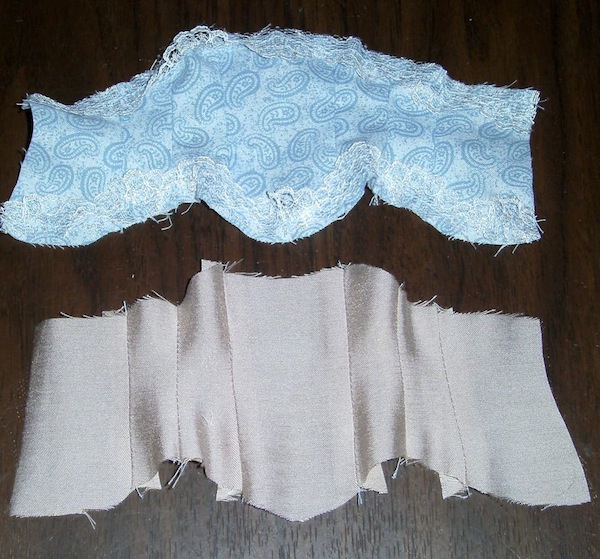
Keep your pattern pieces in the order they will be sewn together as you lay out and cut out your corset and lining. Here I’ve separated the front pieces (top row) and back pieces (bottom row) so that I will remember how to pin them together. I found it’s easiest to work from the center out.

Now pin and sew up your vertical seams. When you have your corset and lining parts sewn together, you can pin and sew on a lace trim as shown in the photo below. Remember to allow for the seam as you position your trim, and pin it on ‘upside down’. Neatly iron open all the seams flat (clipping any sharp curves) so that you won’t have extra bulk in the finished corset. This is a good time to check fit your corset on the bare doll or the garments it will be worn over.
NOTE: With your center front on the fold line, you can add loops into the side front seams before sewing up the pieces, for making a laced up front. You can add the loops in the back as well, but remember to trim off some of the back seam allowance so you don’t have the snap overlap.
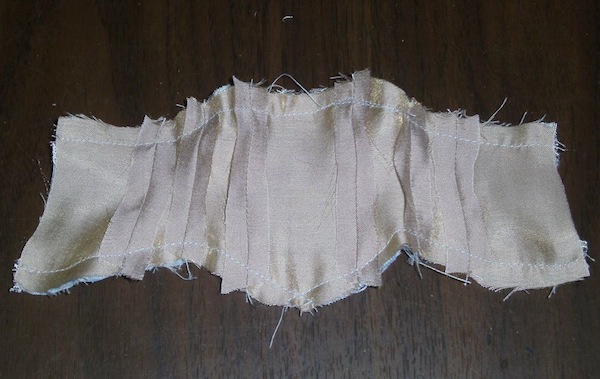
Pin and sew your front and back pieces together, making sure to line up the vertical seams top and bottom. Trim off half the seam so that the edges aren’t thick. The photo below is before the seams were trimmed off.
Turn your corset inside out, and press it. Top stitch along the top and bottom to make it neat.
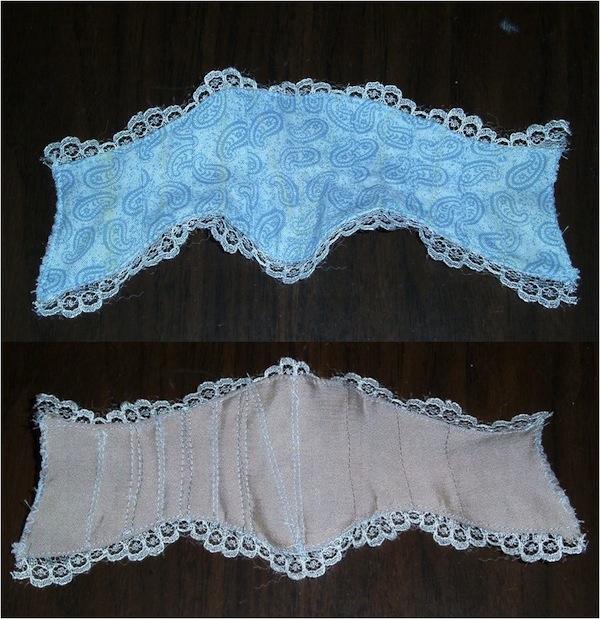
Now you can chalk mark and sew in as many ‘bones’ as you like, and add any trim, such as ribbons and/or appliqués. I tried to show the stitching in the top photo below (Photo #11), but it shows better on the inside of the corset. This is half done to show the difference a little decorative stitching can make. Naturally my lining didn’t line up with the front. >.>;; Cotton front verses rayon lining.
I finished the ends with a zig-zag stitch in preparation to fold one side over for the snaps. If you’re using lacing loops, you’ll want to fit them into the ends and hand sew the ends closed.
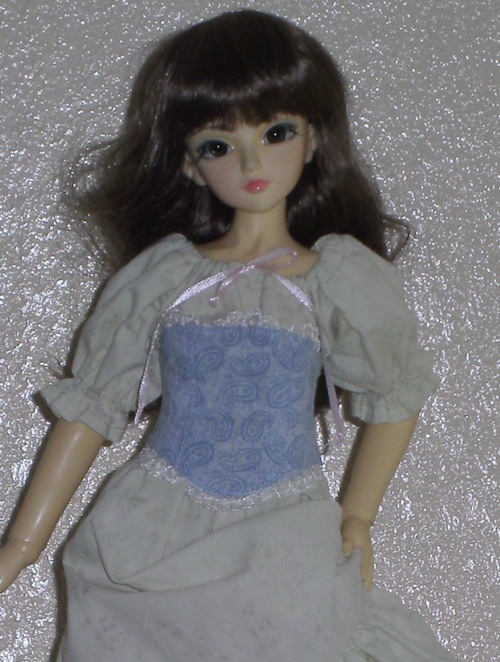
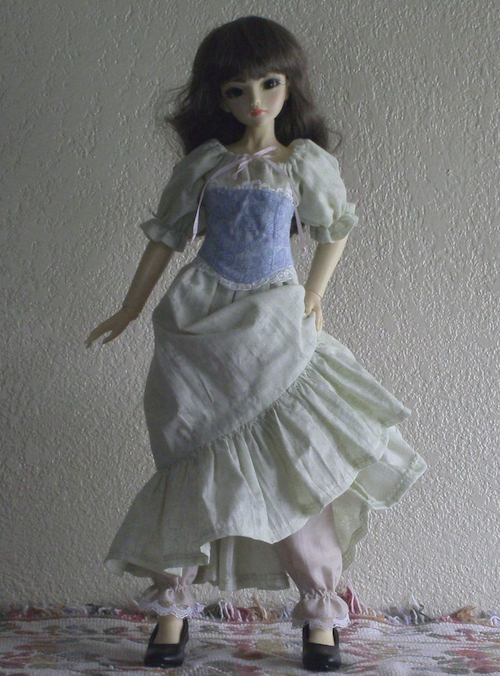
Now you can sew on your snaps, or hooks and eyes and it’s done.
1 thought on “~Patterning and Sewing a Corset~”