By Rajendora @ Sewing Box Designs
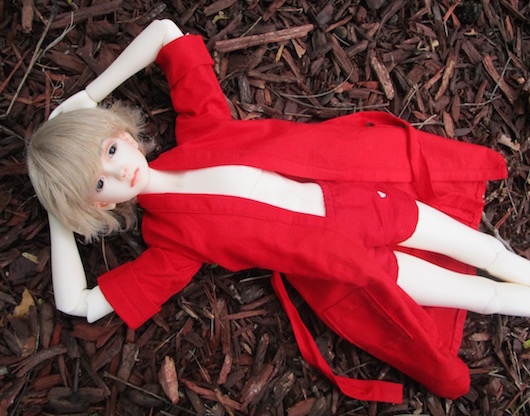
This is a simple kimono-like bath robe that will make your dolls look pretty cool lounging around. It’s a very basic pattern you can make from ½ a yard of fabric for MSD to SD dolls, and more for the larger. (Down-size for the smaller dolls, of course.)
Patterning
To design the pattern, you’ll need a few sheets of paper, a tape measure, ruler and pen or pencil and your doll. This pattern can be made for boy or girl dolls.
Measurements you will need:
Around your doll’s chest
Arm from armpit to however long you want the sleeve.
Base of doll’s neck, where it meets the shoulder line.
Around the arm, joint and all. Some dolls have ratchet sockets and are larger around the arm base.
The length you want the robe to be (mini, knee length, midi, full length).
The Back
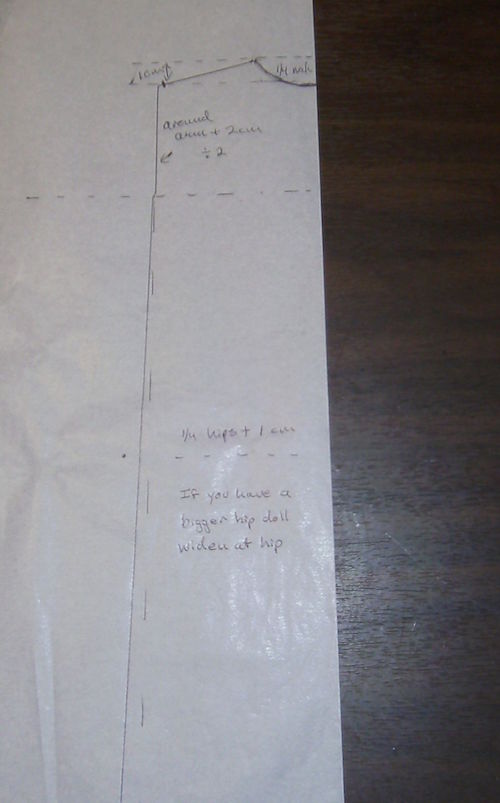
Keeping in mind the desired final length plus a few inches, fold a piece of paper in half, and start with 1/2 of your chest measurement plus ½ inch. Then mark 1 cm above this and use it to mark ¼ of your neck measurement and the slope of your shoulder line as shown.
Take your arm measurement and add 2cm then divide in half. Use this measure to mark the arm hole length on your pattern.
Mark where the hip line of your doll is on the length of the pattern, and using ¼ of the hip measure plus a bit more for wearing ease, draw a line down from your under arm mark. Slope the line for larger-hipped dolls.
Now draw where you want your hem to be. Put a ½ inch seam on the shoulders, sides, hem, and if you want a back seam, the center back. Otherwise, make sure you set the back seam on the fold of your fabric. You’ll want a ¼ inch seam allowance on the neck opening.
The Front
Now take your finished back pattern and lay it on a clean paper. Take your ruler and mark from the side neck to below the arm hole (on the finished seam line). Draw around the pattern, but trace off this slope. Don’t forget to add a ¼ inch seam allowance on the neck line. Then take about 1 to 1 ½ inch off the non armhole side, depending on how much overlap you want on the front of your robe. Add a ¼ inch seam allowance.
The Sleeve
Take a piece of paper 2 inches longer than your doll’s arm, and fold it in half. Mark the finished length of the sleeve.
The length of your armhole on your back pattern pieces will be your width. Mark ½ inch or 1cm above your top line and make a slope.
Your pattern piece should look like the photo. If you want folded back cuffs, don’t forget to add enough length to do so.
Your three pattern pieces should look like this photo.
Sewing:
I’ve been using French seams where ever possible on unlined garments. So I started with the back seam. To make a French seam, you put the ‘wrong’ sides of the fabric together and sew a narrow seam.
You then trim off the seam to about 1/8 of an inch, and press it to one side.
Then fold exactly on the seam with the ‘right’ sides together, and press again. Now sew your seam allowance to encase the raw seam you’ve already sewn. Search “French seam tutorial” on Youtube if you need an action video.
Once you have your back seam finished, do the same with your shoulder seams.
For the sleeves, it’s a little more tricky, so I just put them on normally, and over-locked the raw edge with a zig-zag stitch.
Leaving your sleeve seams open, French seam your robe side seams. Then sew your sleeve seams-up and over-lock.
Now measure your front and neck edges and cut a strip of fabric 1 ½ inch wide to length. Pin to the inside and sew a ¼ inch seam. It helps to clip the neck curve so that the seam opens more. Don’t clip all the way to your seam line, just about half way into the seam (in this case 1/8 of an inch).
Press the seam, and then press the other edge with a ¼ inch fold. Pin this to the outside of the robe on the seam line, and top stitch it on.
Now press a double fold hem and top stitch your hem.
If you’d like pockets, cut two rectangles larger than your doll’s hands, and add a ¼ inch seam around, and ½ to ¾ on top to fold down as shown. Press a fold and top stitch the top part. Zig-zag the raw edges and press in your seam allowance around the rest of the pocket.
Mark and pin your pockets on so they are evenly matched. I usually pin mine where the doll’s hand will rest because the heavy arms will weigh down a pocket. This will give your doll a casual look when posing with hands in pockets. Sew the pockets on.
Finish your sleeve ends by over-locking the raw edges and hand hemming them. I’ve made cuffs so my sleeve hems are rather deep.
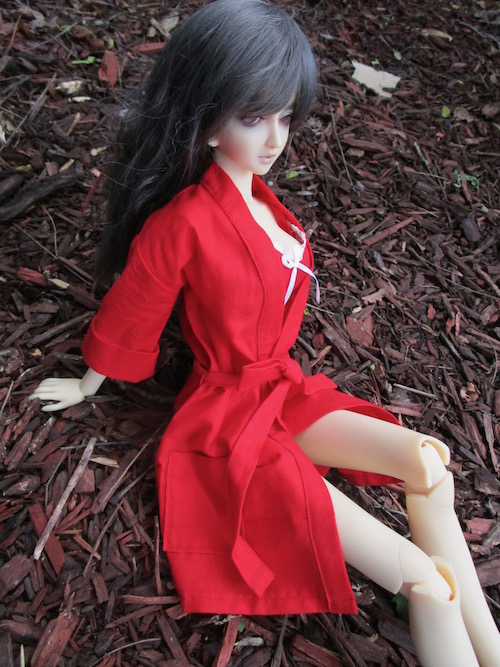
Cut a length of fabric about 1 ¼ to 1 ½ inch wide, and long enough to tie the belt. Sew a tube, turn it right side out, and make your belt. You can tie a knot in the end or finish it by tucking the edges in and stitching them closed. You can either put belt loops of fabric on your robe, or use the thread crochet method. And there you are, beach or bathrobes! Make a batch so your new dolls can wear them while waiting for clothes.
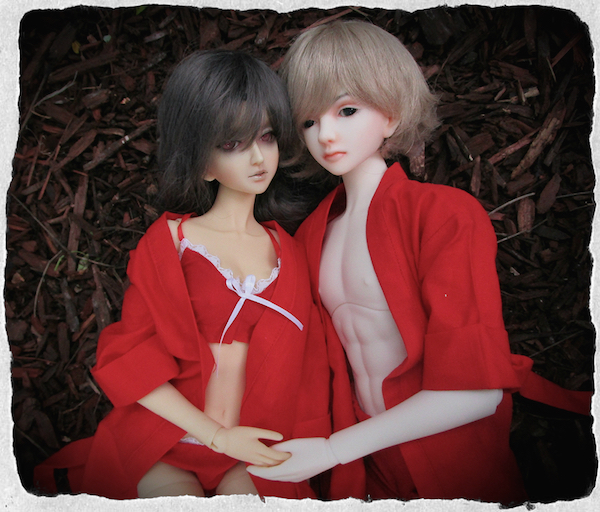
Photos below of Darkside Julia and Misha by Ringdoll:
(Note: The undergarments shown with the robes in the photos are from Rajendora’s tutorial Modern Undergarments.)







Hello,
Will the robe pattern work for a 12″ tall doll such as Barbie? And do you have patterns for that size?
Thank you
Technically, the pattern can be sized for any size doll, but it may look too bulky on a Barbie unless the right material is carefully chosen and the seams are kept small.