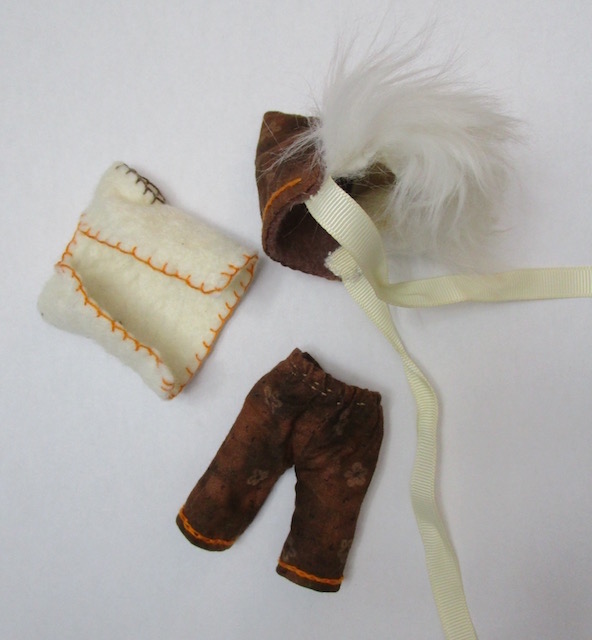
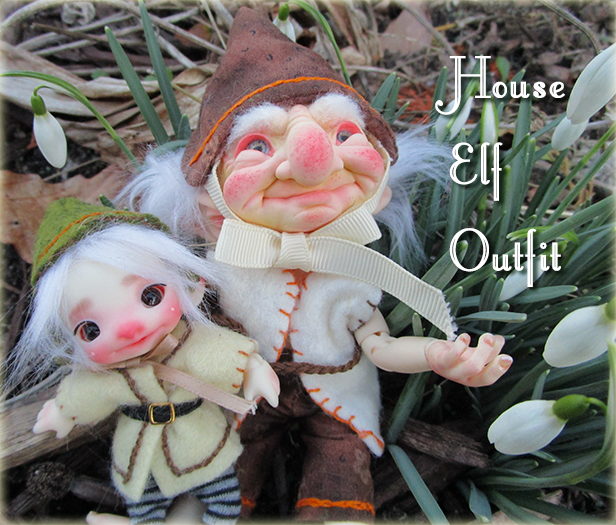
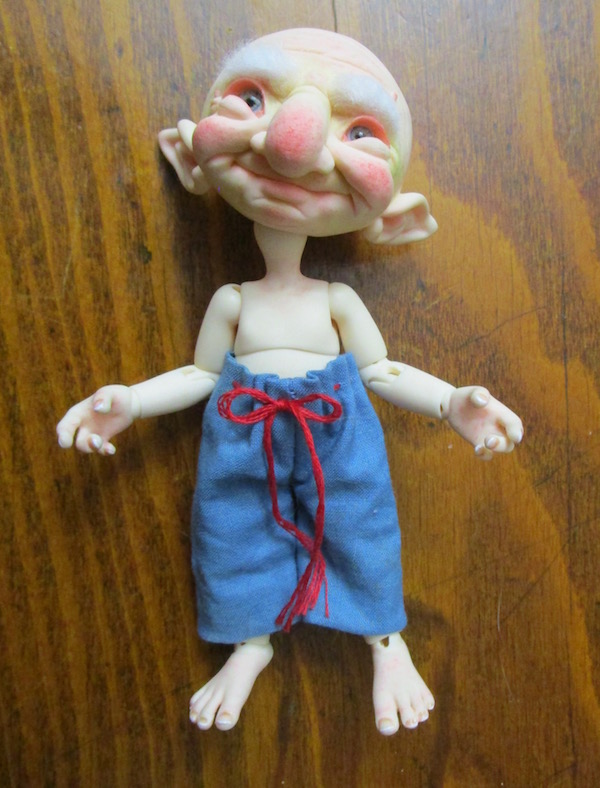
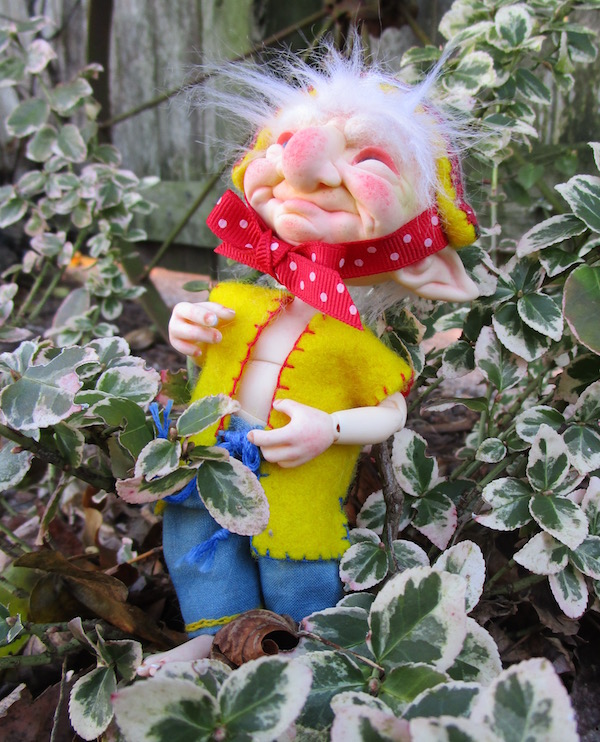
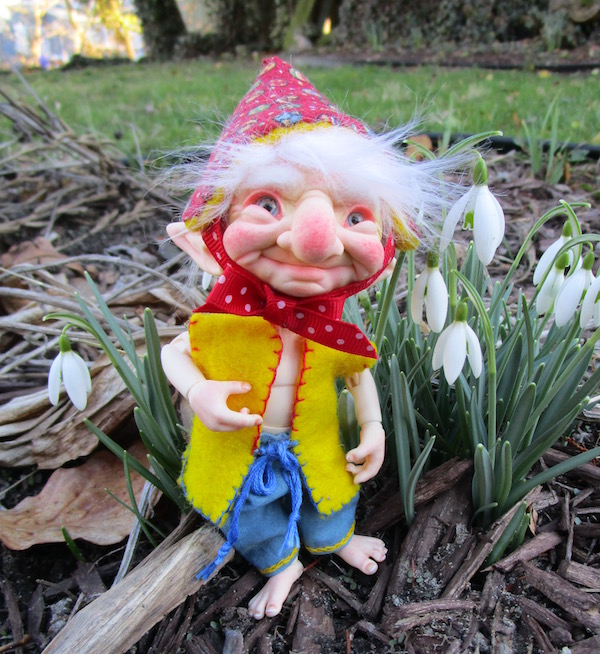
When my Dream High Studio Aldou arrived, I quickly realized that the only thing I had that fit him was underwear. He would need something special to wear and fast! I imagined him, an elf now in his retirement, relaxing in his home, gardening, enjoying the outdoors, and hanging out with his grandson. I wanted him to have suitable clothes for puttering about. I came up with a simple pair of cotton trousers and a vest with an open front. To top it off, I added a hat based on the lined winter hood I had made in December.
I made a downloadable PDF that includes all of the pattern parts for the trousers and vest I made. As I like to hand-sew tiny things, I made all of Aldou’s clothes without a machine.
~~~~~
Trousers:
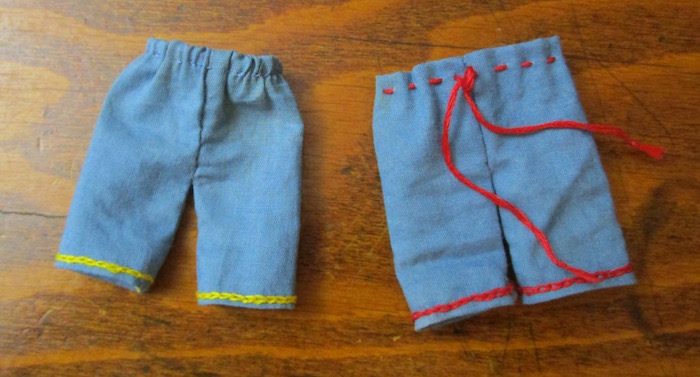
In addition to Aldou’s first outfit shown above, I made two additional pairs of trousers here: one is elasticised and the other has a drawstring at the waist (those will be worn as pajama bottoms). When you choose your fabrics, find ones that don’t fray too easily. You can also use a little fray-check to keep your cloth from unraveling if needed.
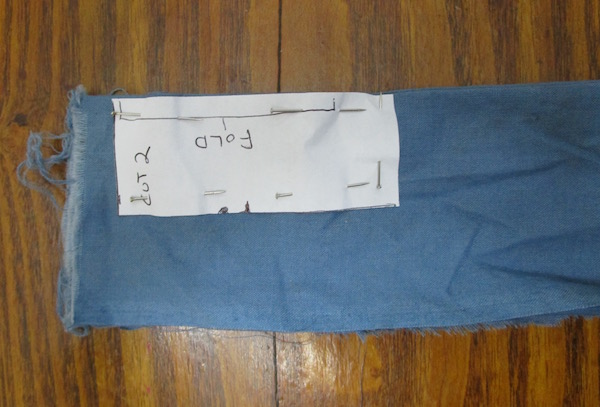
For either version, first cut two pieces of the trouser pattern on a fold. Make a dot on the fabric where the front and back waist to crotch seam will end.
Sew the front seam to the mark. For the elasticised version, cut a piece of thin elastic for the waist. Measure the length of the elastic by wrapping it around the doll’s waist and make sure it will fit (remembering that it will be slightly tighter after it is sewn). fold over and pin the elastic across waistline and sew.
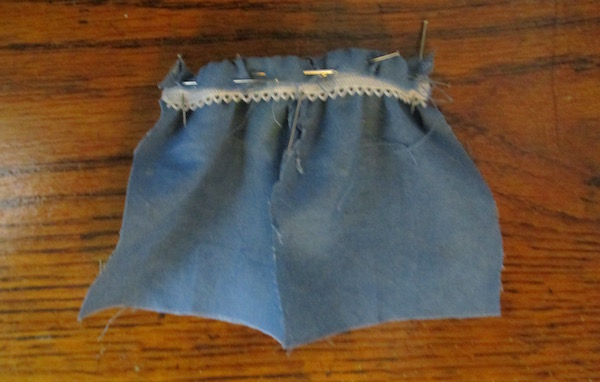
I stitched it twice, one near the top and again near the bottom of the elastic. By not making a casing for the elastic, I reduced bulk at the waist.
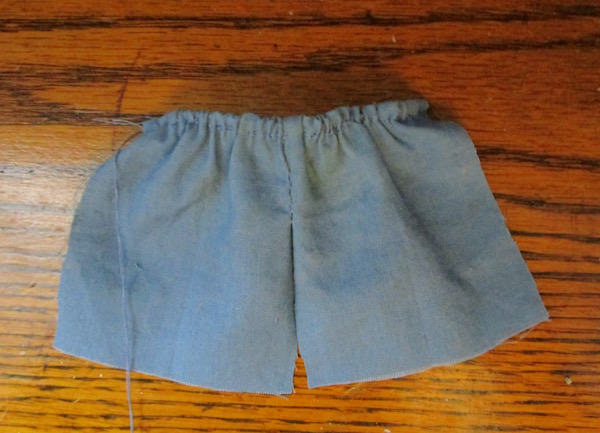
Line up then sew the back seam, like the front seam, sewing the ends of the elastic to each other. Finally, line up and sew the leg seams from crotch to foot.
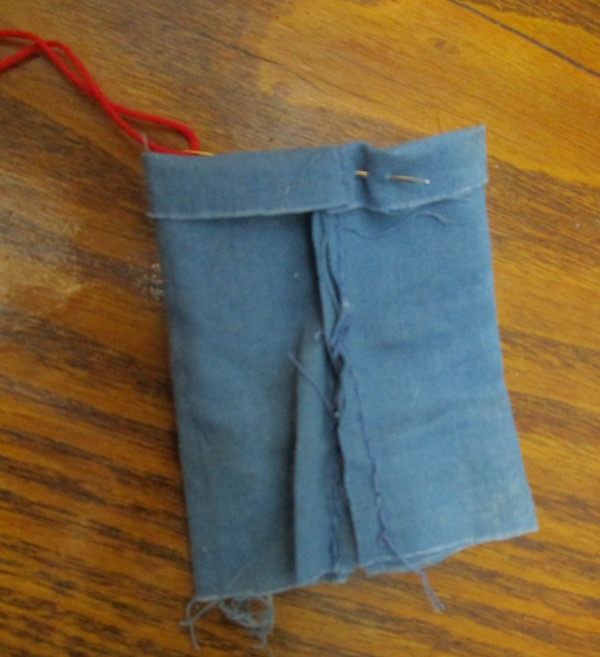
Here is the second pair which will have a waistline finished with a drawstring tie. For the drawstring version, I assembled everything first, folded the top over, then hand-stitched embroidery thread (all 6 strands) around the waist using a big embroidery needle. Leave enough length so the ends may be tied. Tie a knot at each end.
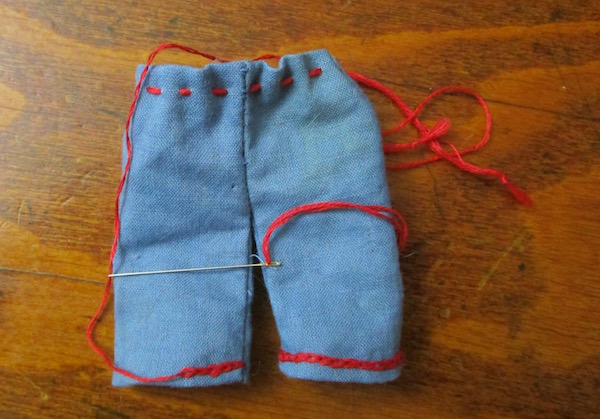
The final step for both styles is to finish off the bottom of the legs. Fold them to the length you prefer. You can hem them or you can sew them with a basic chain embroidery stitch as I did around the bottom. You might even decide to fray the bottoms.
These trousers may also be altered to make shorts. Cuffs could be added if prefered. While I haven’t tried it, the opening at the feet could also be elasticised. The design works for both elf ladies and gentlemen. Other ideas I think would be fun include cutting each pattern piece from a different color/pattern of material, and/or add additional embroidery and patchwork decoration.
~~~~~
Vest:
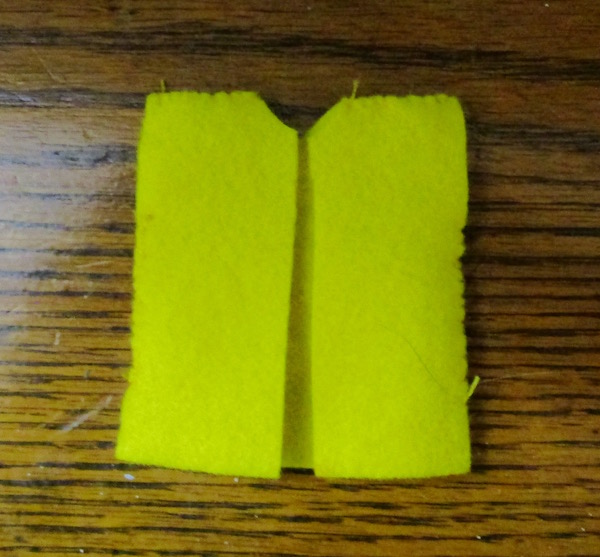
These are fast and fun to make. Both vests shown are made from wool felt that was shrunk with hot water to make it softer. Cut 1 back and 2 front panels. Fold the back piece and line it up with the 2 front panels and then cut a corner at the top as seen below. The back panel cut should be made at the fold.

The pieces should look like this when done. The size of the cut can also be bigger if desired but should then be less so at the back.

Place the front pieces on top of the back piece as shown and sew the shoulder seams. The side seams should be partly sewn with openings at the top for the arms.
After that, you can consider decorating the vest as you wish. I used a simple blanket stitch here and a chain stitch. The first vest has a separate belt made from braided embroidery floss. The second has the ties attached to the front of the vest.
Hat:
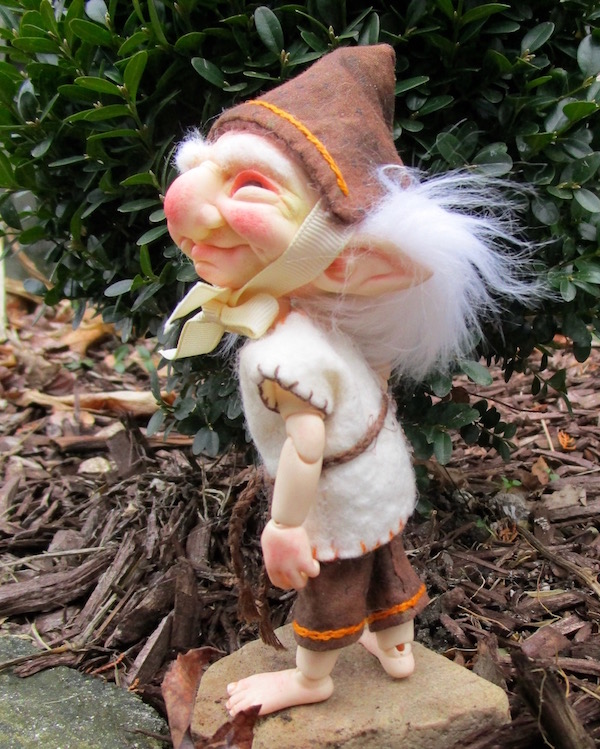
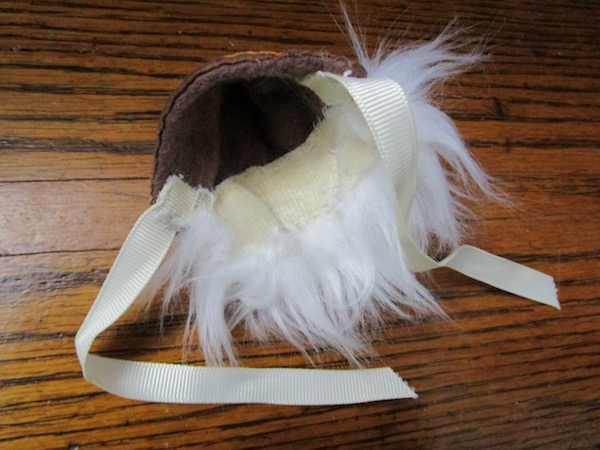
I basically followed the instructions for the hat I made previously. Because Aldou has large protruding ears, I had to cut the hat to just above them, but that allowed me to make a combo hat and hair piece. I used felt for the liner because it would be a sturdier base to sew the hair to. If you decide to do the same, try to avoid sewing through both layers of the hat.
I did not use extra material for the casing for the ties like the original hat design. Instead I cut both outside and the liner pieces the same size, stitched them together and after reversing the material, I sewed the ribbon onto the ends.
(As each elf has different ears, I did not include a hat pattern as I couldn’t test it on the others. Use the basic hat directions as a guide.)
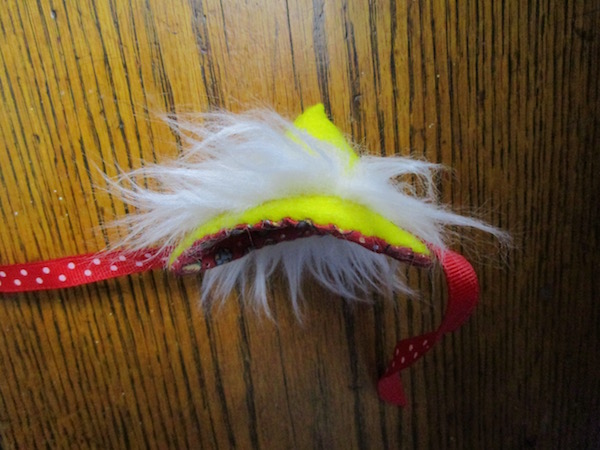
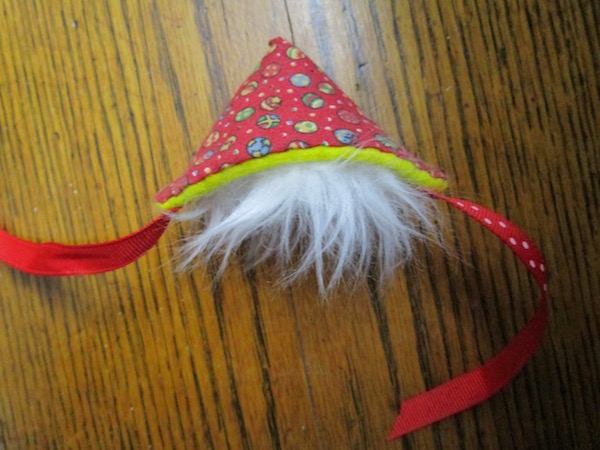
The original hat for Aldou has plush fur hair only around the back. I made a few tucks so it would fit closer to his head. The colorful new one has hair at the front and the back. They certainly make a fun alternative to a wig!
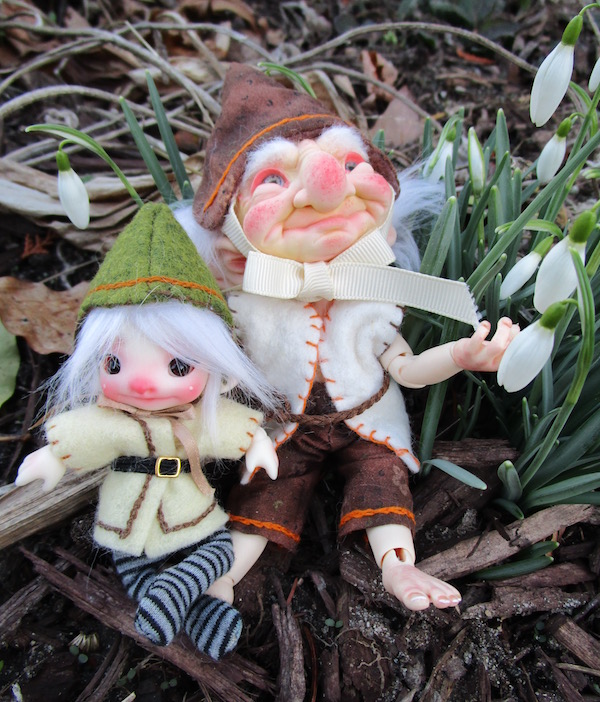
While this outfit was made for DHS Elves, it could easily be used on similar size tiny dolls like real pukis.
More information on Aldou and his friends may be found in previous articles here:
The House Elves -interview with artist Donny Harijanto of Dream High Studio
House Elf Aldou -a Review