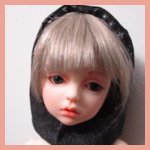
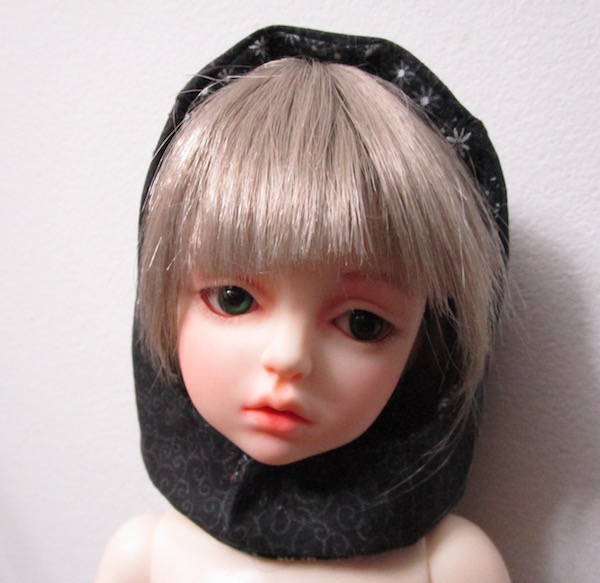
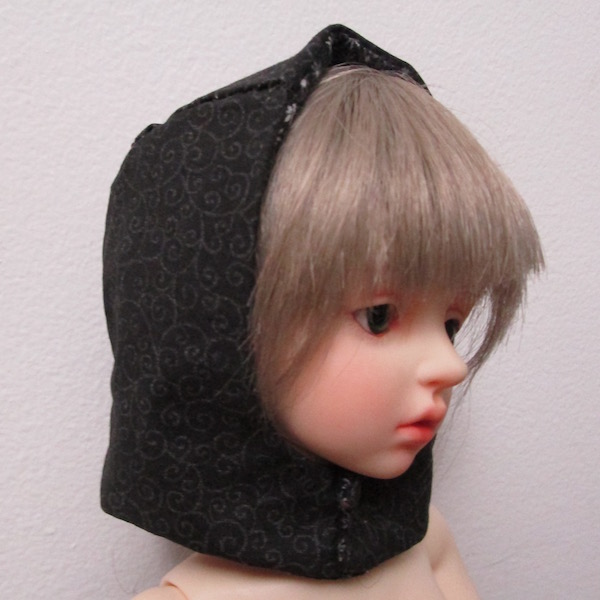
Now that it’s cold where we live, a hat project with some variations seemed like a fun project to tackle. This basic hood-style headgear can go with many things. The hood is lined. Two different coordinating prints can optionally be used to make the hat reversible. This pattern is designed to fit with some minor adjustment on my Comi Baby Doll Peridot and on my 1/4 MaskCatDoll girl Anemone.
To make this hood you will need:
fabric ( 1 different color/patterns if it is to be made reversible)
Matching thread
Sewing notions (scissors, pins, needles etc…)
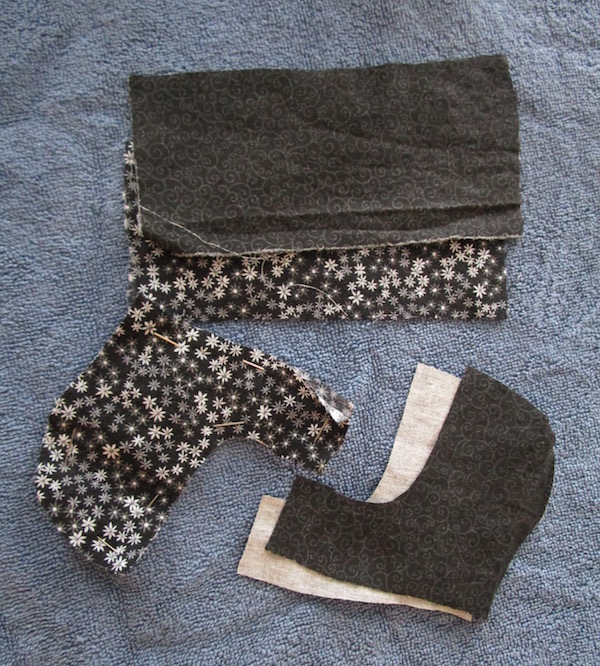
For this project, I used cotton material. The pattern is only 2 pieces. Since the hat is lined, you will need to cut 4 sides and two center rectangilar pieces. (If you would like the hat to be reversible, use 2 different fabrics; cut 2 sides and 1 rectangle from one and the same from the other.)
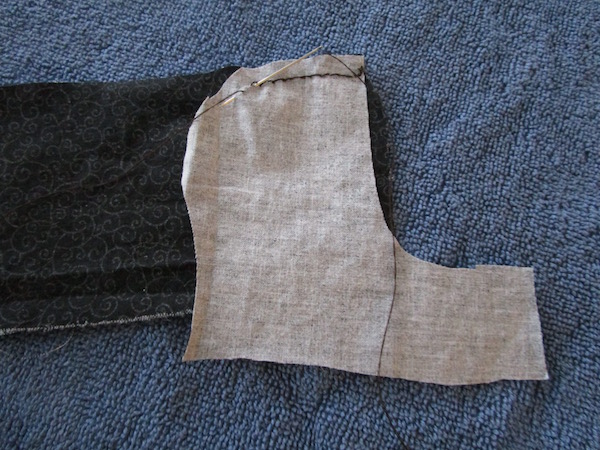
Stitch by hand or machine the two sidepieces to the center rectangle.
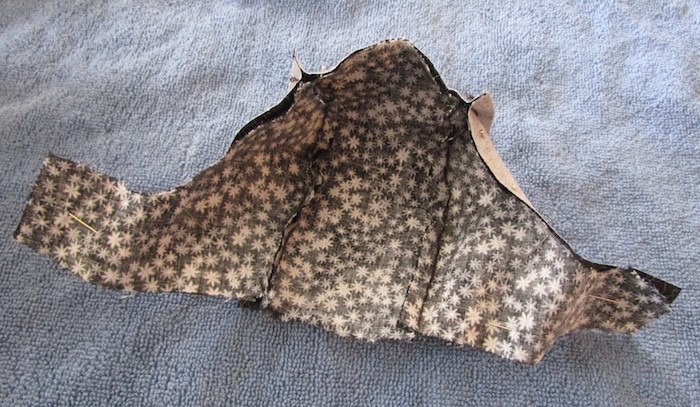
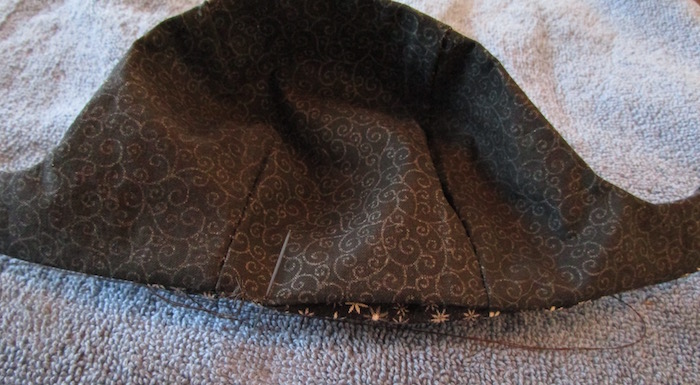
Once both sides are assembled. Pin them together and stitch them to each other leaving an opening at the back bottom of the hood.
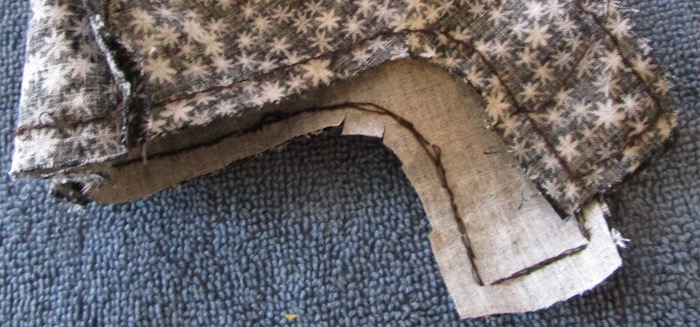
Cut slits up to the thread at the curves where the hood turns into the straps.
Turn the hood inside out. Press the seams with an iron. Sew the back seam closed.
Sew snaps to the hood to hold it on your doll’s head.
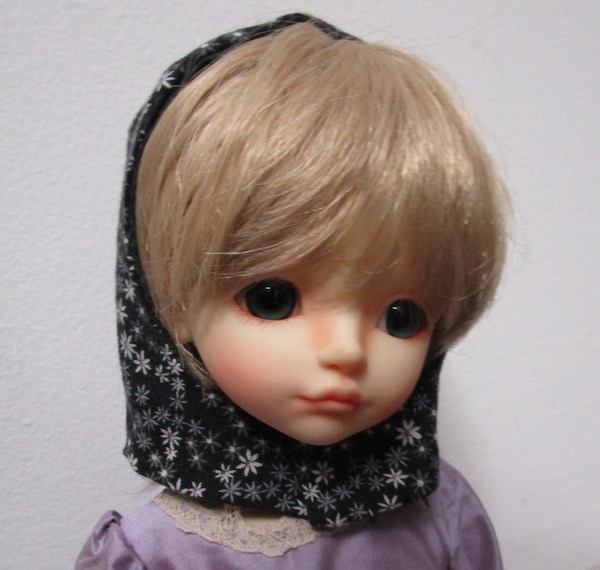
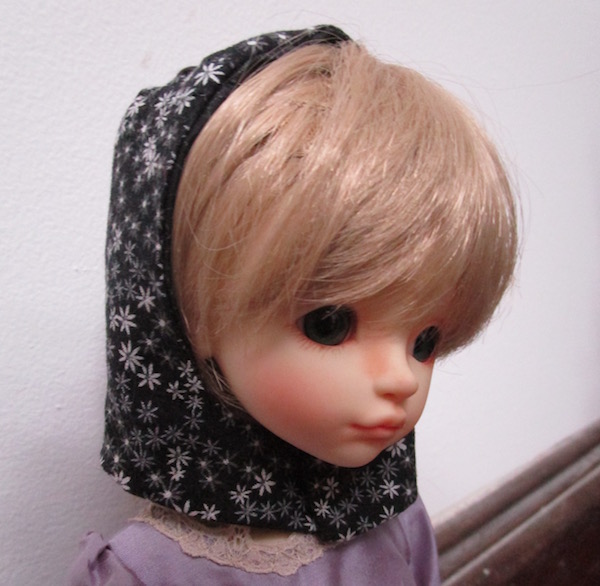
Peridot has a bigger head. To fit the hood on her head, the snap was sewn at the end of each strap. They overlapped at the front of the doll under her chin.
Anemone has a smaller head. For the hood to fit her, the snaps would be sewn with more overlap. Other ways to adjust the pattern to fit a specific doll include narrowing the rectangle for a smaller head and shortening the chin-straps. The fasteners could also be replaced with a brooch or with ties.
Instructions for a matching cape may be foundInstructions and the pattern for the hood can be found HERE.

