Doll Helmet Tutorial
By Rajendora @ Sewing Box Designs
It’s rather difficult finding certain head gear for dolls and I had a need for a motorcycle/bicycle/skate type helmet for my 1/6 size Obitsu head/Volks body doll. You can do this for any size doll. Just use more clay!
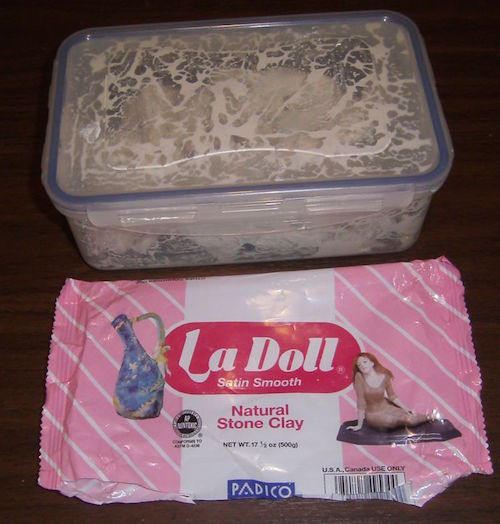
This can be done with a lot of air dry or oven dry clays, but I’m using LaDoll. Polymer clay doesn’t, will not, no matter what, work for me. LaDoll is awesome stuff. It’s a non-toxic papier-mâché clay that air dries strong and hard, but can be re-moistened to work with again. Honestly, my block dried up completely over the two years it’s been in my horde. I broke it up into small pieces in a loc-tite box, put in some filtered water and let it sit for a few days. It’s just as workable as it was brand new, so if you buy a dried up brick on sale or something, go ahead and do the same. The only thing you need to know is it loves to get all over your fingers and fabrics, but can be washed off easily. When your project is finished, you simply seal it, paint it and it stays hard no matter what. And it’s very sturdy. I’ve used it for doll cups and saucers that are really thin. You can even mold it into fancy decorative work for gluing on doll furniture and then paint over it.
~~~~~
So, for this project, you’ll need:
LaDoll or other clay that makes YOU happy and actually dries/hardens.
Some paper towels.
Cling wrap.
Wax paper and a rolling pin.
An Xacto knife or something sharp to carve and cut with.
Clear sealer and paints and a brush or two.
Some elastic or ribbon for chin straps, glue to glue them on with,
and jump rings.
Craft foam to make the lining more realistic too.
As an extra, you can use clear plastic from a soda or water bottle to make a face visor.
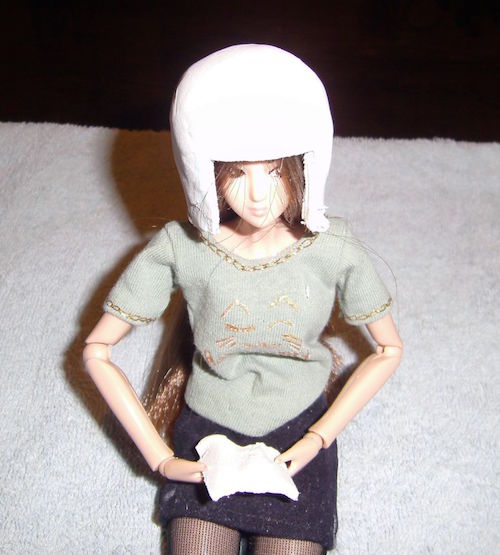
Start by prepping your doll’s head. The doll will be sitting around with this thing on its head for 24 hours or more depending on your project.
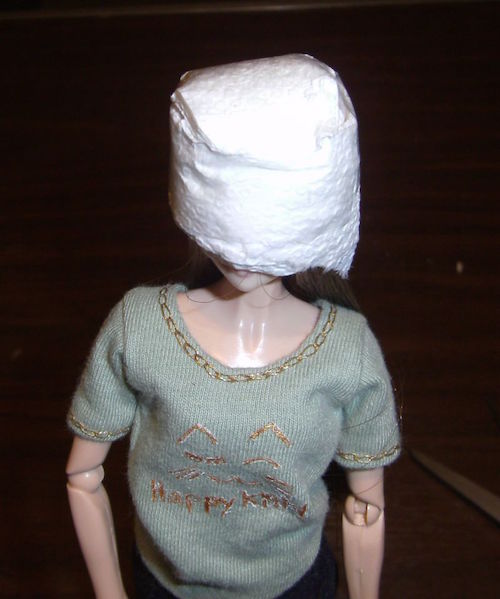
Pad the doll’s head up with flat rolled pad of paper towel. You want just enough padding to make it a little bigger and looser, just like a real helmet.
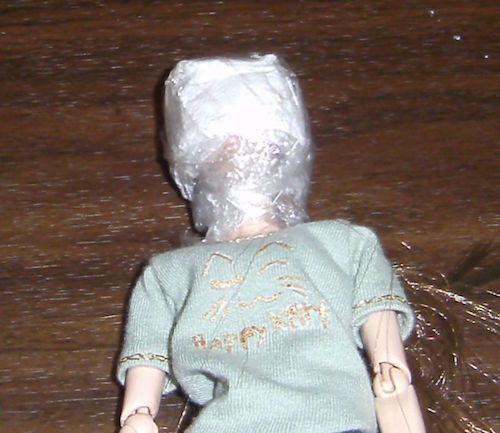
Then put a piece of cling wrap over the doll’s head, wig and all, and wrap it around the neck and secure it. (Yeah, cling wrap hates me too. >.<;;)
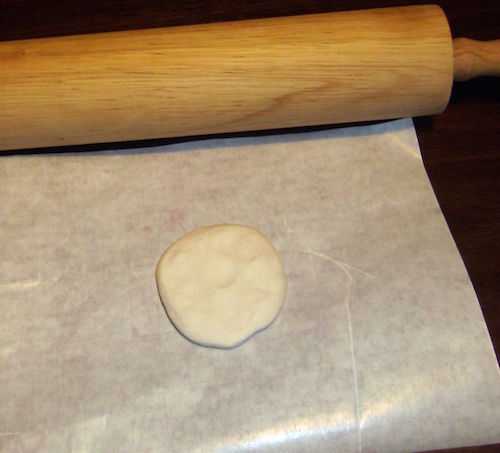
Now take a chunk of clay about the size of your doll’s head in your hands and work the lumps out of it, adding a little water as needed. Use filtered water, because you don’t want mold or stuff in it.
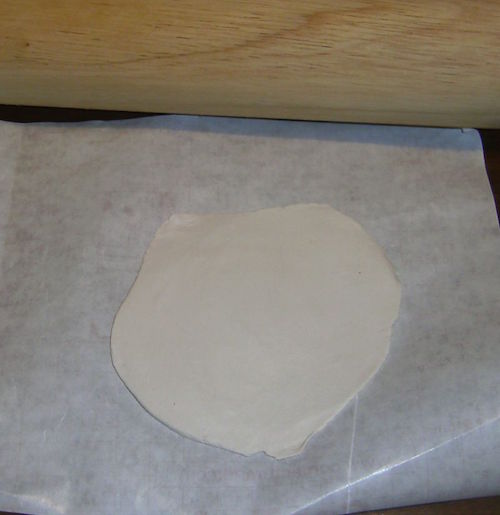
When it’s nice and smooth, flatten the ball and roll out the clay between your wax paper so it doesn’t stick to about 1/8 inch or thicker depending on your doll’s size.
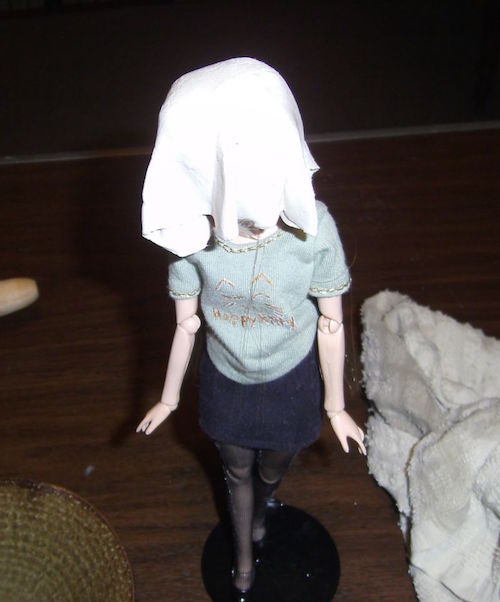
Keeping your fingers moist, wrap the clay on the doll’s head, centering it on the point of the skull, and pinch the excess into pleats. Work it into the helmet shape you want, motorcycle, bicycle, military, construction, astronaut, whatever, but leave it longer than it will be finished and never mind the doll’s face being covered. You can trim all that later. Right now, you just want your base shape.
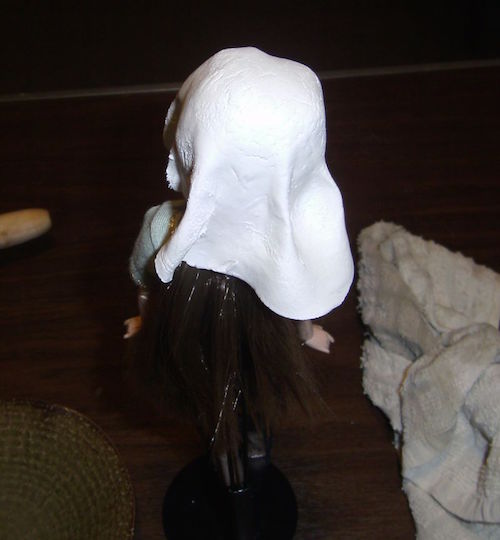
Cut off the pleats and make sure you work the clay together with moist fingers if it leaves open slashes. If you have some dents fill them in now with a pinch of excess clay. Make sure you remember the helmet has to pop off your doll’s head so don’t make it tight to the head under the ear line. Toss your unused clay back into your loc-tite box. They say to keep it in a plastic wrap, but that doesn’t work for some reason. If you want your clay ready to use all the time, use a box.
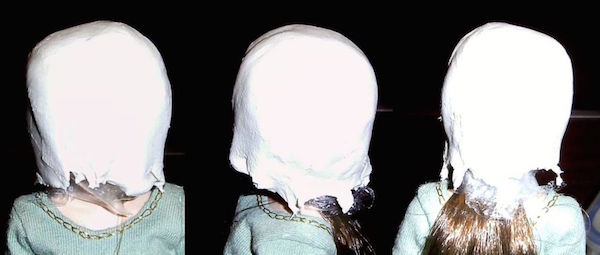
Let the clay dry 24 hours. I put my doll on a high shelf with her head hanging over the edge.
When the clay is dry, gently rock the helmet to ease it off the doll’s head. Check to see that it’s completely dry inside as well. If you’re not sure, just let it sit another 24 hours, it won’t hurt to be patient. If you don’t let everything dry completely, you can trap moisture under the sealant and it will rot. You can however mark the helmet with a pencil for where it’s not helmet like to cut off later. Also you can do some smoothing with a wet finger now, so you don’t have to sand later.
If you have cracks, and you probably will, patch them. If you need more clay in a thin area, add it on. Do this by taking a pinch of damp clay on wet fingers, flatten it and put it on, smearing from side to side and along the crack both ways until it’s filled in and smooth. To find thin spots, hold your project up to the sun or a bright light bulb and check, the thin spots will show up. Patch the same way as cracks, thin layers of wet clay. And let the project dry overnight again. Again, you can dampen and smooth with a finger or the back of a spoon, rather than sand paper clay.
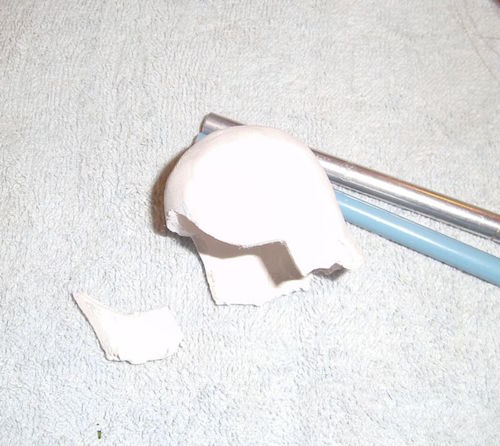
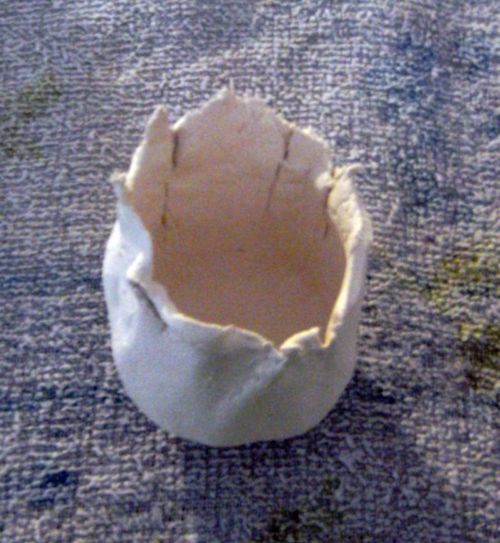
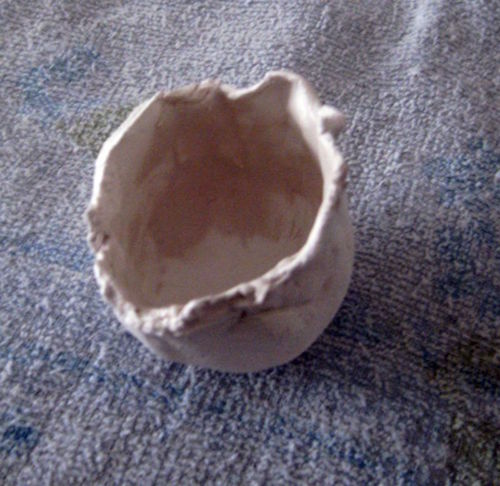
Once you have everything set, take an Xacto blade and carefully cut off the non-helmet parts. Take a damp wash cloth and ‘sand’ the edges smooth gently. You can use a wet q-tip to smooth air vents in a racing bike helmet. You can make repairs or changes any time along the way with this stuff up until you’ve sealed it. And if you get mad and want to just trash it, break it up and toss it back in your box and try again later.
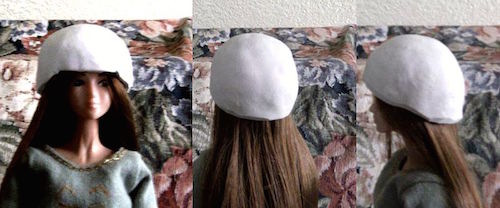
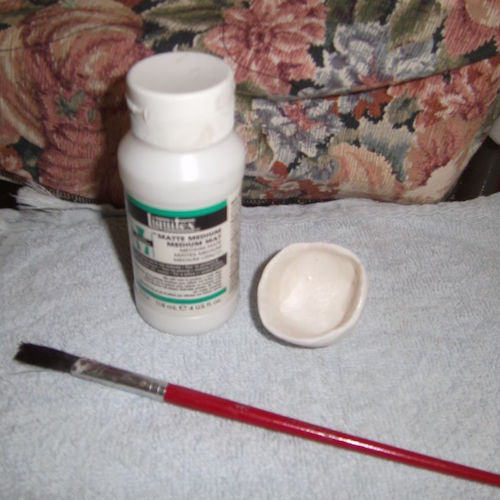
Now when your helmet looks all helmet-y, seal it with clear varnish or Modge Podge or anything that will resist moisture when dry. You can even just start with acrylic paint, but it does tend to need two coats that way so clear is good.
Paint your helmet the color you want it and put on any designs, like flower cut outs, stickers or stuff like that.
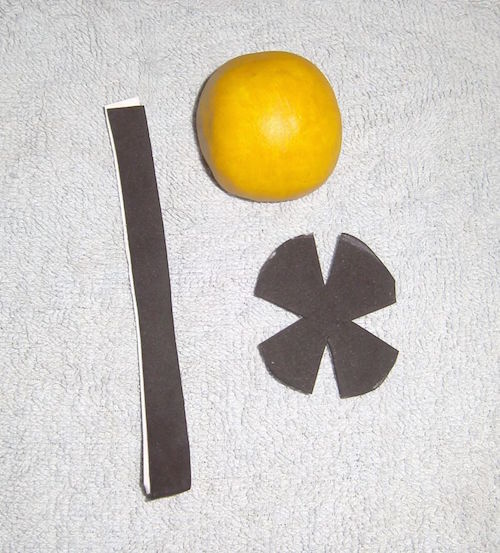
Now you can put some craft foam in to make the interior padding most helmets have. Check it for size and make adjustments. Don’t glue it in just yet.
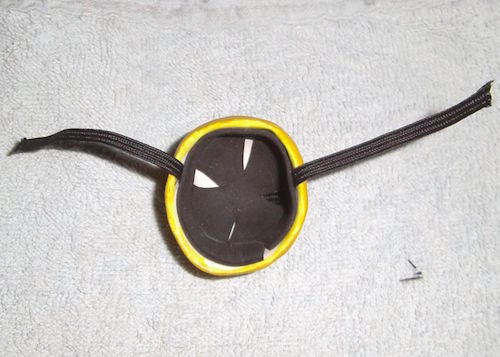
Make your helmet straps from thin elastic, midi-braid or gross-grain ribbon, and make sure you cut a longer-than-you-think-you-need strip. Spot glue your strap in the top middle of your helmet, then put your padding in and check to make sure your straps are evenly matched on the edges before putting in a few more drops of glue. Let it dry over night.
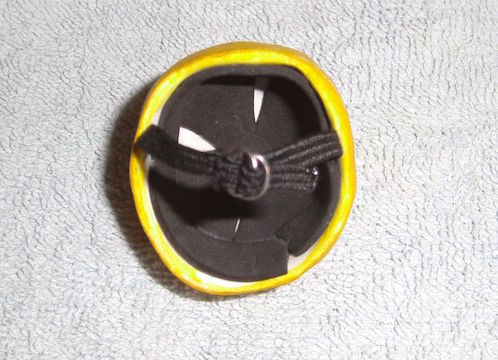
I squished a pair of jump rings to make D rings for the strap. If you have a larger doll you can buy clip together buckles and things that would look even more realistic. Any braid or trim that is polyester can be sealed off with a quick melt from a match, but you might have to dip elastic or ribbon in some type of glue. I use Gorilla Glue, that stuff is awesome.
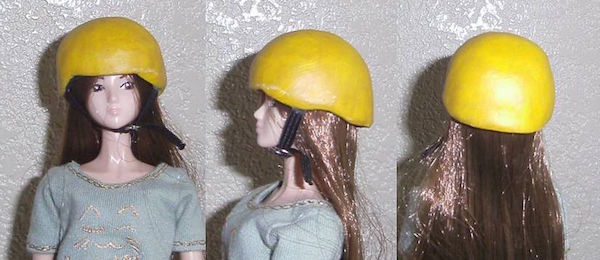
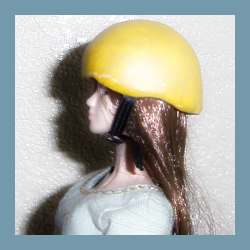
I’m still debating how to paint the rest of my girl’s helmet, but I’m going with the lemony look at the moment and thinking lemon slice. Since this is my first helmet, I’ll have more fun with the next ones. You can use a Dremmel kit to make air holes like a racing helmet and all that, but this is just how to make as realistic a helmet as possible. You can make body armor parts, kitchen wear, heels for shoes, anything with LaDoll and it’s fairly inexpensive.
~~~~~