Your dolls will look great in this simple summer top!
The pattern is based on a style popular in the late ‘sixties and early ’70’s. Halters may be worn with casual wear or as part of a two-piece outfit set with matching skirt or trousers. The pattern is designed to fit a variety of smaller 1/4 size girls. Mine fit my Doll leaves Vivian, Little Monica Irin and Planetdoll Tara. The halter also fits my Kaye Wiggs Tobi from Jpop doll as a cropped halter top. Two neck styles are available. Depending on the material chosen, your halter may look dressy or casual. The pattern creates a double-sided top, so one version here is sewn with two coordinating material to make a reversible halter.
Materials:
cotton material
matching thread
ribbon or cord
snaps
These instructions include two ways to complete the neck. Lace decoration is optionally added.
~~~~~
Step 1: Using the PDF pattern, cut 2 pieces on s fold.
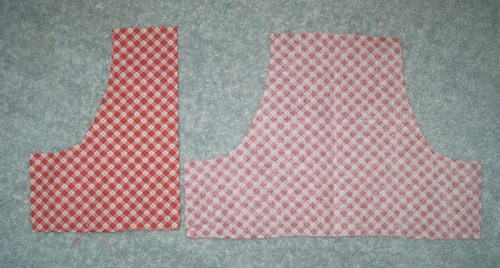
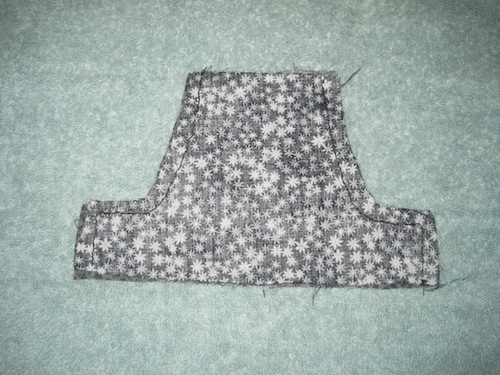
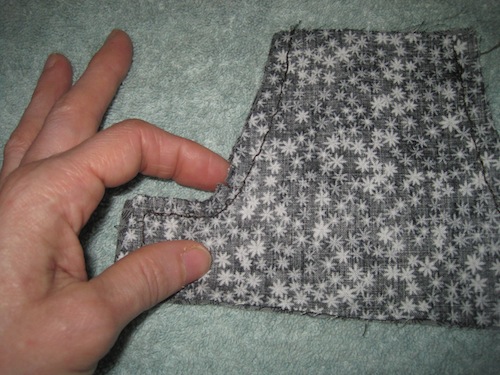
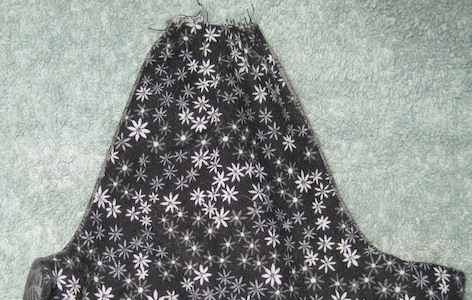
Step 2: With the two pieces placed together as shown below, sew the pieces together. For the simplest design, sew the sides and top seams leaving the neck seam open. If lace is desired across the bottom, sew only the side seams and leave an opening at the top and bottom. Cut slits into the material at the curves on each side up to each seam and then turn your work inside-out.
Neck finishing:
Version 1:
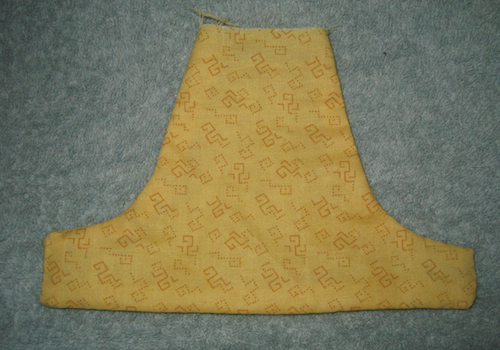
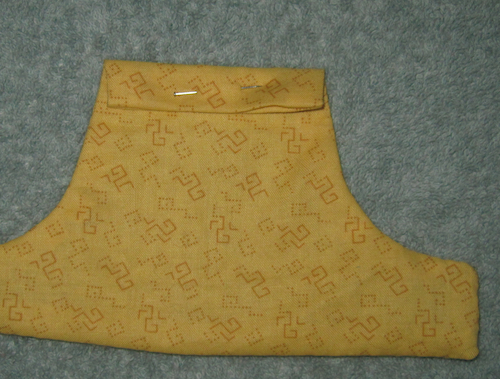
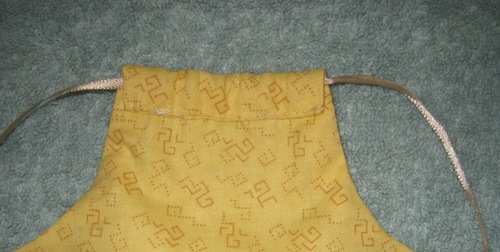
Fold over the ends of your material inside , them fold over to one side to create a casing. (See photo below). Stitch the casing and run ribbon or cord through it. This will allow the material to be gathered and the halter to tie around the back of the neck.
Version 2:
Step 1: Run a basting stitch across the top of the halter. Gather it so that the top opening is no wider than half way around the doll’s throat.
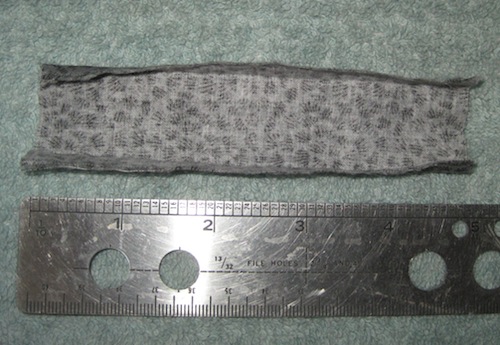
Step 2: cut a piece of material approximately 1 and 3/4 by 5 inches (4.45cm by 12.7cm). Fold the ends of the material inward and then fold the material in half. wrap this folded strip around your doll’s neck. Taking into account that the ends will be folded inward to finish off the collar, you may optionally trim your collar smaller if needed to fit your doll’s neck.
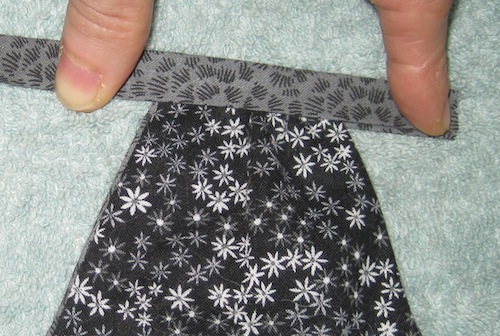
Step 3: Once folded, the strip of material will be sewn to the gathered halter end.
Fold over the ends so they are inside the strip. Pin the strip to the halter so that the gathered part is in the center of the strip.
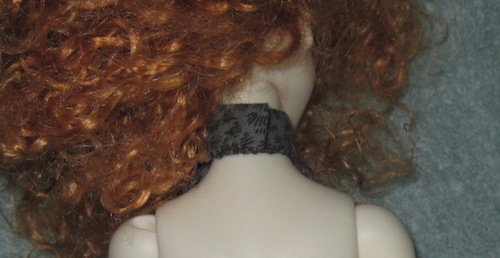
Sew the strip on both ends and along the folded length through both layers. Add a snap for fastening the finished collar around the doll’s neck.
Optional lace:
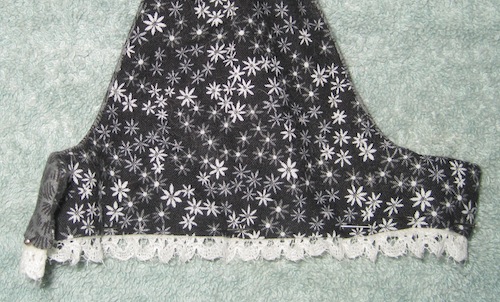
On two of the halters I made, I added lace at the bottom. To do this, cut a piece of lace long enough to run across the bottom, adding additional length to fold the ends over. Pin into place, then stitch across. Add snaps to the back.
~~~~~
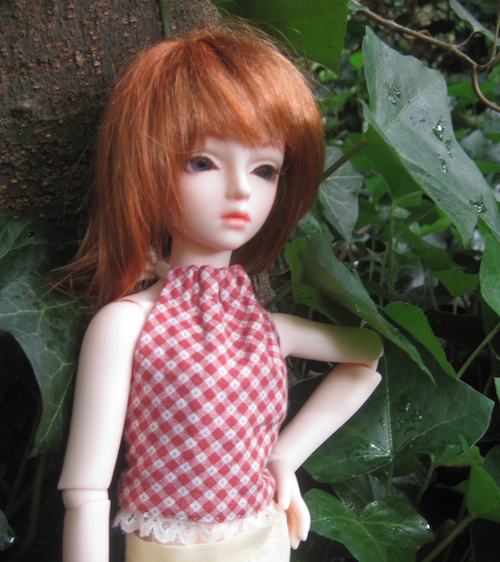
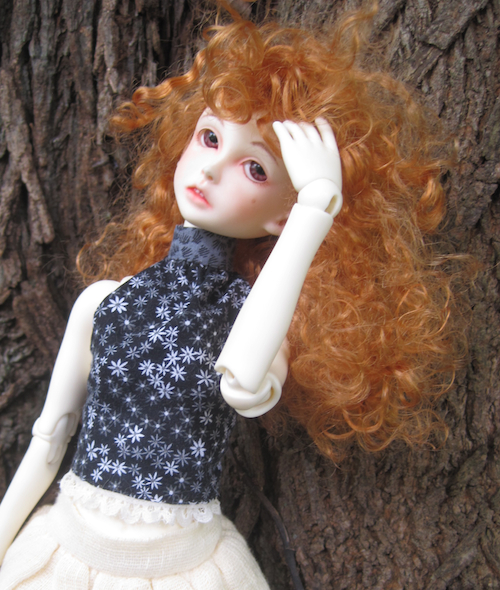
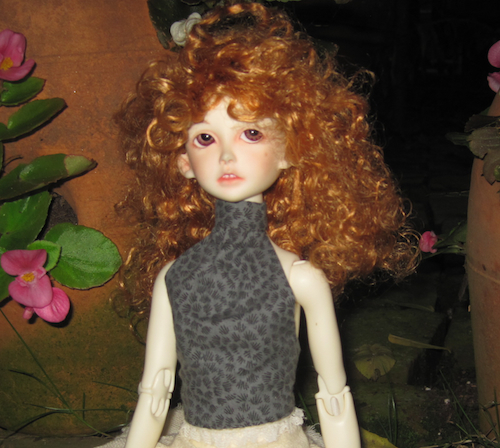
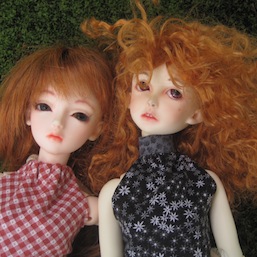
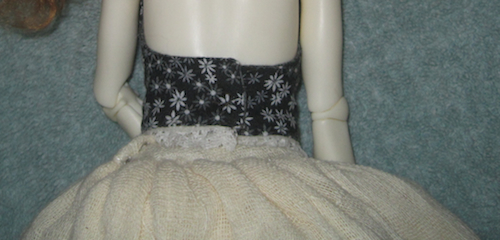
Finished halter tops:
Tobi is wearing the simplest top which is plain with a ribbon tie. The doll fits in many 1/4 doll clothing but has a long waist so this halter is a cropped top on her.






Great pattern, very nicely explained. Thanks!
~klausandcloud