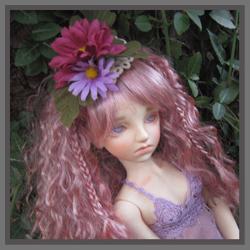
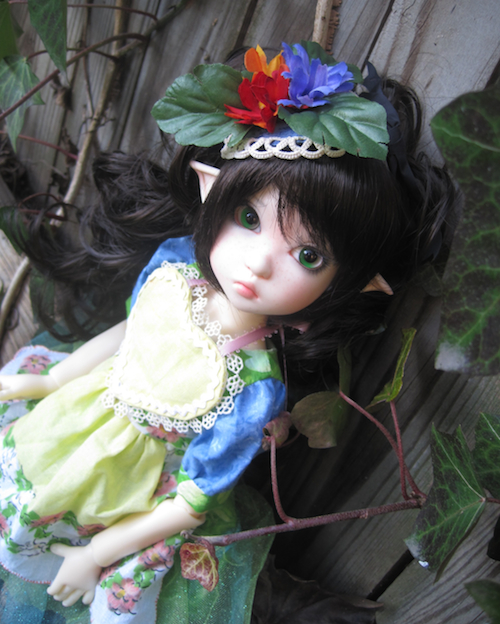
This fascinator adds a finishing touch to any Spring outfit.
1/4 size Dolls shown in article: Bergemann Dolls Ambriel, outfit by Cindi’s BJD Designs, PlanetDoll Tara, top by Auguste Designs, pantaloons by Nankatts, KazeKidz Annabella Elf, Dress by Nankatts, Apron by BJDcollectasy.
Materials List:
Fabric (stiffened with sizing recommended)
Sewing Notions: Needle, thread, scissors
Stiff narrow lace, ornate trim, or gathered lace
Clear elastic, wrapped elastic cord or narrow ribbon
silk flower(s)
glue (optional)
optional decorations: ribbon, buttons etc…
Step 1. Decide on a size for your fascinator. I placed round bottle caps on my doll’s head to decide on the correct size. Once I found the size I liked, I traced it to the back of a piece of material. I folded the fabric once, then cut out around the shape leaving 2 pattern pieces with about 1/4 ” extra all around the circle.
With the fabric pieces arranged together front side inward, I sewed the two pieces of material together along the pencil lines of the circle. Half way around the circle, I stuck the end of my clear elastic (wrapped elastic cord or ribbon can be substituted) between the fabric discs and sewed through it as I stitched. Once I had about 1/3 left to stitch, I turned the circle inside out and basted the remainder closed. As I neared the end, I tucked the other side of the elastic band into the circle and stitched it in place.
Step 3: I sewed the lace around the outside of the circle. The lace or trim needs to be able to go around the circle without being distorted or stretched. I used tatted lace on all three of my head pieces.
Step 4: I disassembled various silk flowers. I played with the pieces to come up with the arrangements that best fit on the cloth discs.
I first sewed leaves as the bottom layer. I then added the flowers on top. If the original flowers were made up of only one set of petals, I disassembled 2 flowers and arranged the 2 sets on top of each other and stitched them together. I also pinched the flower petals at the center holes and stitched them so they were gathered at the bottom. This gave the flowers more dimension. (See below right.)
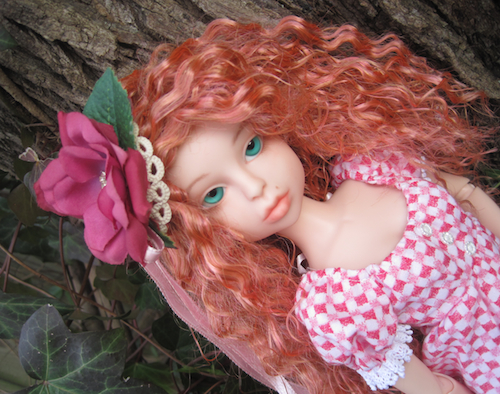
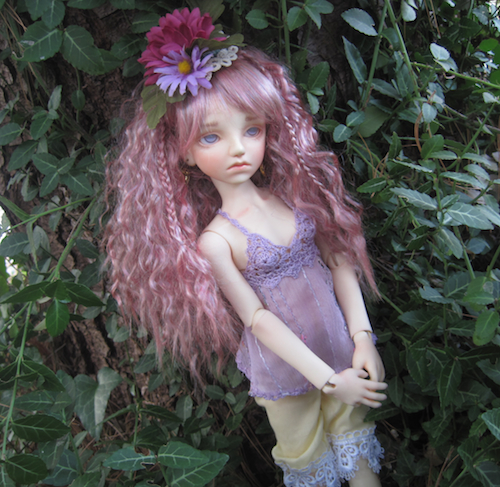
For the center of the rose fascinator, I added a vintage button and some vintage pink ribbon. For the other 2 fascinators, I trimmed the fuzzy centers of the original silk flowers down with scissors and them glued them back in the centers of the flowers. (See above left & below.)
The finished fascinators:
~~~~~
Featured Article

