Last May BJDcollectasy introduced a free pattern for an Elf Hat designed by doll fashion pattern designer gracefaerie of gracefaerie designs. The original project may be seen HERE.
Odd Hat – a simple PDF pattern
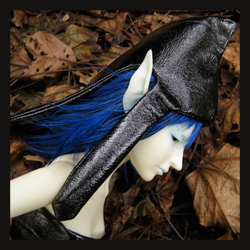
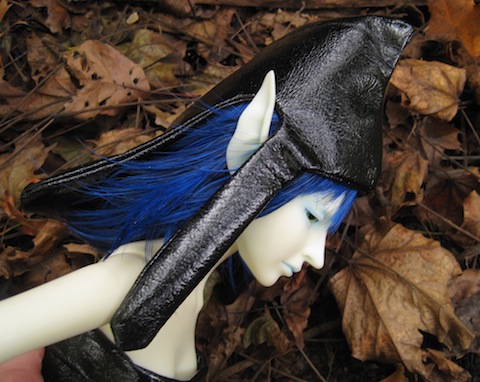
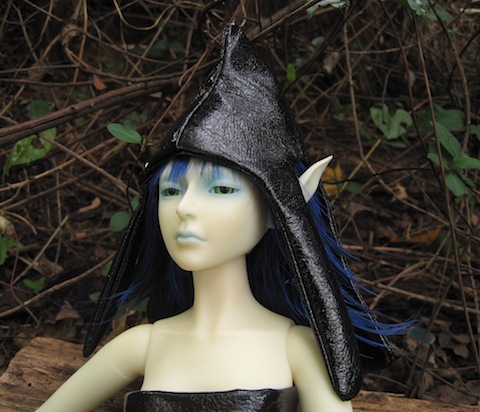
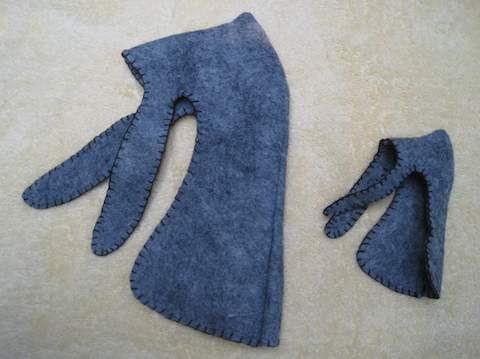
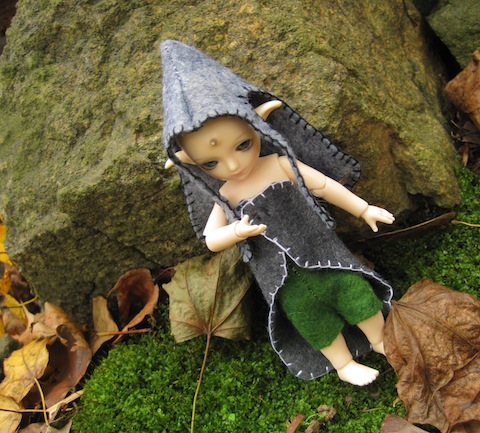
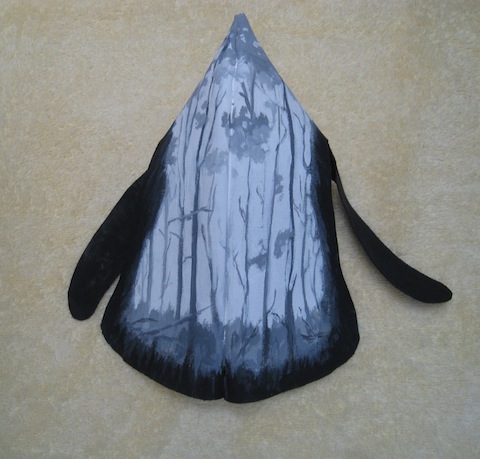
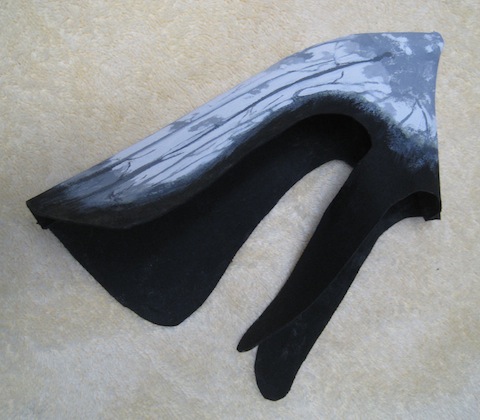
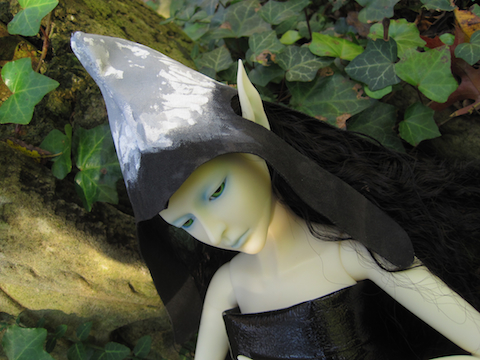
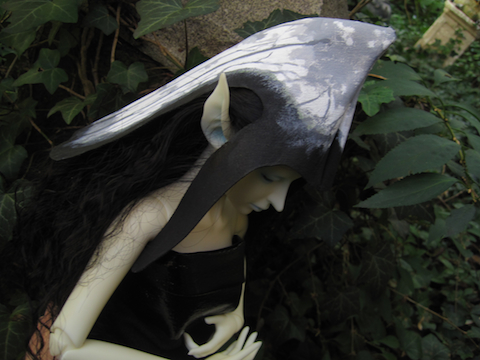
For this tutorial, the same pattern is used to make new versions of the hat. The first variation is a lined or double sided elf hat made here in a leather-like synthetic material. The second version of the hat was produced in wool felt and embroidered with a simple blanket stitch. Both a large and a tiny version of the felt hat were made. The third version is made of canvas. This hat is hand-painted in acrylics with a woodland scene in black and white. The painted hat can be customized for any character, theme or outfit.
This hat design works especially well on all sizes of pointy-eared dolls. The pattern in it’s current size fits both ImplDoll Christoper and 1/4 size Kazekidz elf dolls. After shrinking the pattern 80% it fit the Bobobie tiny from Junkyspot.
Special thanks to Safrin Doll for sending the green acrylic eyes worn by Christoper in the photos.
Lined or Double-sided Hat~
This hat was made from a non-fraying synthetic leather material. If a fraying material is used, it may be best to put fray check around the edges of the pieces. The inner material used can also be a liner material, or two complementary materials can be used as the hat can be made reversible. This hat was made for a “dark elf”.
Step 1: Fold the material twice and cut out four hat pieces on the bias. The seam edge allowance is marked on the pattern for the center seam. Additional seams need to be added for the outer edges of the hat pieces. The extra seams can be added to the paper pattern before it is cut out. Here I used the pattern piece I that I used previously for the spring hat and drew the additional seams on the material with a light fabric pencil to show where they need to be added.
Step 2: Cut out the pieces.
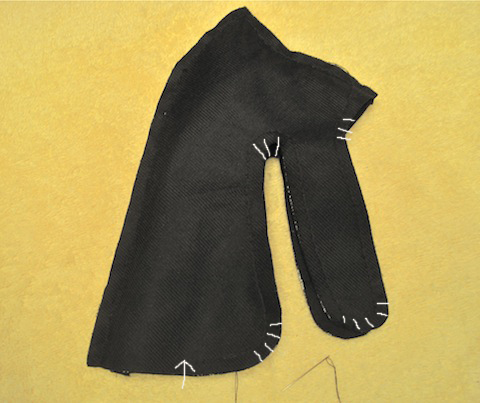
Step 3: Sew two sets of hat pieces together along the center seams. Turn one hat piece inside out and put that hat piece inside the other as shown below. Line the edges up carefully, pin them and then sew the two pieces together. Leave an opening at the bottom back of the hat.
Step 5. Cut slits at the curved seams of the hat with scissors being careful not to cut through your sewing. If fray check is needed, apply and let dry.
The arrow on the photo above shows the end of the stitching at the bottom of the hat. Turn the hat seam-side inward using the opening at the bottom of the hat to reverse it. Finally, turning the remaining seams inward on the bottom of the hat, stitch up the opening. To minimize the stitching, I simply basted the bottom together hiding my sewing in the fold.
Felt Hat~
Cut the two pieces out, and sew them together along the center seam. Sew a blanket stitch all around the edges. This is super-easy to do, and the pattern can be re-sized to fit larger or smaller dolls.
Painted Hat~
This hat is made the same way as the original hat shown in the May tutorial. It was constructed out of a non-raveling canvas material. The hat was treated like a painting canvas. After the material was gessoed, a black-and-white woodland scene was created with acrylic paints. Optionally, the painting can be sealed with matte acrylic varnish.

