By Martha Boers ~ a project specially created for BJDcollectasy
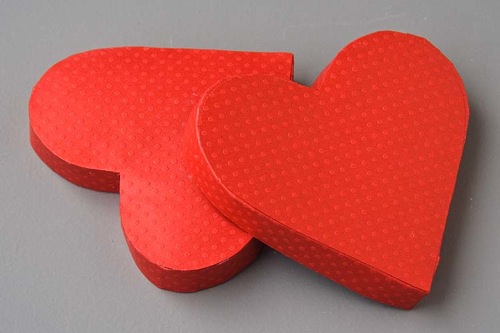
You can make your dolls a miniature box of chocolates for Valentine’s day by following this tutorial from the talented Martha Boers of Antique Lilac. This is part one of a two part project. Tomorrow part 2 will be available. The pattern for the box is available as a pdf file at the end of the tutorial. The box is designed for 1/3 size dolls, but the pattern can be re-sized for many other doll sizes.
Valentine Chocolates Tutorial
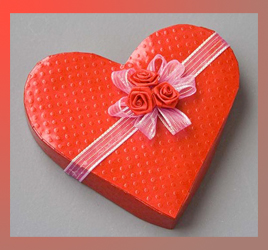
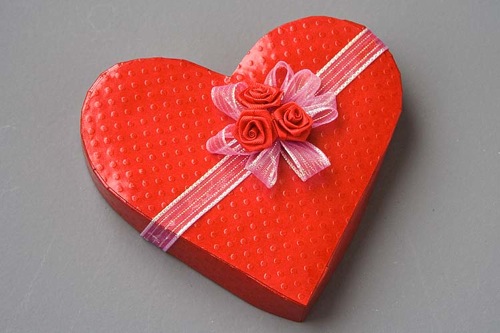
This Valentine’s Day make a heart-shaped box of chocolates for your boy to give to his special sweetheart, or for your favorite girl to receive from her secret admirer. The pattern and instructions are for a 1/3 scale, medium-sized (4″) box of chocolates (or a large 1/4 scale box). To make a larger or smaller box, enlarge or shrink the patterns as desired.
Part One – The Heart-shaped Box
Materials Needed:
– Valentine-Chocolate-box-pdf
– two 8.5 x 11″ sheets embossed red card stock (for scrap-booking)
– 8.5 x 11″ sheet white card stock
– ruler
– pencil
– scissors
– white glue
– gloss water-base varnish
– 2′ of 3/8″ wide ribbon
– needle & thread
– 3 ribbon roses
– hot glue gun
Instructions
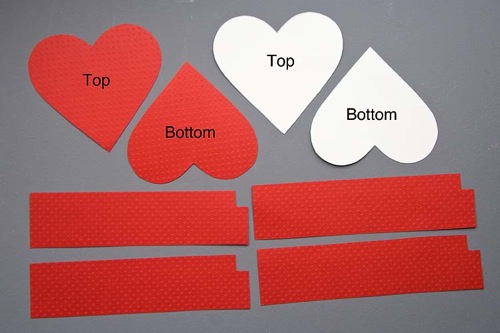
1. Enlarge and print out box patterns on wrong side of red card stock. It is important to print out one each of the Top and the Bottom patterns since they are slightly different sizes in order for one to fit over the other. Cut out pattern pieces. Trace heart-shaped top and bottom onto white card stock, and cut out 1/16″ within the tracing line so the white card heart is a little smaller than the corresponding red heart.
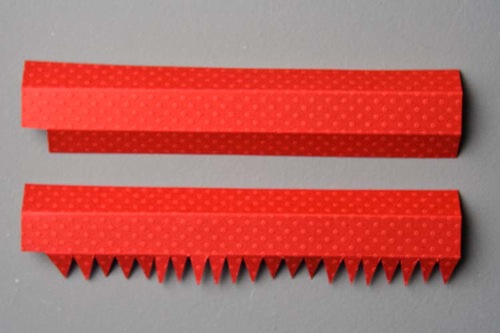
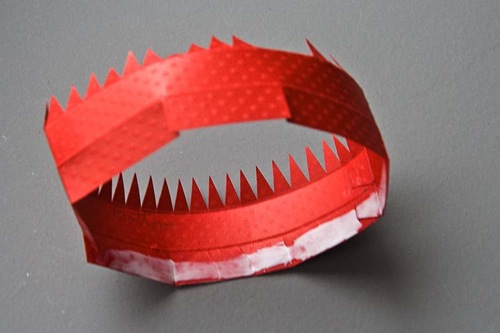
2. Starting with box bottom, score along all fold lines of the box sidepieces using a scissors and ruler. Clip bottom edges as shown.
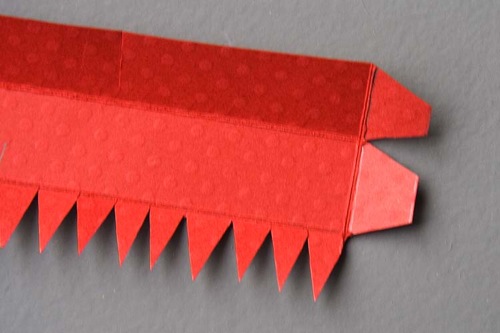
3. Score and fold tabs at ends of box sidepieces.
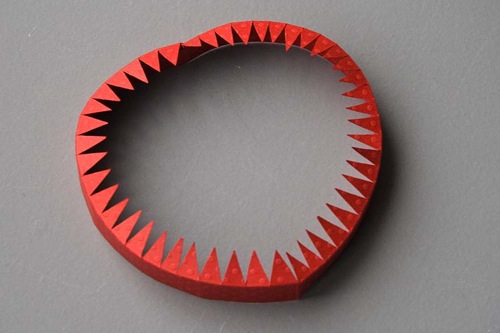
4. Apply glue to right side of tabs and glue the two strips together into a circle. Clip liner edge in three places, apply glue and fold inward to make box lining.
5. With fingers, gently smooth and shape box edge into a heart.
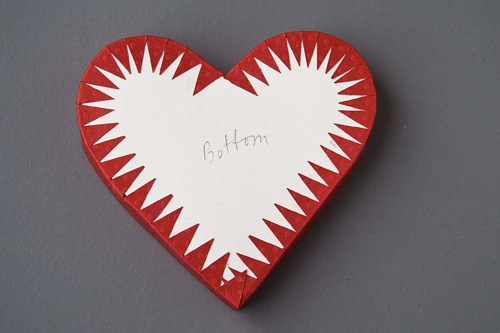
6. Apply glue to inside surface of tabs, and glue around white card base.
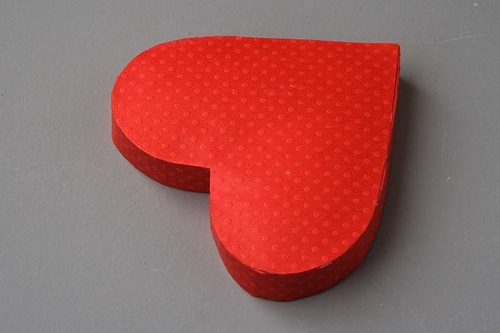
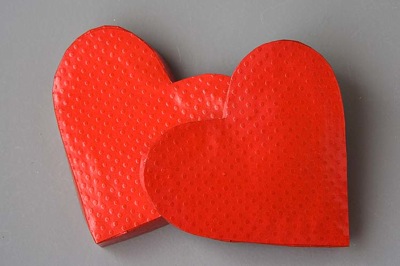
7. Apply glue to wrong side of red heart and glue to underside of box to cover tabs.
8. Repeat for box top.
9. Test some scraps of leftover red card stock with a coat of gloss water-based varnish. If your scraps don’t show any change – don’t wrinkle, bulge, or buckle – then it’s safe to varnish your box.
10. Varnish the box top and bottom (inside and outside) with two coats of gloss varnish, allowing the varnish to dry thoroughly between coats.
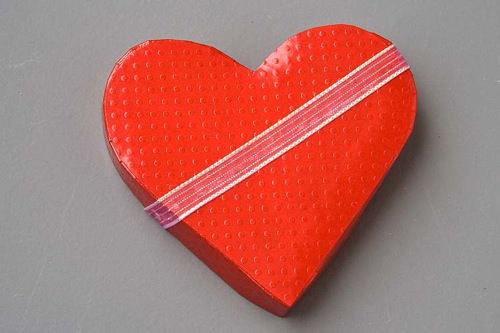
11. Cut 6 1/2″ of ribbon and glue across top of box as shown. Glue ribbon ends inside box (hold with tape)
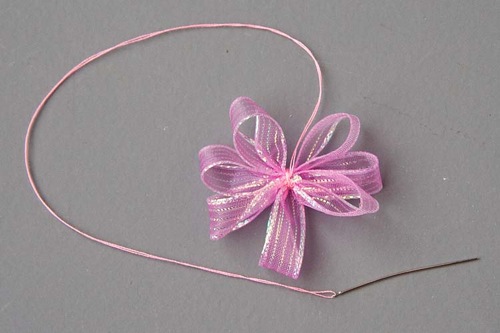
12. Thread needle and secure to end of ribbon. Run a gathering stitch across end of ribbon, then run a gathering stitch across the ribbon at 2″ intervals seven more times. Cut ribbon 1/8″ beyond last stitching row. Pull up thread to form a multi-looped bow. Wrap thread around center of bow and secure with a few stitches. Knot & cut thread.
13. Using hot glue, glue bow to box, and finish by gluing on three ribbon roses.
Part 2 – The Chocolates!
The second half of this tutorial can be found HERE!

