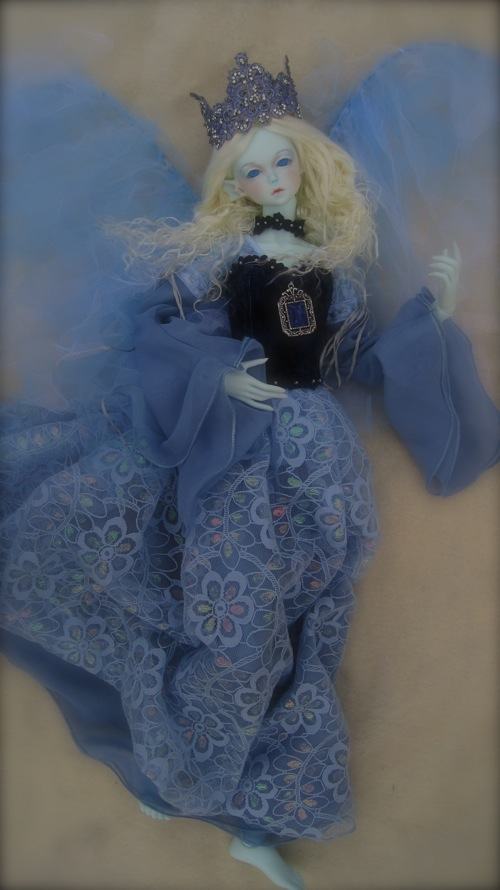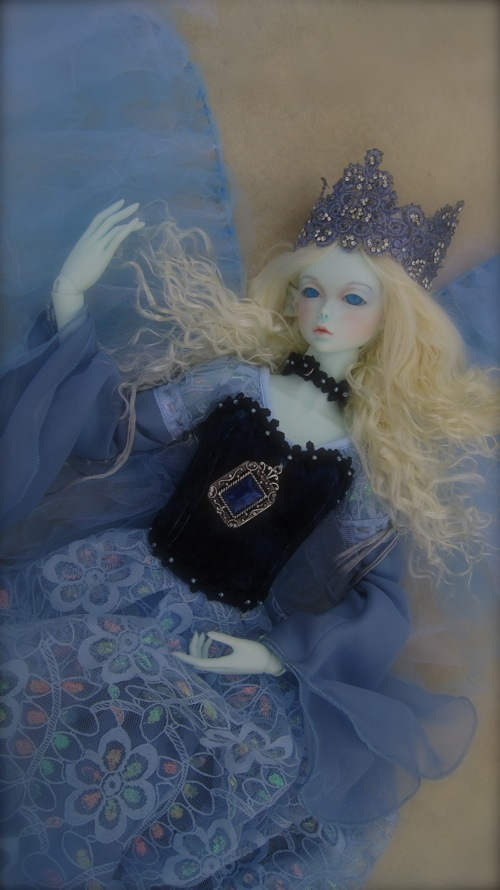
Blue Angel ~ Doll used in the project is a 63 cm tall blue resin Dorisy doll by ImplDoll, the Costume (outfit, wings, and crown) by Candaian doll costume designer Charie Wilson Grenier, face-up by BJDcollectasy, Monique wig wig from CA Dolls (Contemporary Artist Dolls), glass eyes are from Jpopdolls.
Special thanks to CAdolls for assistance in this project, and to Junkyspot for supplying Mr. Super Clear Flat Lacquer.
Angel Wings Tutorial
By Charie Wilson Grenier
These are very easy and fun wings to make! They can be used for angels or fairy costumes with a corset. They work best on 1/3 or 1/4 size dolls. My corset pattern came from gracefaerie designs‘ patterns for SD or MSD girls.
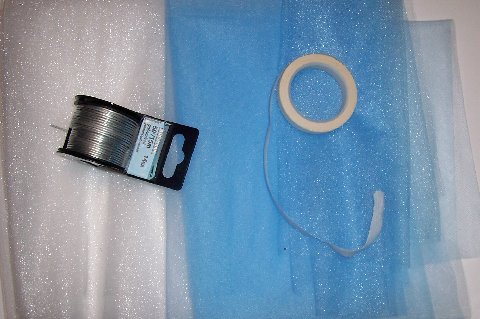
You will need 3 yards 45cm wide (17-18″) fine tulle. White floral tape, thick and tacky glue, one roll of 14 gauge galvanised wire, one pair of needle nose cutting pliers.
I used two different shades of powder blue tulle and one white sparkle tulle. You can use any colors you like in what ever color combination suits your costume. You can also add silk ribbon or strips of fabric to the wings if you like.
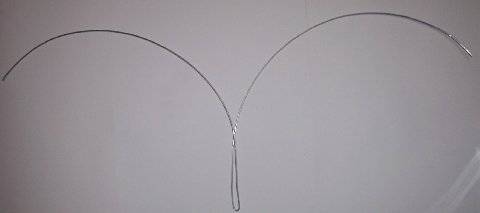
Step 1:
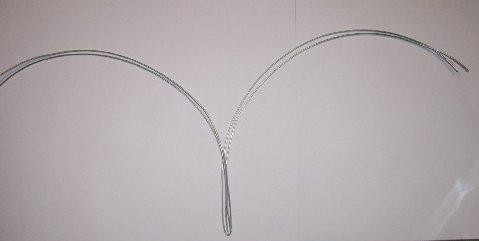
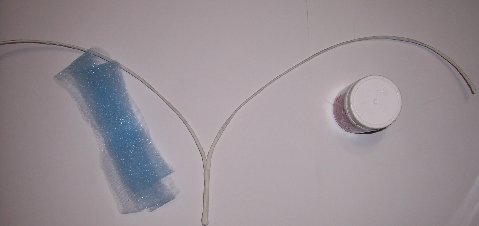
Cut two pieces of wire about 80 cm (32″) long and fold them in half one at a time. Shape into a curve overlapping in the middle (see picture).
Step 2:
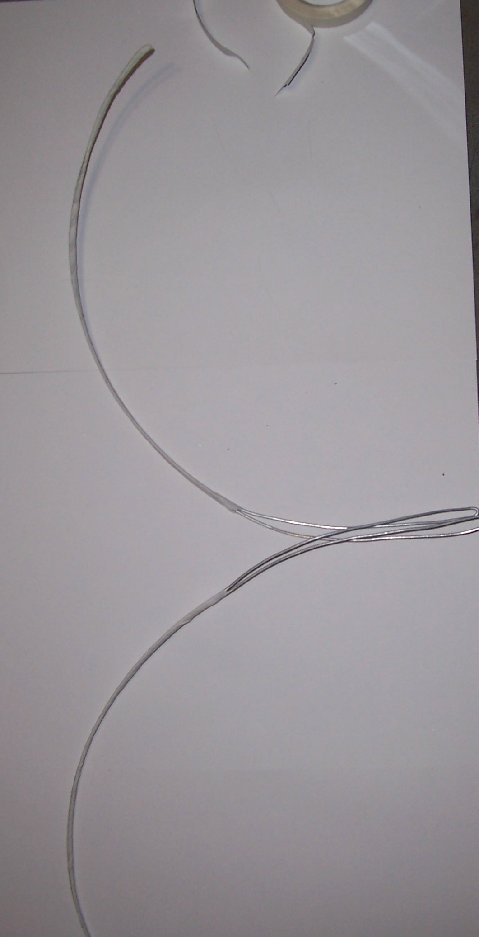
Place your 2 pieces on top of each other.
Step 3:
Starting at the end of the curved wire, start wrapping the white floral tape around the wire as tightly as you can. Be sure to cover the end well so there are no sharp edges. Wrap to about 7 cm (2-3″) from middle end. Do both sides.
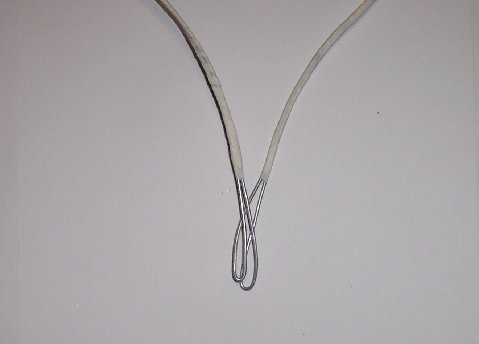
Step 4:
Now continue wrapping from where you finish down to the top of where the wire meets together. Take your pliers and pinch the wire together, then wrap remaining wire with floral tape.
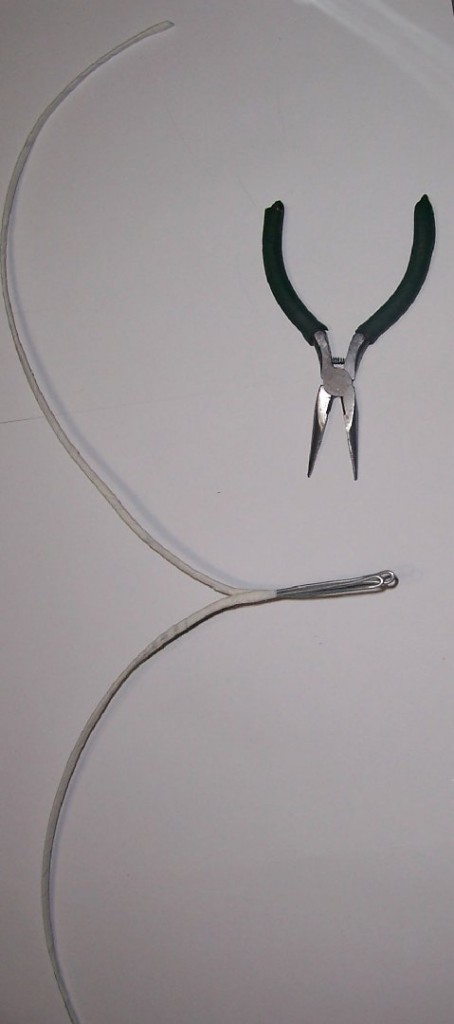
Step 5:
This is what your wire should look like.
You can now test them on your doll. These wings just insert into the corset of a costume. You can now bend your wires into the shape you want for your wings.
Step 6:
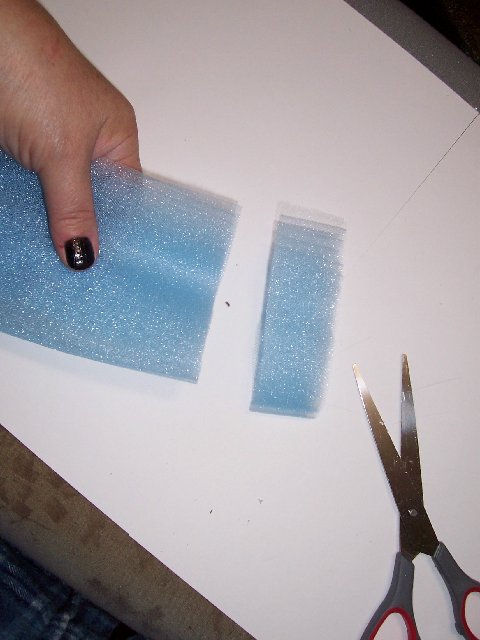
When you have the shape you want, you wrap the tape covered wire with a strip of tulle. I fold my tulle into a 8 cm (3″) wide panel to make it easier to cut 3 cm wide strips.
This time you will need to cover the ends of your wrapped wire with a bit of tacky glue before you start to wrap them with strips of tulle the same way you wrapped the floral tape. When you get to the center stem, add a bit of glue on it before wrapping as well. Cover all the wire with the tulle.
7. Cut all your tulle colors, and then cut them in half. They will be 22.5 cm long (8-9″) and 3 cm (close to 1/2″) wide. (You can make them any length you want but for this project I used 22.5 cm long by 3 cm wide.)
Now insert the finished and tulle-wrapped wire in the back of your doll’s corset with your doll secured on a doll stand. You can then start tying your strips to the wings doing both sides at the same time.
-
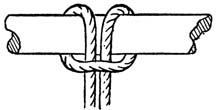
Lanyard or cow hitch knot 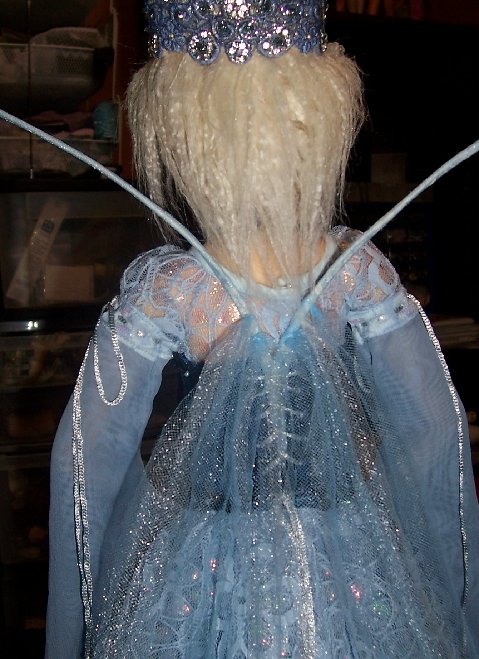
7.a 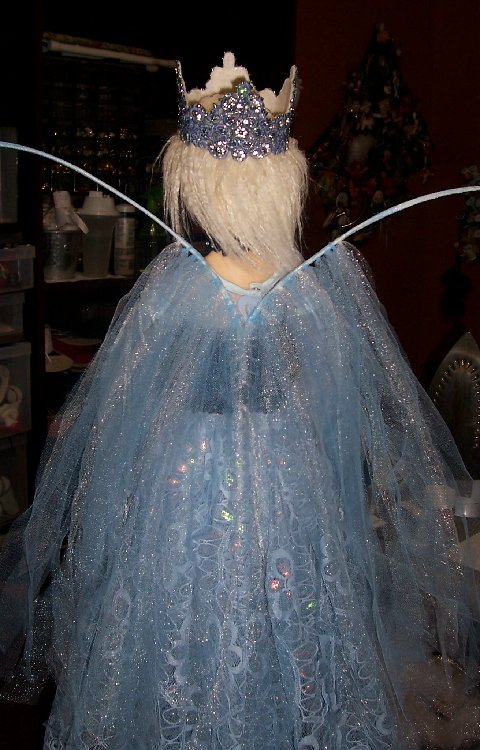
7.b I used 2 blue then one white. Be sure to tie your strips in a tight not keeping your knots under the wire. Continue until you are 3 cm from the end alternating colours.
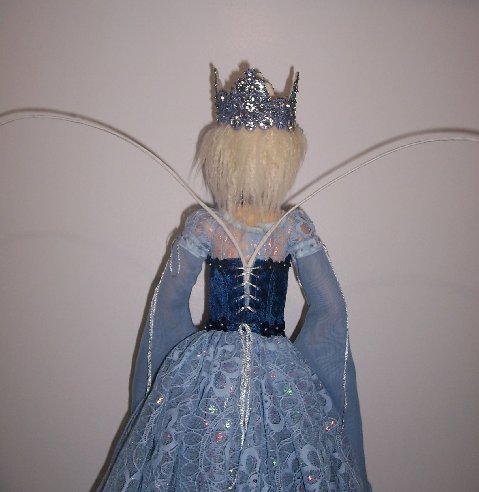
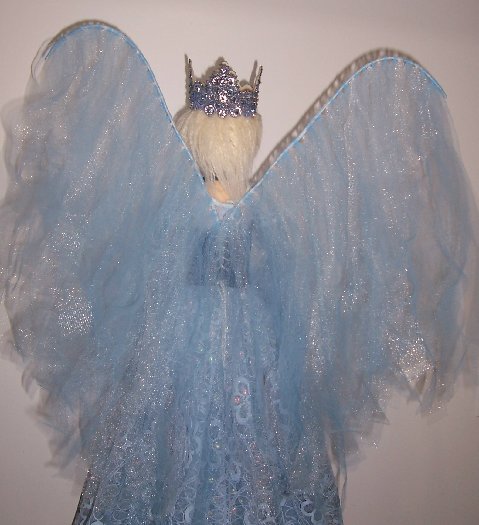
Finished wings:
I hope you enjoy this project and have fun making your wings. Here is another version of wings on a fairy costume. Using straight wire with tool and silk ribbon.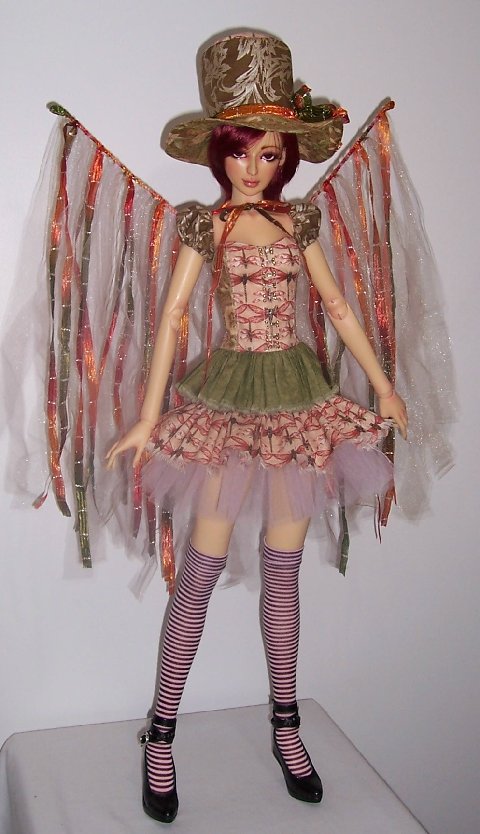
~~~~~