Making Fabric With Sulky Solvy Stabilizer Roll 12″
By: Charie Wilson Grenier
For a special BJDcollectasy Halloween project, Charie Wilson was asked to make a costume using her Sulky Solvy fabric-making technique. She has used this technique in the past to make custom fabric for doll costumes including the jacket for our Steampunk girl.
Charie also generously agreed to demonstrate how the fabric was made. The full outfit she created will be shown later this week.
~~~~~
Making fabric with Sulky Solvy is fun and easy.
You will need:
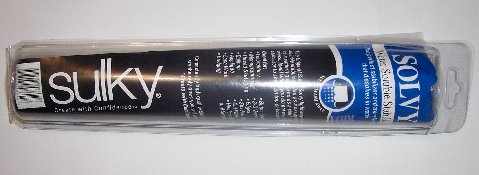
One role of 12″ Sulky Solvy Stabilizer – You can buy sulky solvy in most quilt shops and craft stores.
if you cannot find it there, it is for sale on Ebay.
Thread of your choice of colors – You can also add bits of scrap fabrics, wool, ribbon whatever you like.
Sewing Pins
sewing machine
I like to use cone thread. For this project I used these colors.
Step one
Role out a piece of solvy the size of fabric you want to make. You have to form a “pocket”, so you will need a length long enough to make fabric size you want plus extra length to then to cover over it.
Take your thread and simply pull it out and layer it all over one half of the solvy. I start with the darkest colour to the lightest.
First color gray:
Then beige:
Finally white. One-half of your Solvy should have at least this much thread. You can also add bits of fabric, ribbon, or wool at this stage, or more thread depending on how dense you want your fabric.
Step 2
Now fold the extra bit of slovy over your thread, forming a pocket with the threads inside. Pin the pocket together.

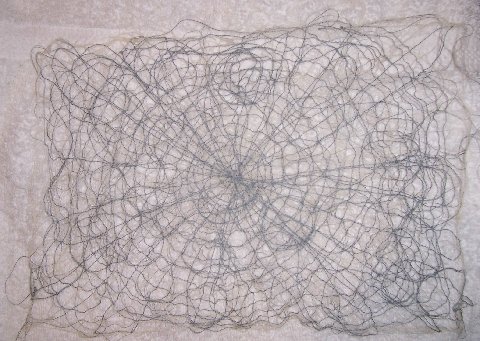
Now you will need your sewing machine. Sew around the pocket and remove the pins. For this project I sewed in the shape of a spiders web, but you can just randomly sew, filling in as much of the fabric as you can. I used grey for the stitching, but you can use any color you like or many different colours. Once complete, your solvy pocket should look like this.
Step 3
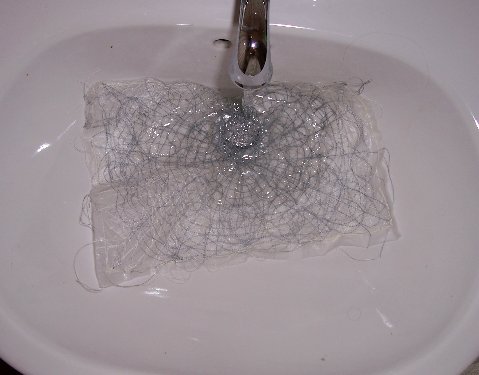
Now take your finished fabric to the sink and run cool water over it until all the solvy is gone. All you are left with is just your thread fabric. Ring as much water out of it as you can.
Step 4
Place your fabric on one half of a towel and fold the other half over it. Press it with a dry iron until your fabric is dry.
Finished Fabric:

Once it is dry, you are ready to make whatever you like with your finished fabric.
Have fun by putting in different combinations of fabrics and threads. You can make some truly original fabrics for your doll projects.
Enjoy!
Doll Fashion designer Charie Wilson Grenier’s work can be purchased through the Charie Wilson Etsy Store.
To see the outfit made by Charie from the fabric go HERE.


AWESOME!