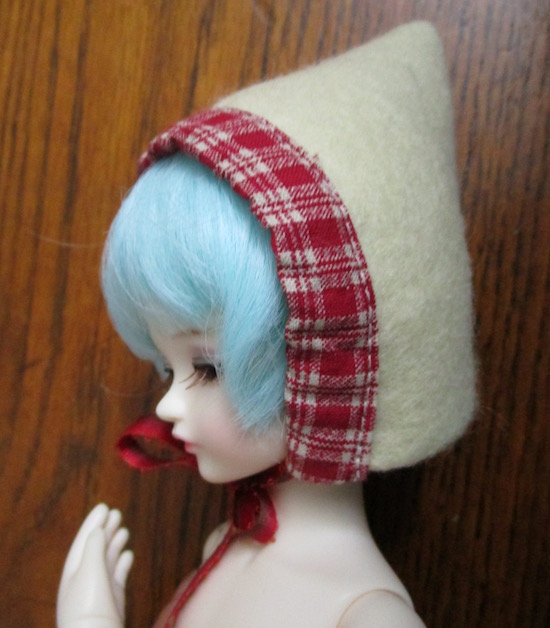
When the days grow colder, I enjoy curling up under a warm blanket or quilt before the fire and sewing and embroidering tiny doll clothing. The first thing I completed this winter is a lined hood for 1/6 doll Mystic Kids Isabel. This hood design can easily be custom-made for any doll head.
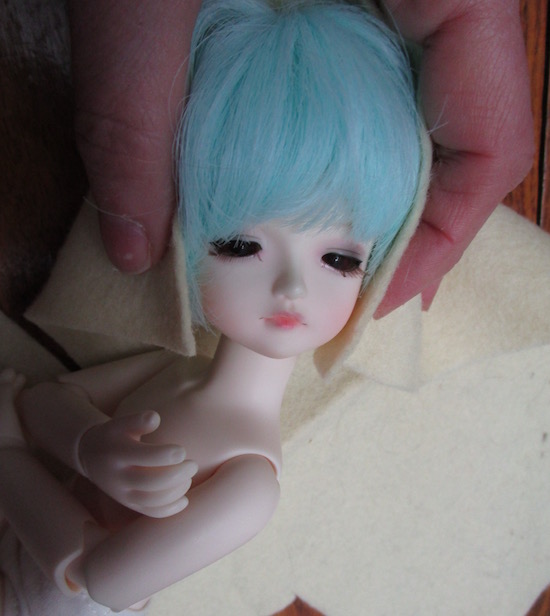
I started with a piece of wool felt in a cream color. (You can use other material if you wish, but you will need to add a seam allowance.) I recommend wool or wool blend felt because it is sturdier and does not pill easily like polyester felt. You can easily buy sheets in a multitude of colors online.
I wrapped the felt square over my doll’s head from one side of the neck to the other as shown below. I trimmed away extra felt on the other side of the neck. (I included the wig on the head so it would fit under the hood as well.)
Next I folded the felt in half and located where it would end at the back of the head and pinned it.
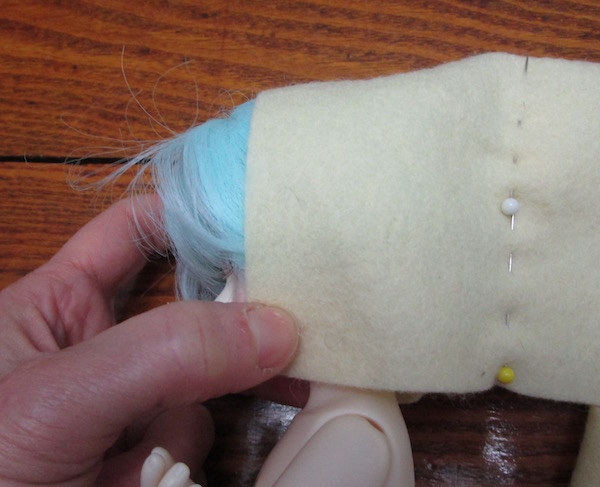
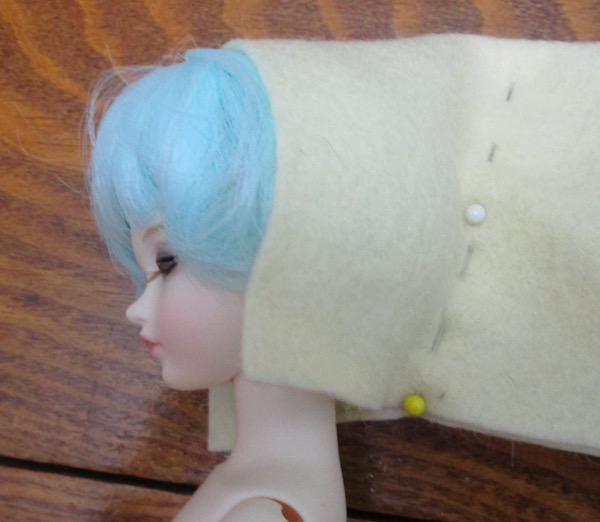
I first pinned it straight, but I wanted a pointier tip to the hat and a cut-in under the hair, so I decided to angle the back seam a little. If your wig is thick and long, a straight line or less of a back slant may be better.
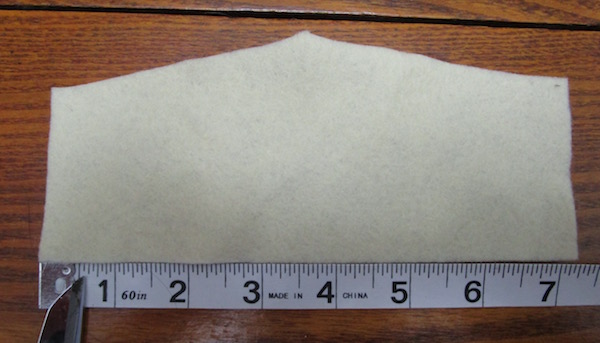
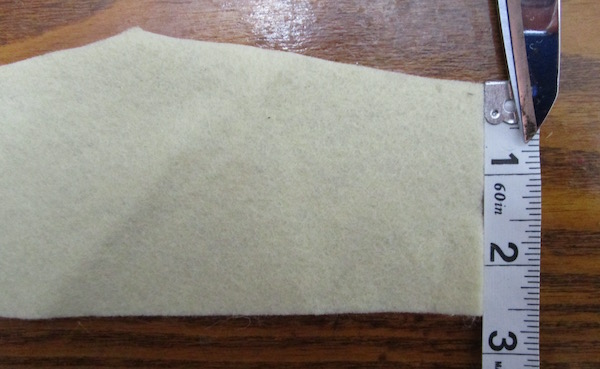
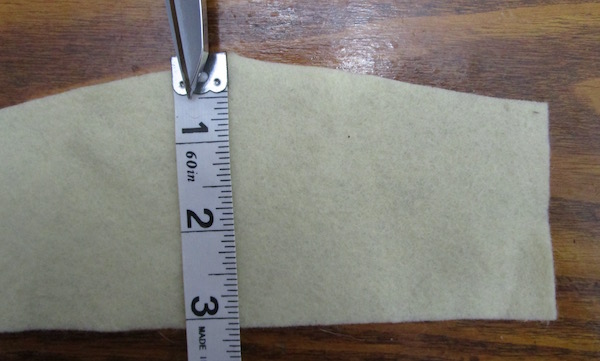
Here are the measurements for my trimmed piece of felt.
Next I pinned the felt like a pattern piece to a piece of cotton cloth. I wanted to have a casing wrap around the front of the hood, so I added enough extra material at the front end to create it. The felt should be placed on top of the fabric as shown with the design facing the felt.
The material chosen will need to be cut out a little larger than the felt for the seams. The material should not easily unravel. Fray check can be applied to the edges to minimise the possibility.
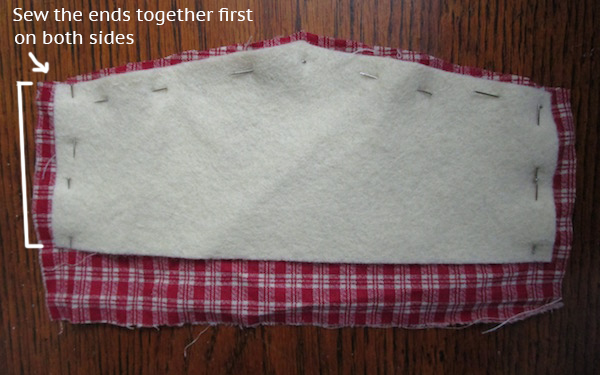
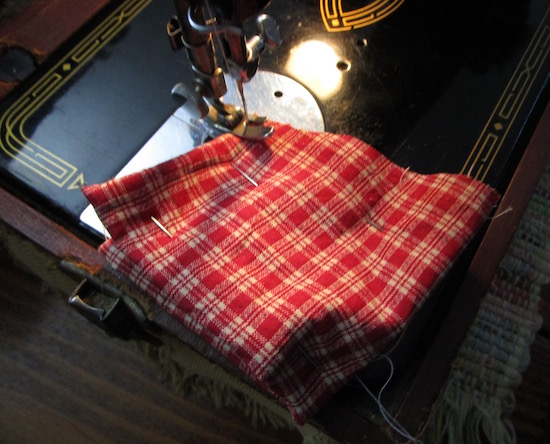
Sew the two end first. (The seams I made are narrower than usual – the cut in was aboUt 1/8 wide) as I am using felt.) Turn your project inside out. Pin your casing at the front. Fold in half, lining up your sides and pin the back of the hat to the point. Sew the back seam.
Here you can see the sides are sewn, the casing is pinned, and the back seam is about to be sewn.
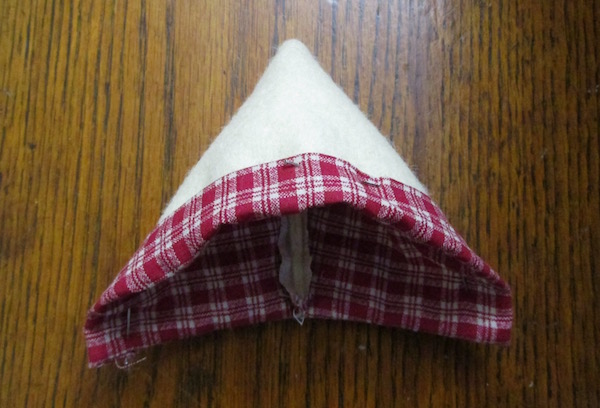
Here is the hat assembled and the casing is pinned.
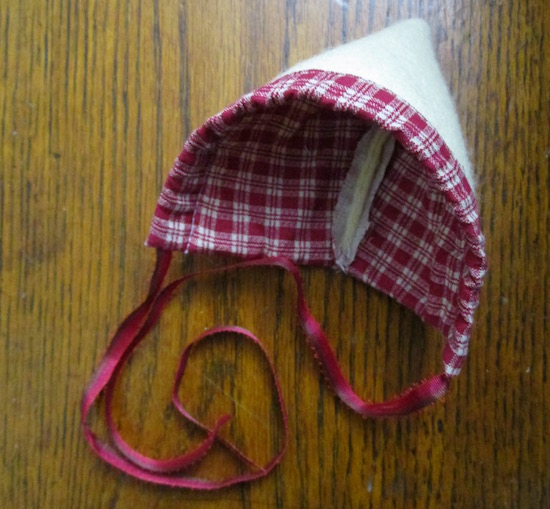
Here is the finished hat. Matching ribbon was threaded through the casing to make the ties. The fabric on the inside seam may be folded over and re-sewn to cover the seam, but as it won’t show when worn, I prefered not to as it adds more bulk than I like.
This hat could easily be decorated on the sides with embroidery, beads, sequins, appliques or a brooch. A tassel or pompom could be added at the back to the point. The hood can be used as a winter garment or as a hat for an elf or fairy.
 Mystic Kids Isabel was supplied by Junkyspot
The wool felt came from Prairie Point Junction)
The aqua wig (which turns purple in sunlight!) is from KOK Doll Collection
1 thought on “~Lined Winter Hood~”