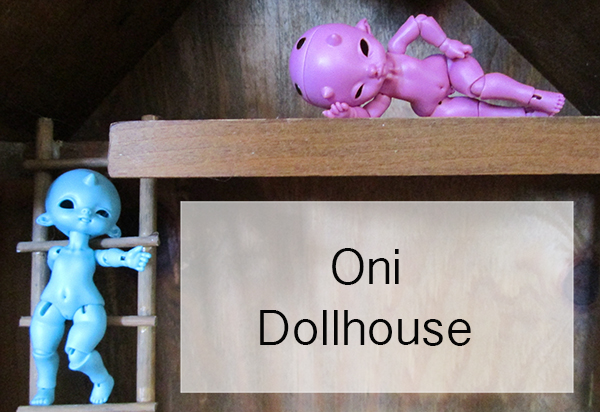
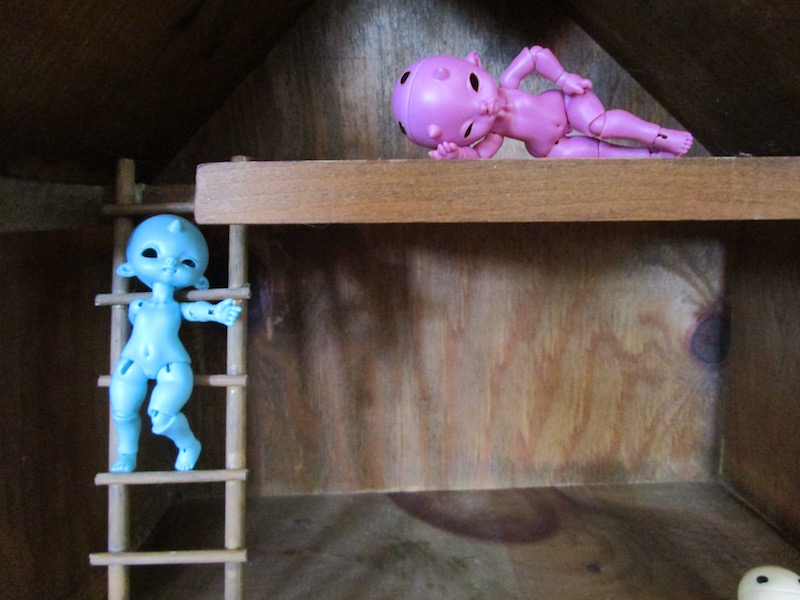
Traditionally Oni live in mountain forests, jungles and caves, but my Oni, which are Imp Bebe BJDs from DollPamm, will be moving into an Oni house of their very own.
This rustic home was a home-made dollhouse found at a thrift store years ago. I didn’t know what I would use it for until Boo, Roo and Yoo arrived. The design of this dollhouse is very simple and straightforward, and since it has no windows and doors and uses ladders instead of stairs, it is an easy house to reproduce. These are the basic directions on how to make one like it.
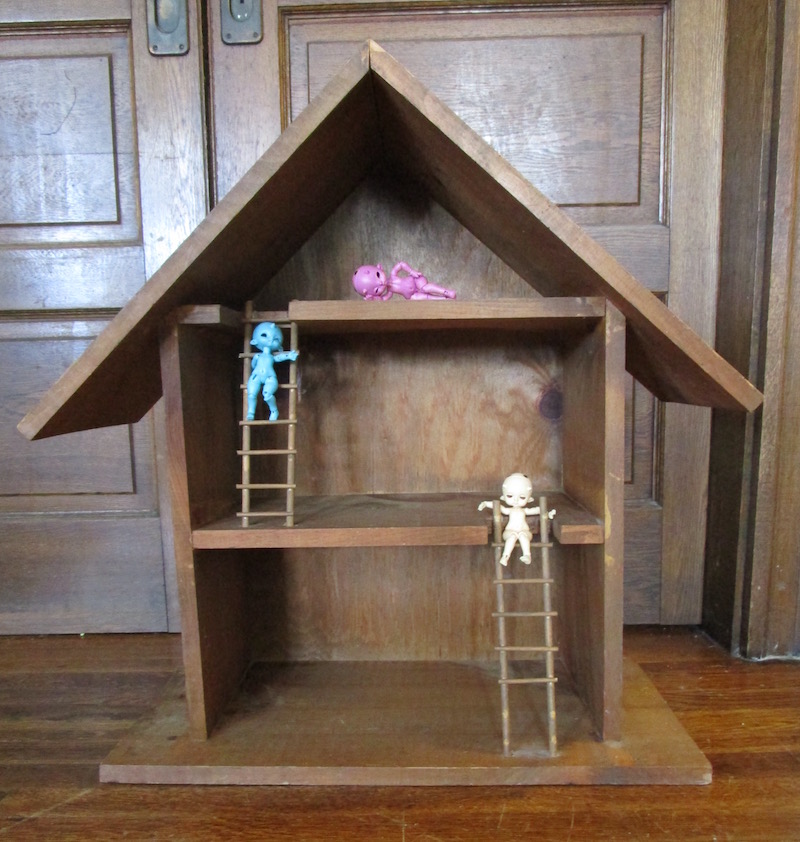
The house is made with pine boards, and plywood is used for the back. It is extremely sturdy and sits well on it’s base.The house is designed to be a series of shelves with a roof line at the top. The separate “floors” are deep enough to arrange a variety of 1/12 scale dollhouse furniture inside. It could also be hung on a wall, either with picture wire or a metal cleat.
I am listing this house’s measurements. The parts could be cut out with almost any kind of wood-saw. A jigsaw would work well alone, but using a tool that will give you clean cuts like a radial arm saw, miter saw and/or a table saw would be even better.
Materials used for this house:
Back: 3/4 inch plywood rectangle 27 1/4 inches tall x 17 3/4 wide
Base: pine board 24 inches long x 11 1/4 inches wide
Roof: two pieces 20 inches long x 11 1/4 inches wide (This is longer than needed but will be cut to fit)
Sides: 20 inches long x 9 inches wide (This is longer than needed but will be cut to fit)
Floors: 16 1/2 inches long x 9 inches wide
The house is assembled with finishing nails and glue. You could substitute wooden dowels for nails if desired.
Tools: Saw(s), hammer and drill (optional)
There is some wiggle-room for the depth of the house, as long as you make sure that the base is wider than the sides. All of the pieces could be made of plywood, but those surfaces should be smooth on both sides and the exposed edges may need to be covered with some wood trim or some other treatment. A similar house could be created with scrap lumber that is sitting around mimicking the basic structure. Just use what you have and follow the basic design.
Directions:
The Back:
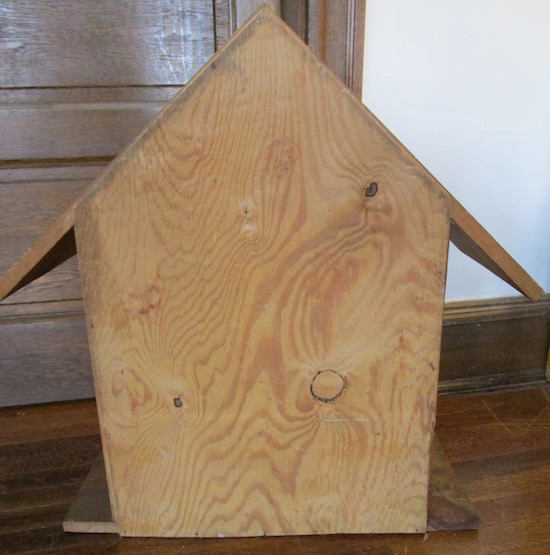
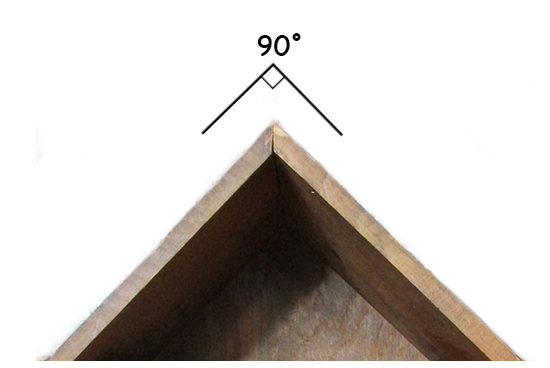
The back piece on my house is a little smaller than the rest of the house. Everything is attached to it. It makes the house very stable. Plywood that is smooth on only one side may be used. Mark the center of the rectangle vertically Draw lines from the top of the center to form a perfect triangle with a 90° angle once you draw a line join the side marks. Cut the two outer triangles off, and you will have the roof line.
Sides:
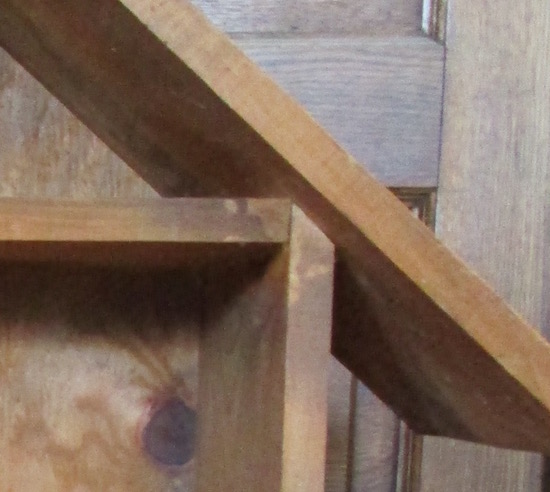
The sides will need to be cut at a 90° angle at the top so they fit under the slanted roof. If you prefer, cut the bottom and back parts out of the house first to measure precisely, then draw a line on your boards for the bevel cut. Then cut the remainder off. Each board will meet at the point of the roof.
Floors:
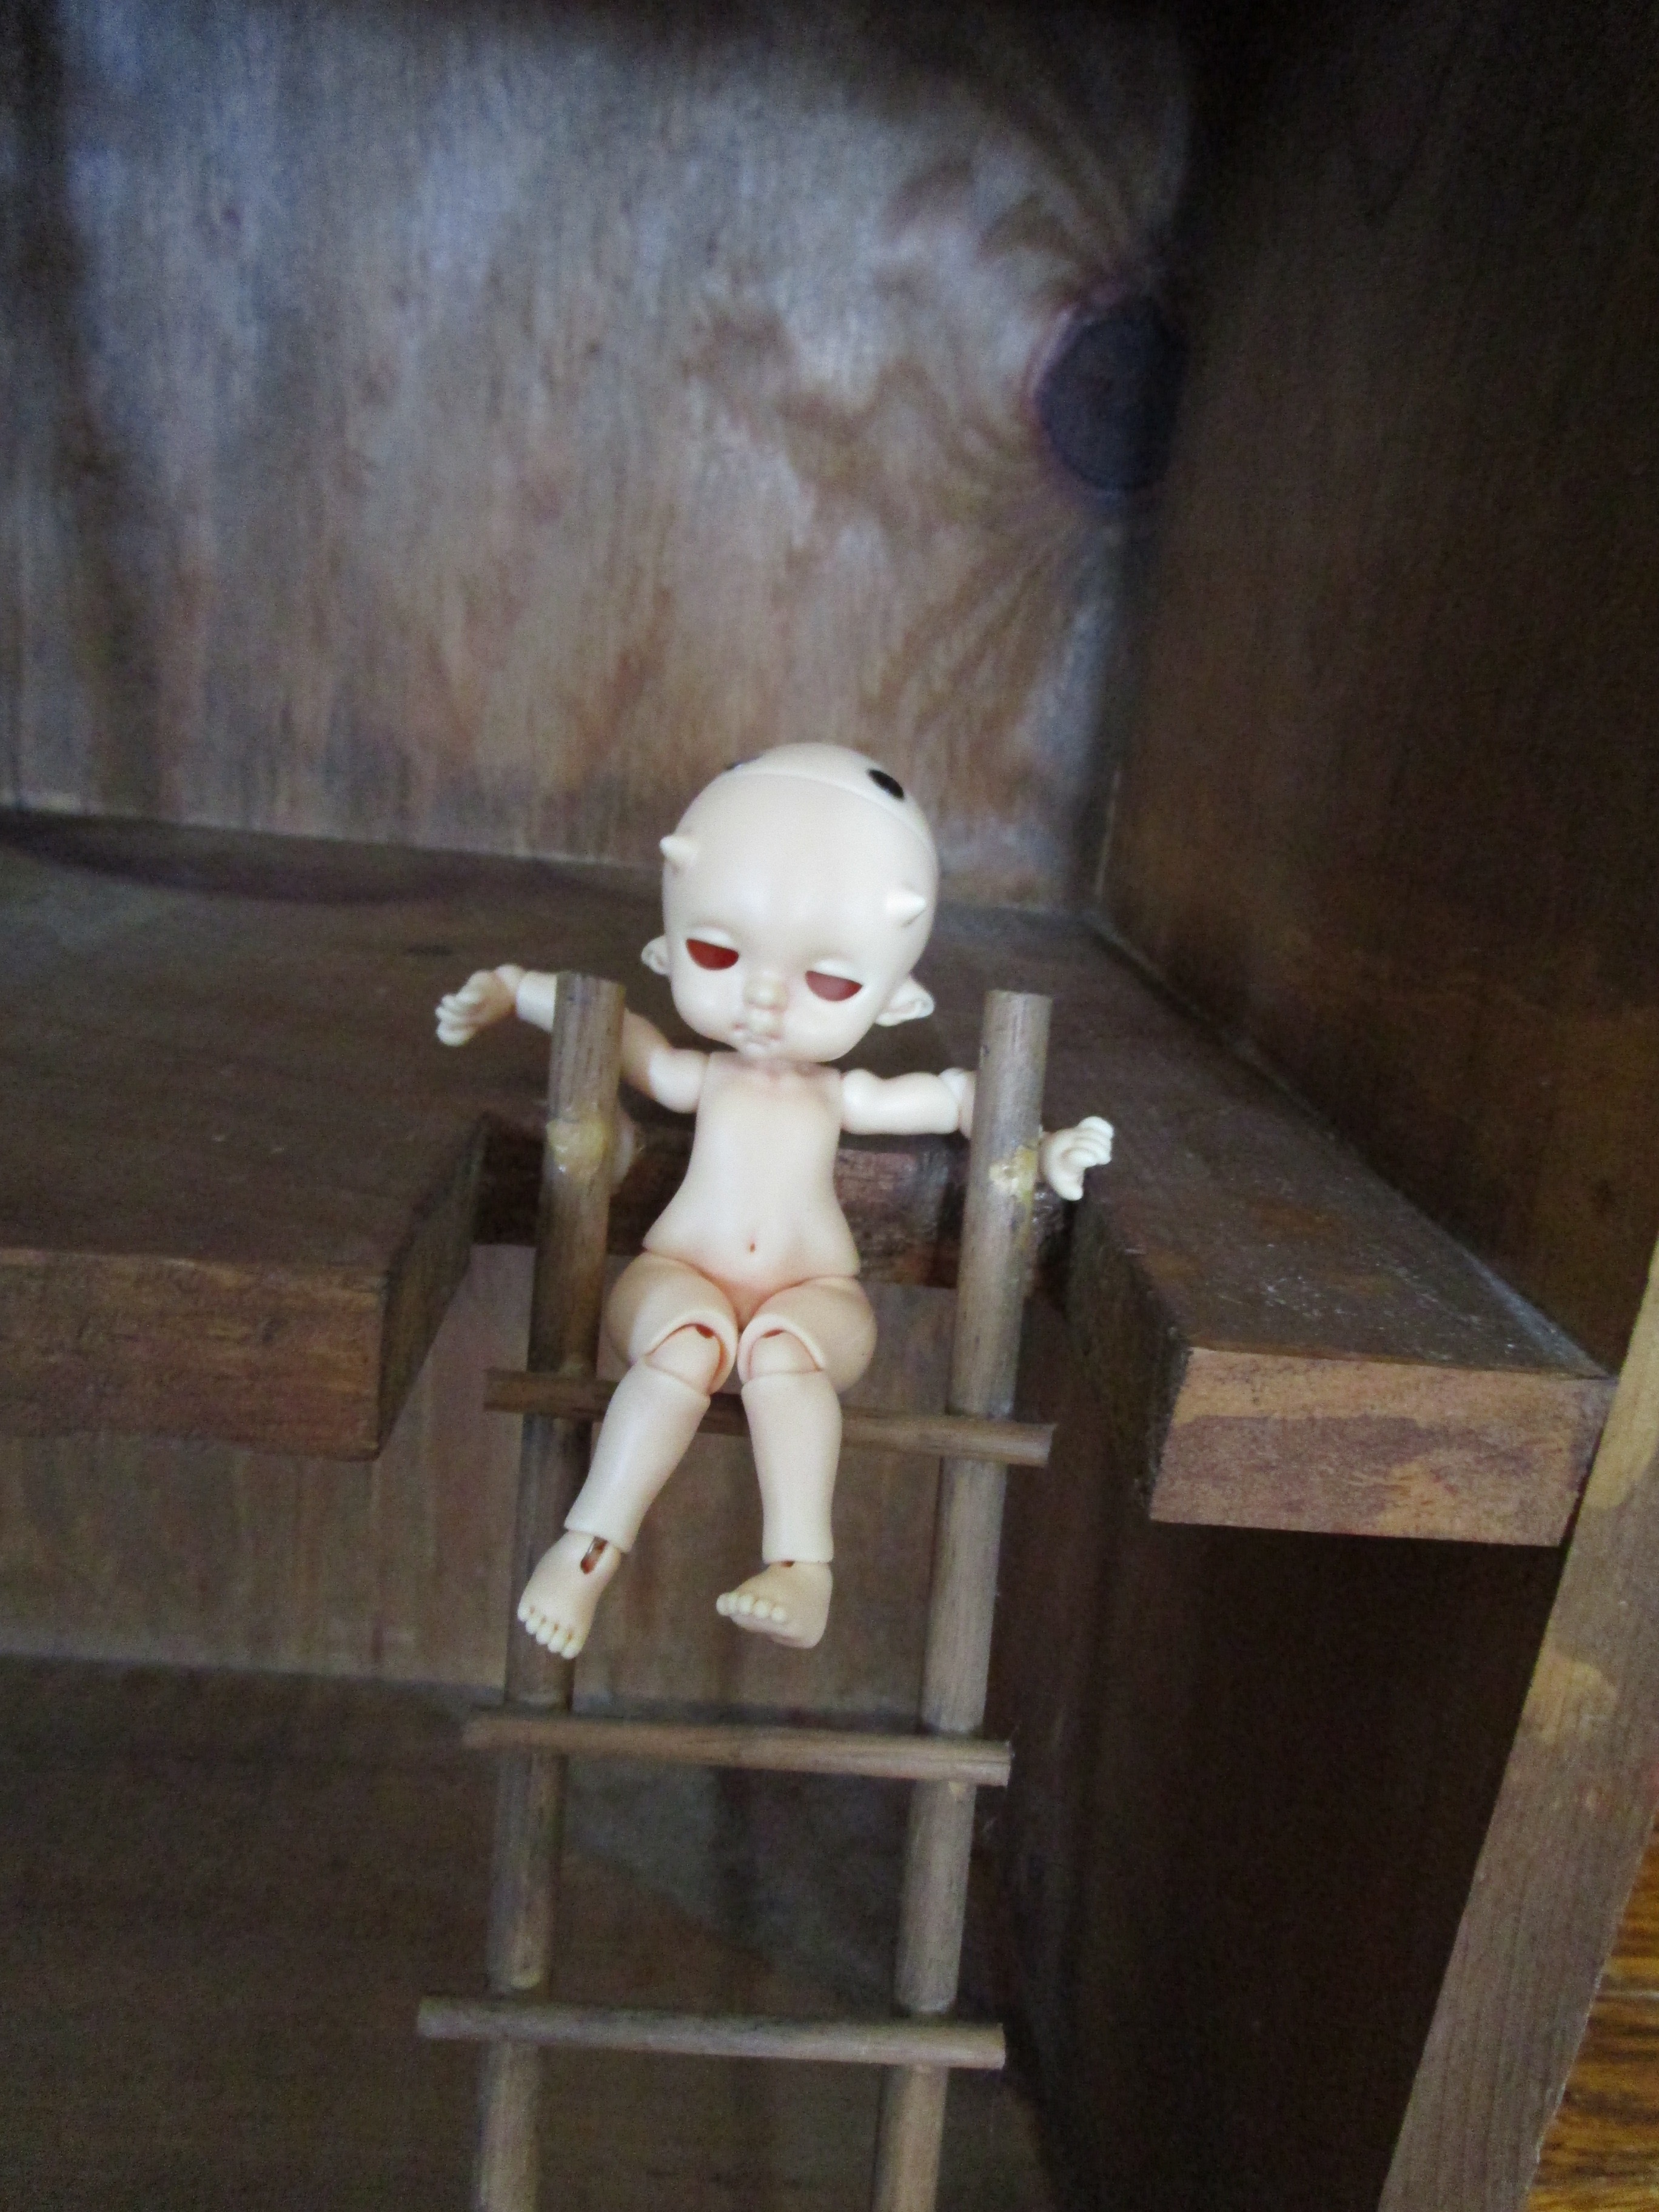
Each floor has cut-in areas where the ladders go. Two shallow holes slightly larger than the diameter of the dowels are drilled to fit the ladder. the dowels of the ladders are inset into the holes giving them more stability and keeping them in place. The cut-ins and ladders are optional and are needed only if you want them. The ladders may go anywhere you wish.
Roof panels:
Each roof panel can be cut at the end so they can join at a 90° angle as shown on my house, but you can instead do a butt joint where one side overlaps the other, but you will need to trim the one side shorter so they extend the same distance away from the house walls. Otherwise the house will look unbalanced.

Assembly:
While the house does not show any pencil marks, it might help to line every part up by marking the center on all of the boards with a pencil line. You should first build a basic box by assembling the back, sides, bottom and floors (attic floor first then insert 2nd floor board). The house uses finishing nails for assembly, but if you want to use dowels, try to find the type specially made for joining with ridges along their lengths. Drill your holesholes slightly bigger than the dowels, then cover them with glue and pound in with a mallet. The glue will cause the dowels to swell and will make a tight fit.
Make sure when you line up the side pieces to the attic floor board, that the slanted side of the angled board lines up neatly with the floor board. The roof will then be attached last and can sit on top of the angled sides as shown.
Once the basic house is assembled and the roof is attached, the fun part begins! The next part of the tutorial will cover ladders and the tiling of the roof.
Very cute! Will you also post a picture when you decorate ?
Yes! Hopefully, it will be a 3 part project. Right now I am looking for the right roof material.