
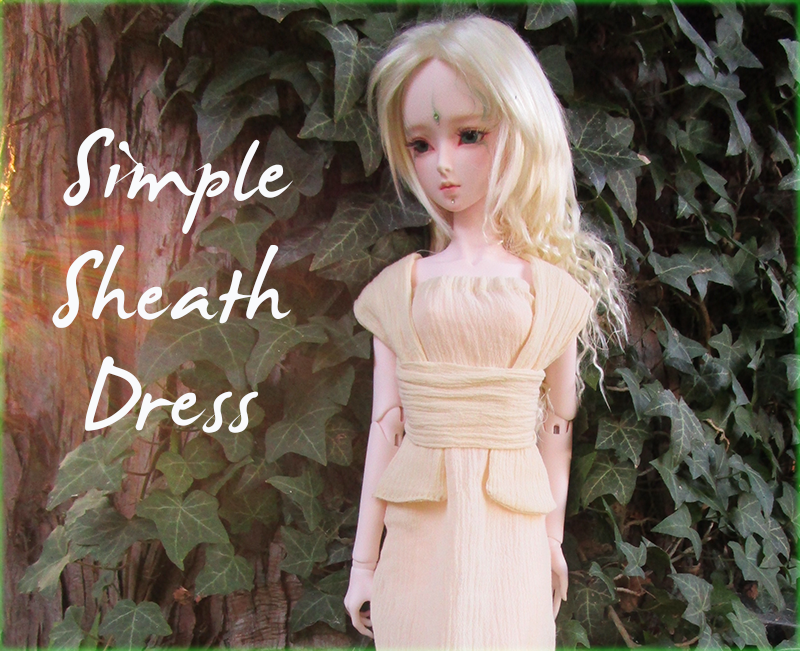
An easy-to-make outfit which may be worn several ways.
~~~~~
This is an easy sheath dress with a sash or scarf that when worn together can create many variations. A sample of styles are shown at the end. I liked working with light cotton gauze. Mine was purchased from Joann Fabrics online. Other light drapey materials with a bit of stretch would work well too.
Materials list:
Cotton gauze material or a drapey and stretchy material of your choice.
Matching thread
1/4 or 3/8 of an inch wide elastic
Tools (measuring tape, scissors, pins etc…)
~~~~~
The Dress:
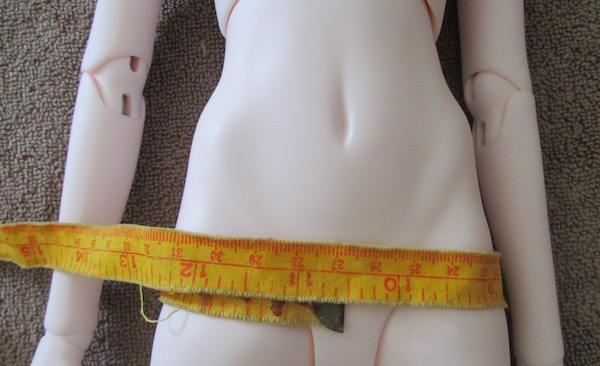
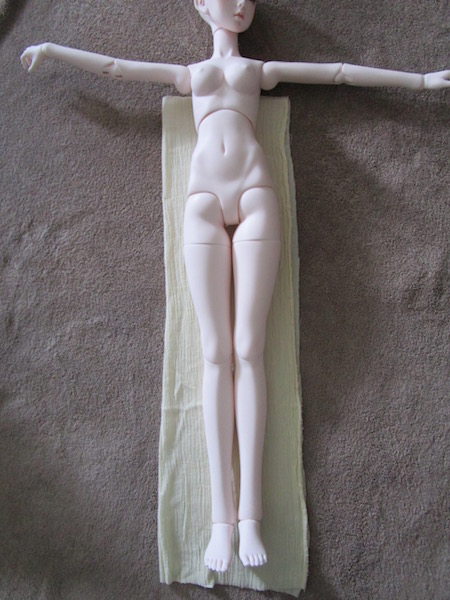
Step 1.a: Measure your doll’s breast and hips at the widest points. Whichever is the larger number will be used as the guide for the 2 rectangles that will make up most of the dress. My Angell Studio Xi Shi ‘s largest measurement was 10 1/2 inches (26.67cm) for her hips.
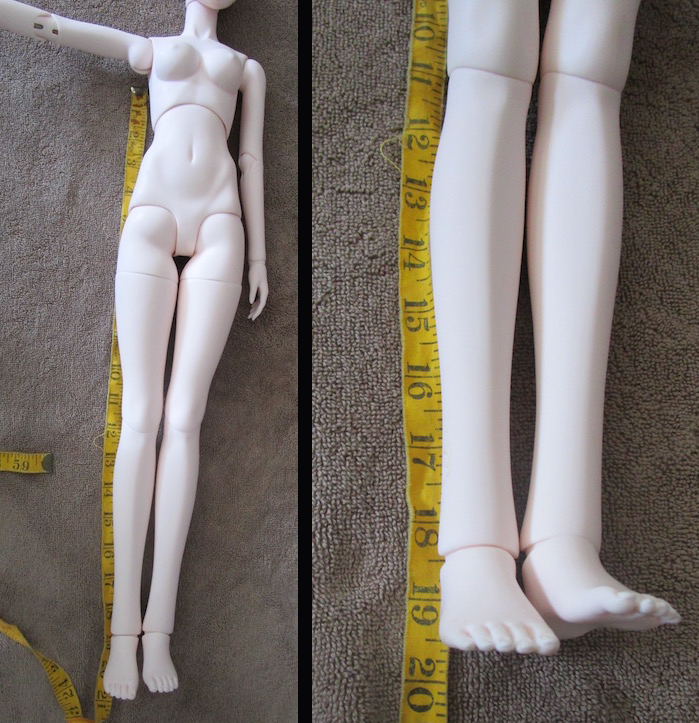
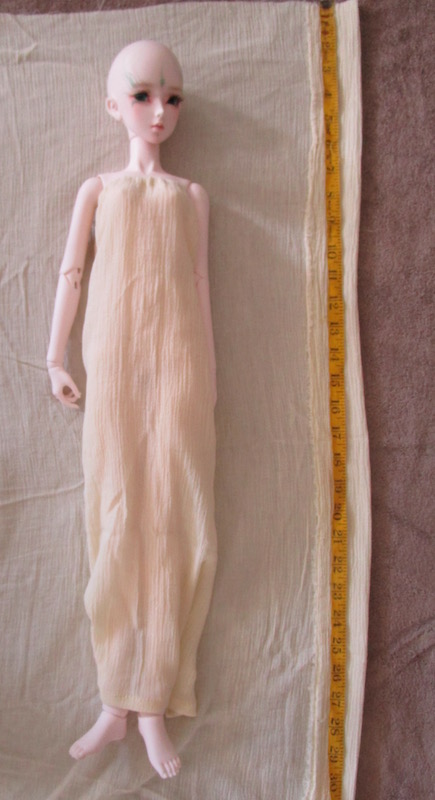
Step 1.b: measure the length of your doll from beneath her underarm to the bottom of her feet. Xi Shi is 19 1/2 inches (49.53cm).
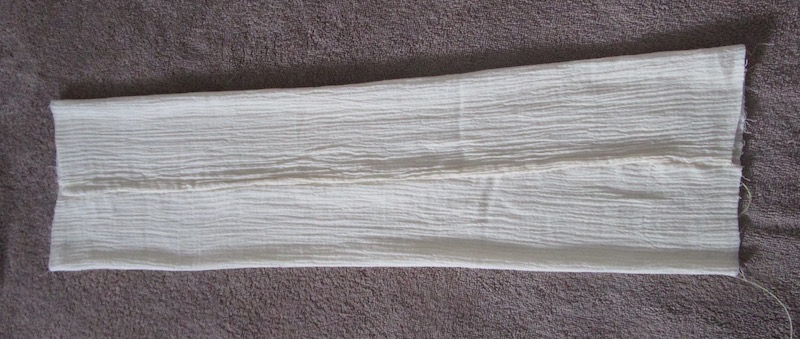
Step 2: Cut out a rectangle the width of the hips plus 2 inches (5cm) wider and add a little extra for the seam allowance. The length should include the measurement plus a seam allowance big enough at the top to include a 1/2 or 3/8 inch casing for elastic and also some length at the bottom for the hem. (I added 2 1/2 inches inches longer to the length for my doll’s dress.)
I found it easier to fold the material in half and cut my rectangle that way. If you do that, divide your width measurement in half, then add an inch plus about 1/4 of an inch for the seam.
My rectangle ready to be sewn.
Step 3: sew the long seam creating a tub of material forming the sheath dress.
Step 4.a: fold over the top of the tube twice to form a casing for the elastic. Sew it but remember to leave an opening to slip the elastic inside.
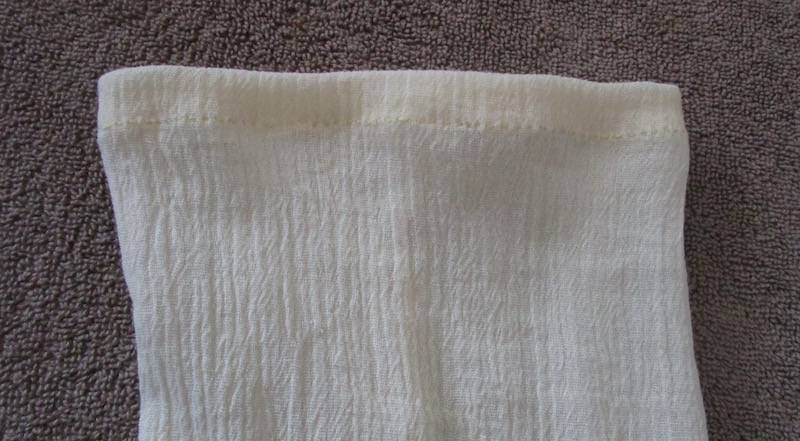
Step 4.b: Run the elastic through the casing. Slide the dress over the doll and pin the elastic together so it is a little taut to keep it in place when the dress is being worn. Sew the elastic ends together, clip the excess off and finish sewing the casing closed.
Step 5: Hem the bottom of the dress.
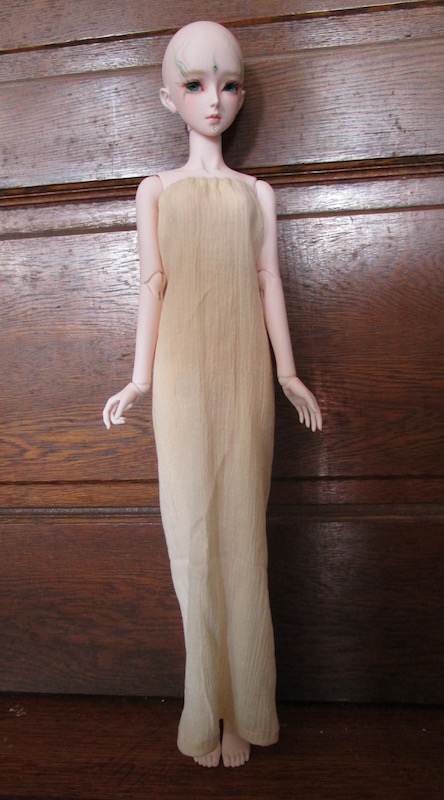
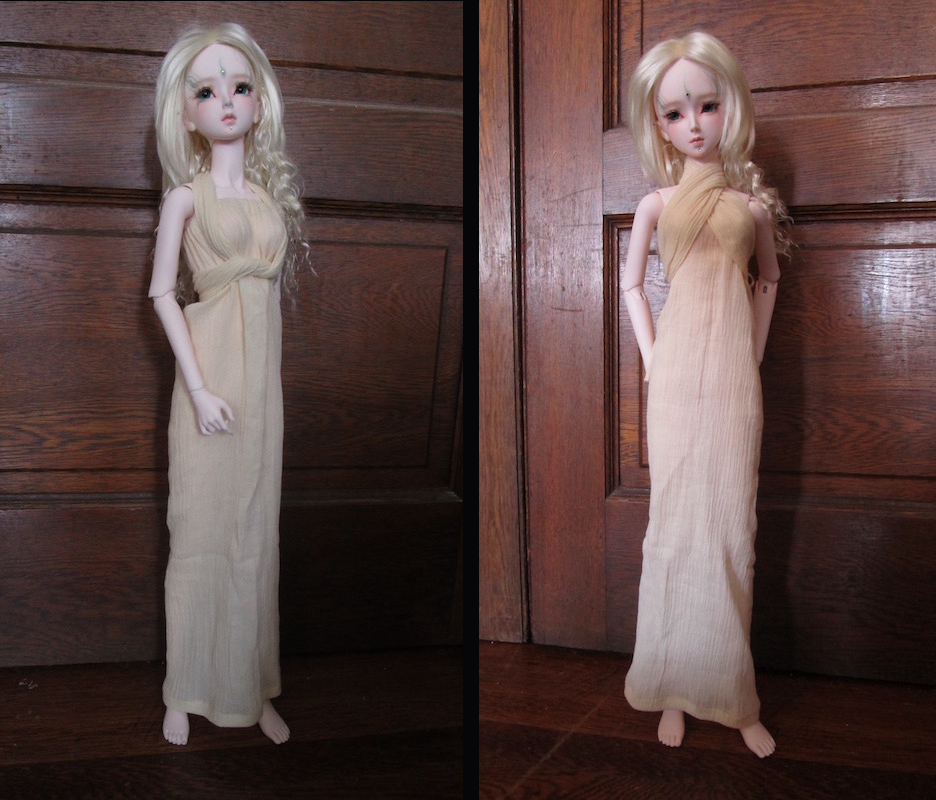
This is the basic dress with elastic at the top and hemmed at the bottom:
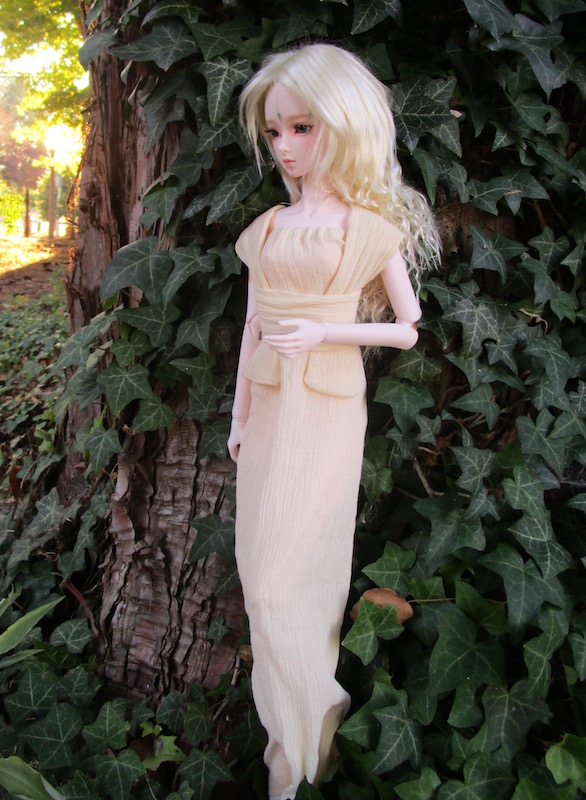
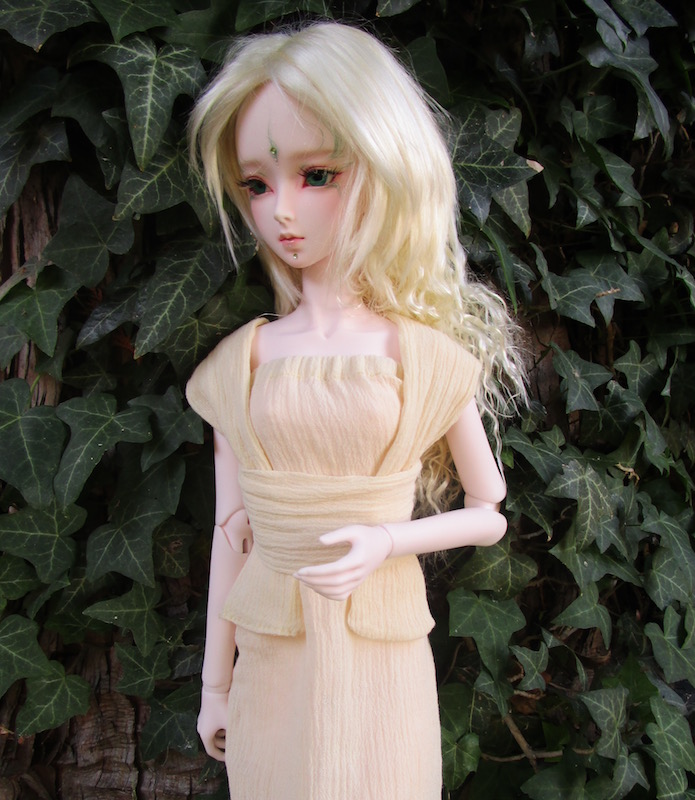
The Sash:
Next I sew a long narrow sash which can be wrapped around the doll and the dress to create different looks.
Step 1.a:
Measure the doll’s breast from top to bottom as shown.
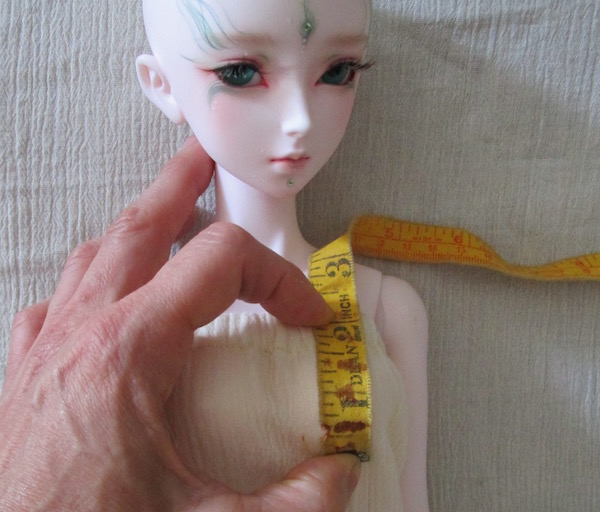
My doll’s measurement is about 2 inches.
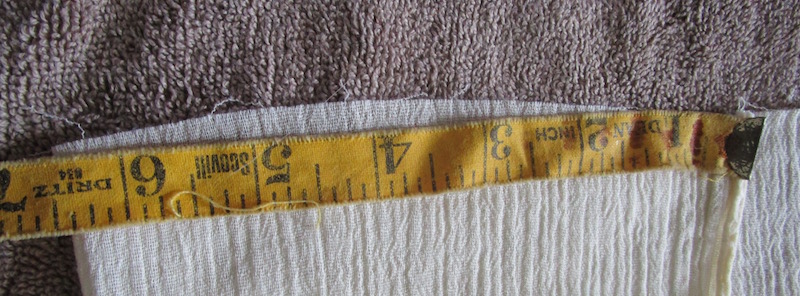
Step 1.b: Now fold a length or material over to the measurement of the breast plus extra for the seam allowance. Cut the piece of material to about the length of your doll. Xi Shi is about 24cm (60 inches) tall. I added 1/2 inch as a seam allowance on each end.
Step 2: Sew the length or the material and one of the ends. Turn the long tube inside out and stitch the open end closed. The finished scarf or sash will look like this:
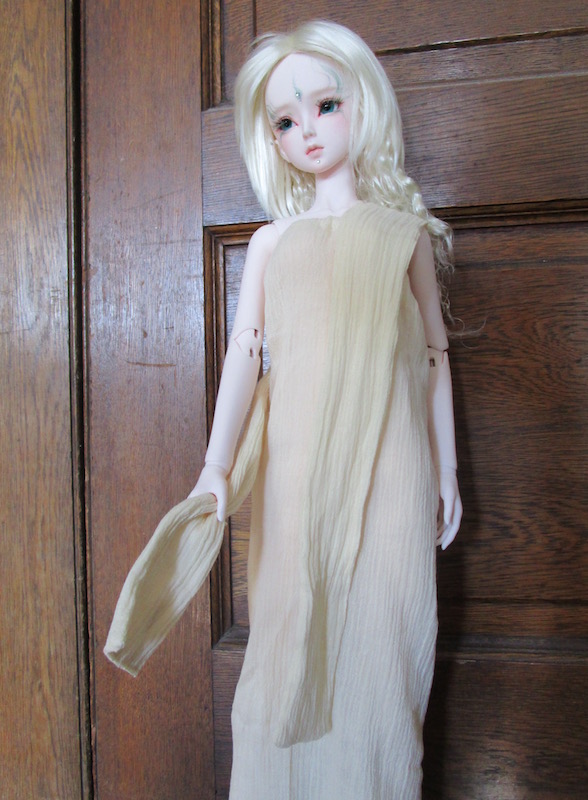
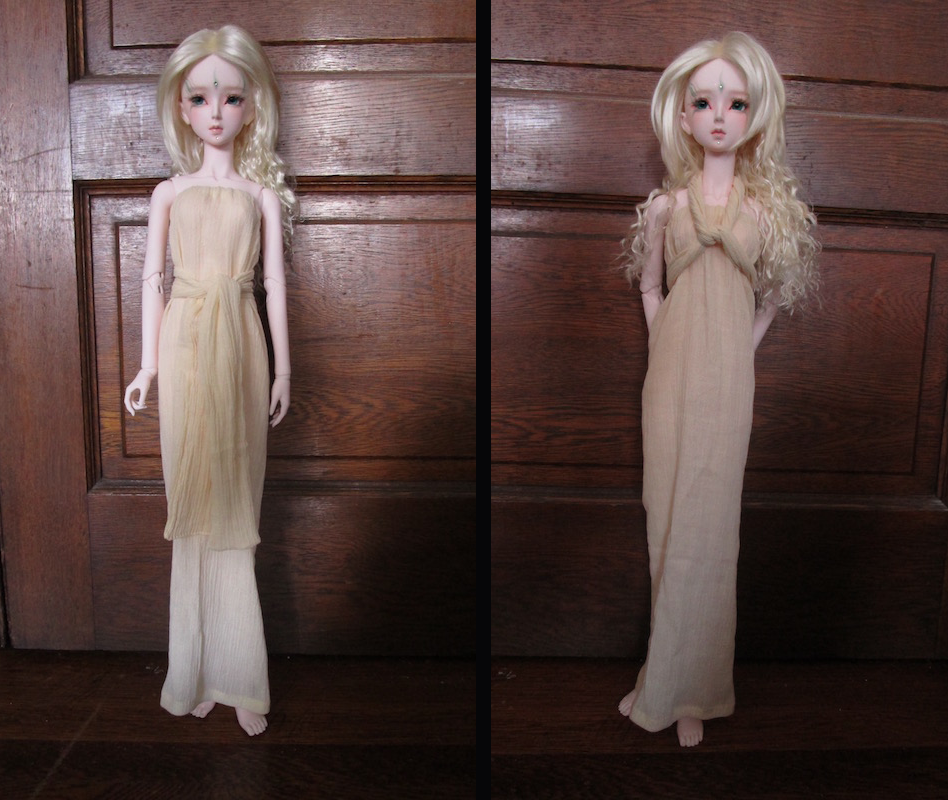
Now the fun begins! Play around with the sash and wrap it around the doll creating different looks. These are a some of the styles I came up with.
I’ll expand on the basic project in part 2.
Very pretty and simple. A lot could be done with this idea. Thank you for sharing.