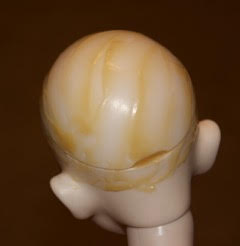
 Cindi Stowell of Cindi’s BJD Designs put together this tutorial for making a custom-size wig cap. These are handy accessories that can be used to keep wigs from slipping and protecting resin from wig dye stains.
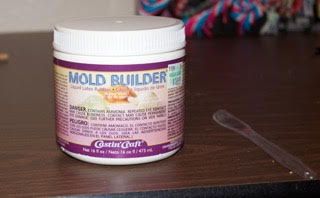
Materials:
You will need Mold Builder and a plastic knife.
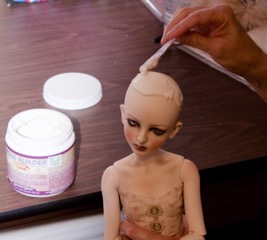
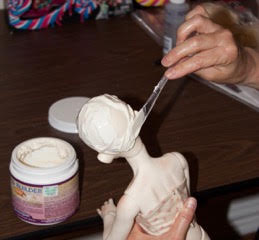
STEP 1:
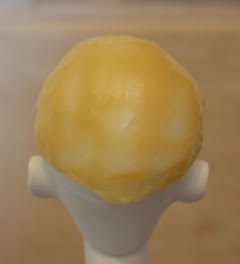
Spread a thin layer over the doll’s head. You can spread it over any holes or seams.
Step 2: Let the Mold Builder dry thoroughly for 12 hours. Do not take off the dried wig cap.
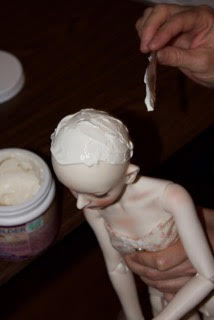
STEP 3:
Repeat the same process over your first layer. You want a total of 3-4 very thin layers.
Step 4:
Take an ink pen and on the dried wig cap mark a round circle directly above the nose on the wig cap. This is so that you know how to put the wig cap back on the doll’s head after the Mold Builder dries and you have completed the project.
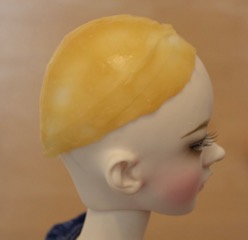
Step 5:
Once you have completed the 3-4 layers, you may slowly and carefully peel off the wig cap and trim the edges.
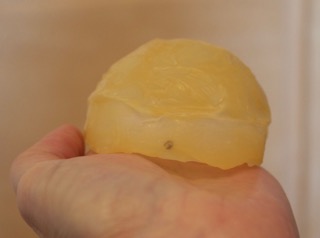
*NOTE: If you get any of the wet Mold Builder on the eyelashes or face or body of the doll, let it dry and it will easily peel off if you carefully remove it.