By Rajendora @ Sewing Box Designs
(New photos of another bag have been added at the end of the artucle.)
Supply list:
Easter Bag Pattern – each pattern piece includes the seam allowances
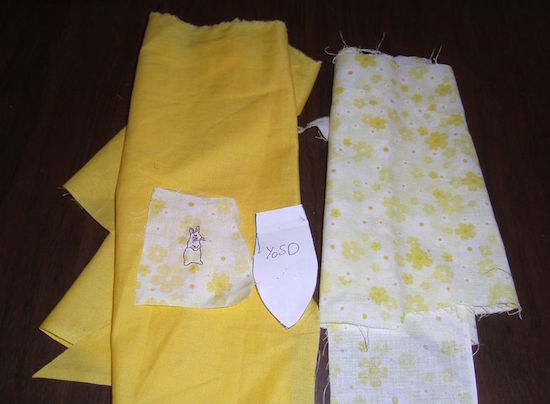
Fabric for outside of bag
fabric for liner
satin ribbon or cord
thin lace
Sewing tools (thread, scissors, pins, etc…)
The SD pattern is proportional, so if you would like to make one for yourself, simply enlarge the SD pattern!
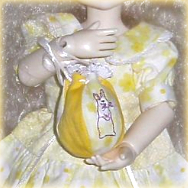
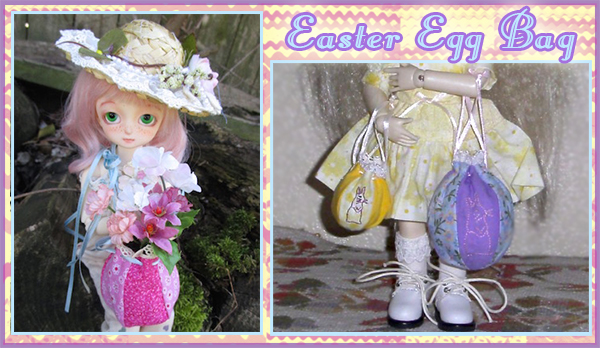
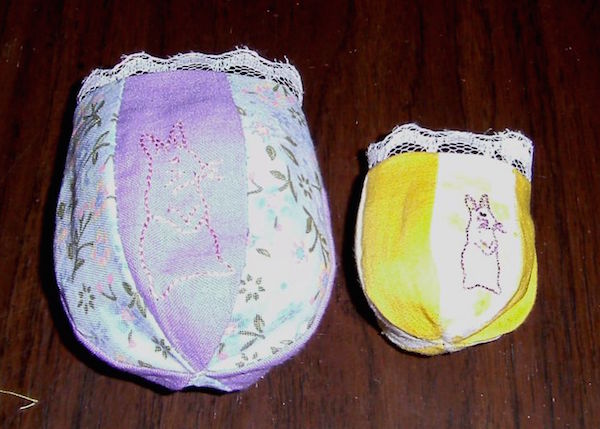
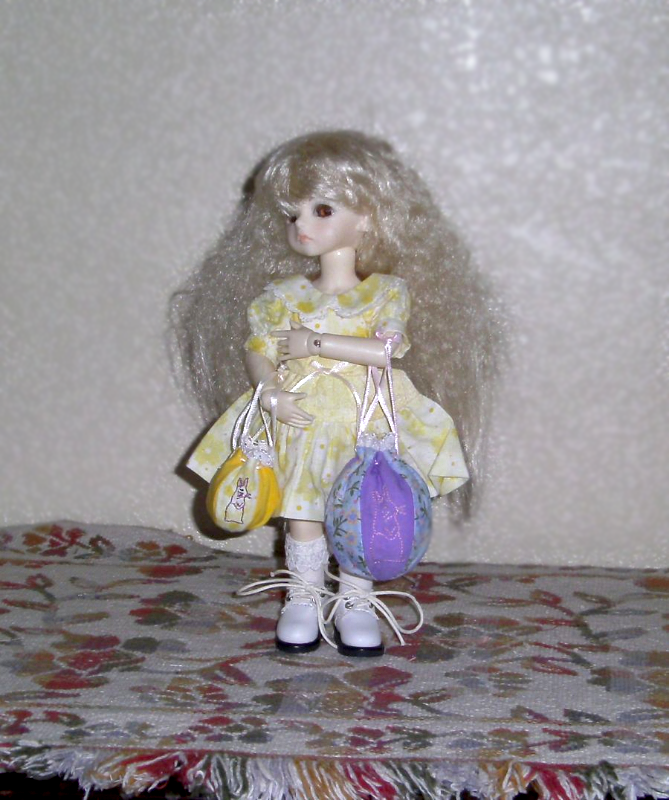
The fun part about this little bag is that you can decorate it just like an Easter egg. Mix and match prints, solid colors, use fabric markers, anything. Be sure to center a cute panel to make the decorative ‘egg’ look.
You will need very little fabric for the project; your fashion fabrics, some lining fabric, and a yard of thin ribbon for the strings. Both fashion and lining has to be very thin stuff. I also added a bit of flat lace trim (it will be gathered when the draw strings are closed). Use less trim on the small YoSD bags, or they will be too overwhelming for the doll’s size. For the big SD bag, you can slot trim into the seams or put it like a tassel on the bottom. Use your imagination and have fun, the same way you would decorating Easter Eggs!
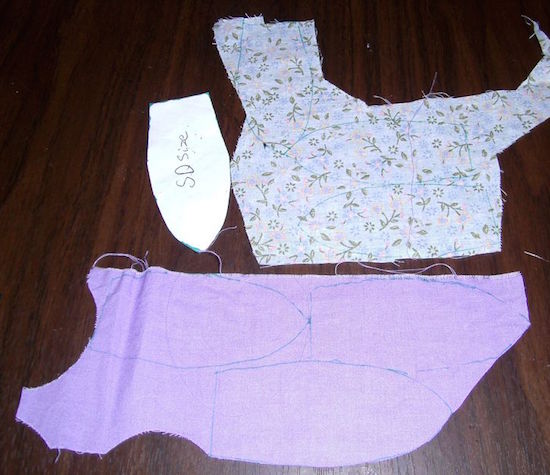
Print out the pattern with your printer setting at No adjustments. Check the mark to make sure you have it the right size. The seam allowance is ¼ inch.
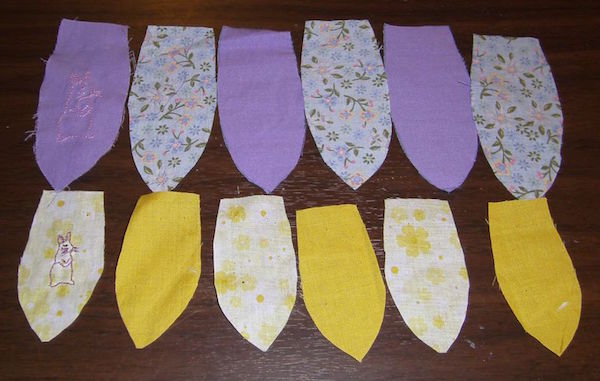
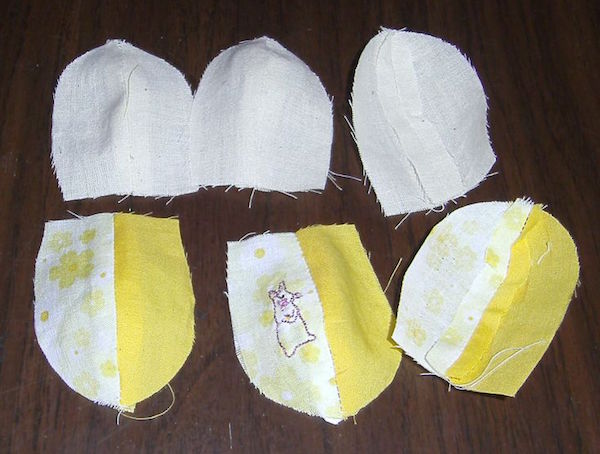
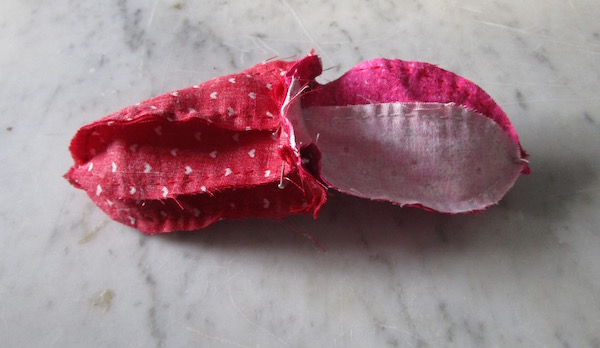
Cut six panels of your outer fabric and six of the lining.
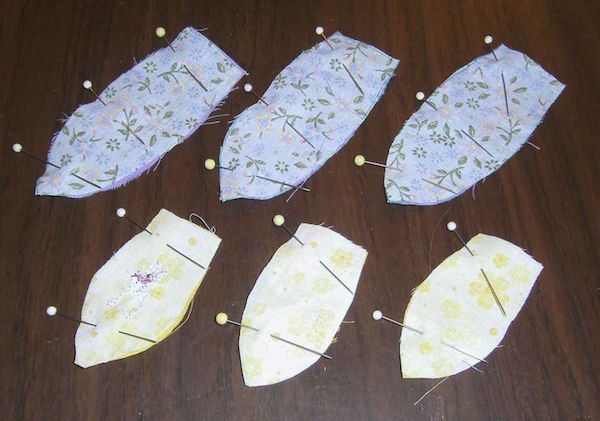
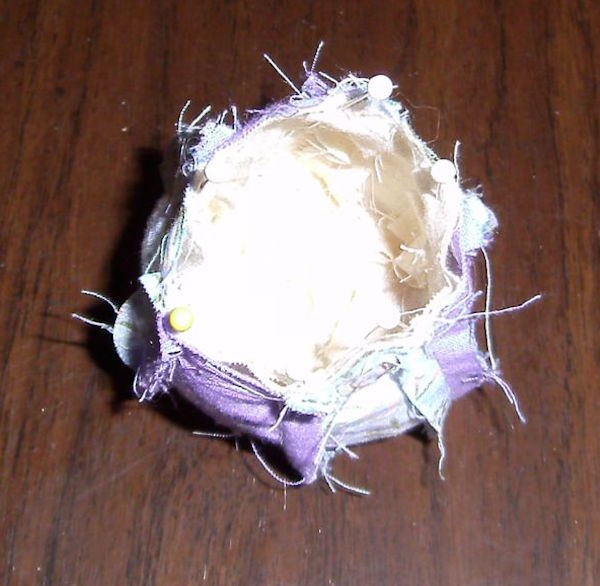
Pin and sew your panels two at a time first, pressing the seams flat over a rolled up washcloth for an ironing aid, then continue until you have only one seam left. If you want to put lace or trim on, now is the time to do it. Make sure you put your lace where it will not be lost in the top seam. If you want to embroider, cross stitch or bead decorations on, you can sew the final seams up by hand.
For the outer bag’s final seam, sew it up all the way.
For the lining’s final seam, sew the top and bottom of the seam with an opening in the middle. You will use this opening to turn the bag right side out, so make sure it is big enough. If you are using a machine to sew, make sure that you back stitch a bit to secure your seam ends, or they will pull open when you are working with them.
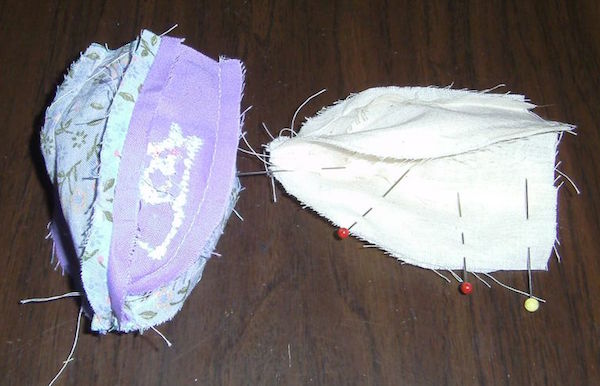
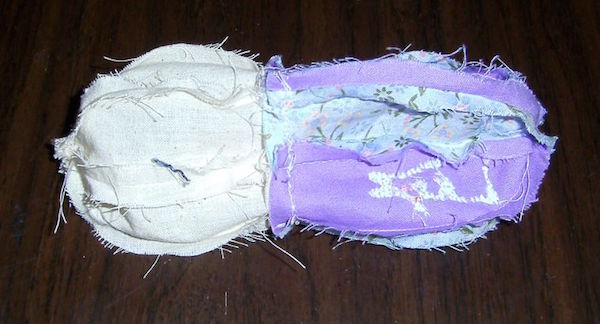
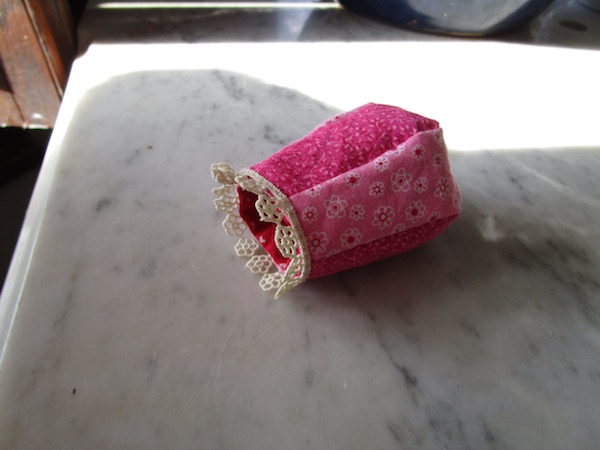
Turn the lining inside out and put it inside the fashion bag, being sure to line up the seams.
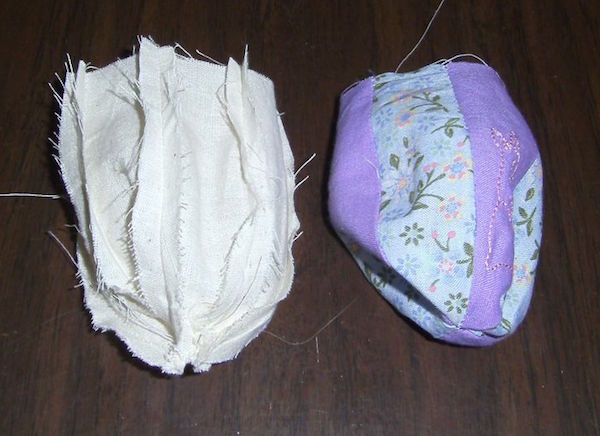
Sew around the top edge. Trim off the seam to 1/8 inch to reduce bulk.
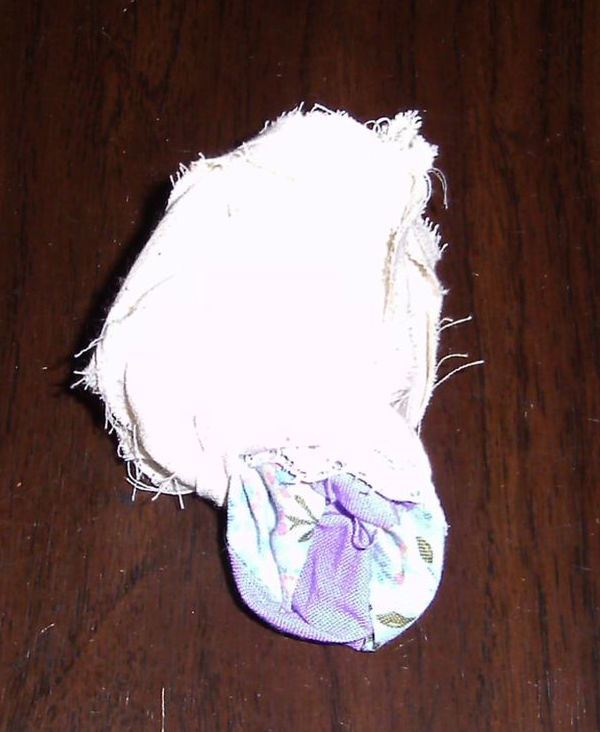
Turn the bag right side out, through the slot in the lining seam. Stuff the lining into the bag and press the top edge neatly. Turn the bag inside out and sew up the opening in the lining.
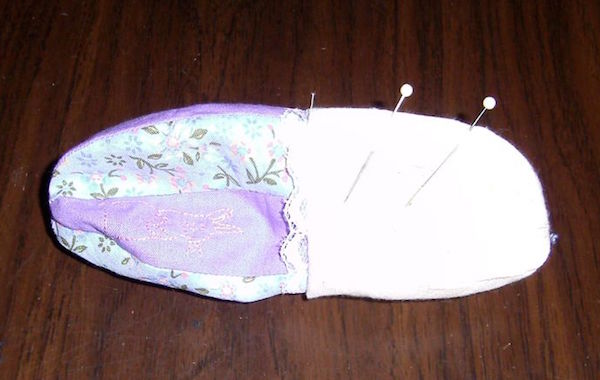
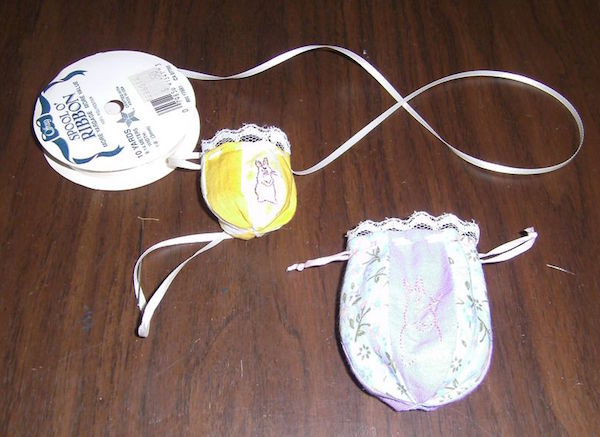
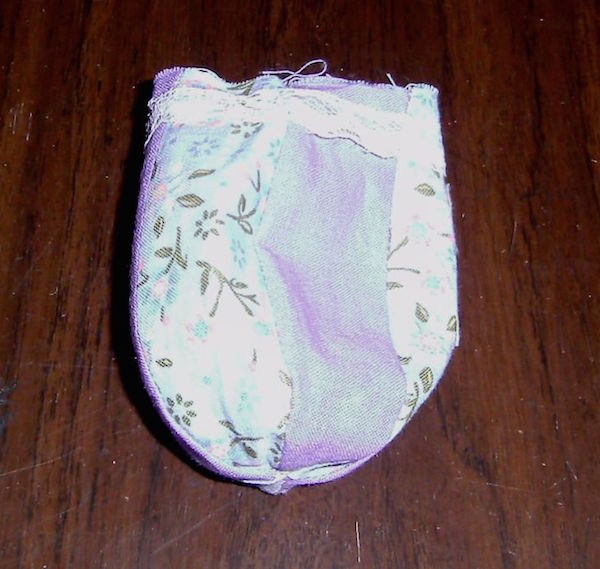
With a tapestry needle, thread it with thin satin ribbon (gross grain type will not work well) or a slippery type cord, and stitch it in around the top, twice for each pull loop/handle. It’s as easy as that!
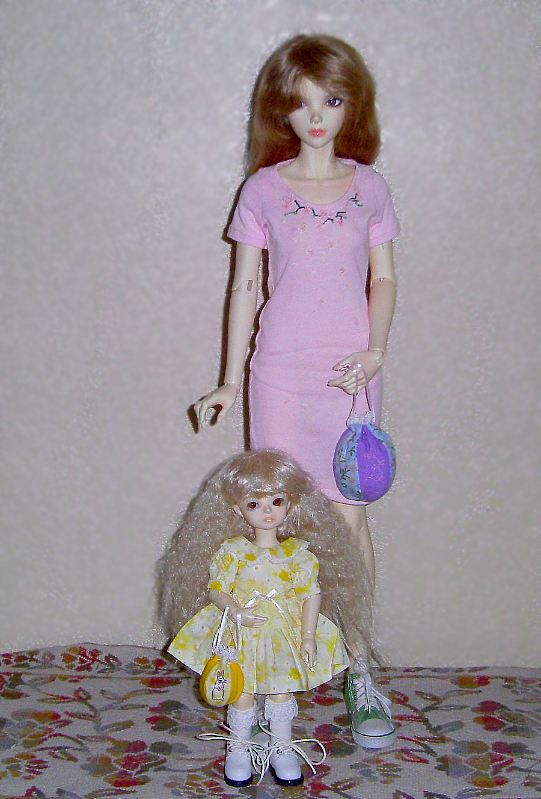
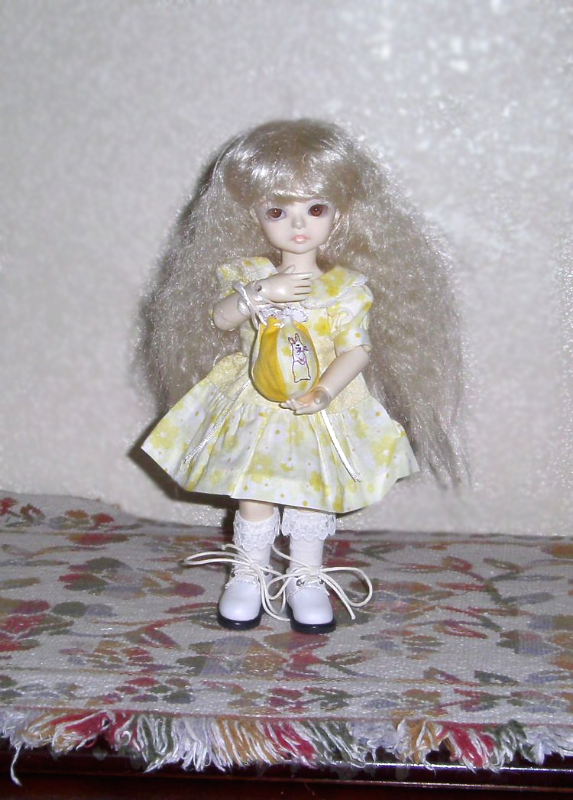
Pad them out with a little stuffing to make them keep shape or fill them with fimo clay eggs or jelly beans. They make a small pretty gift for doll friends, or you can base a doll meet on having a sewing party.
Update from BJDcollectasy:
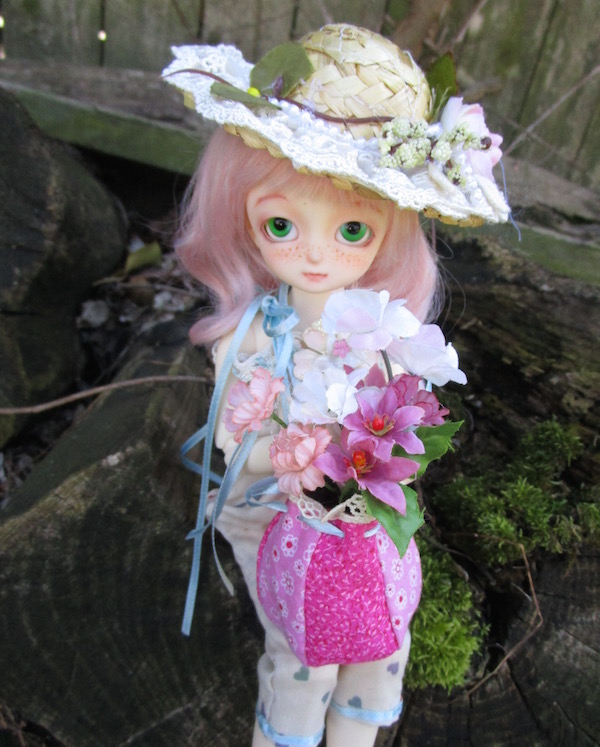
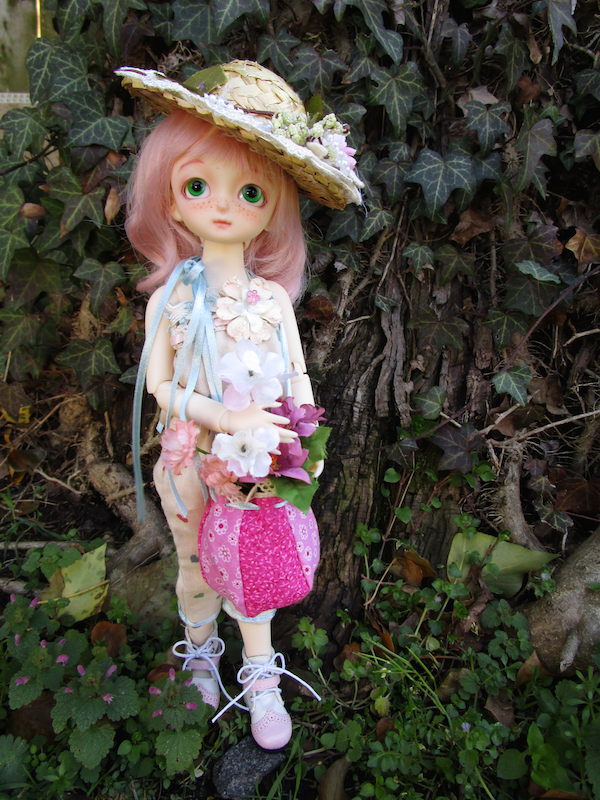
Rajendora’s project looked like so much fun to make, I decided to try sew one in 1/4 size. Sitting around on a cold rainy day, I hand-stitched my egg bag out of fat quarter material. The only thing I did differently was to sew on the lace after the lining and outside were sewn together and reversed. I used the bag as a flower basket and paired it with my Ayaliz from Angell Studio. Here are a few photos from making it, and final pictures of the finished bag.
Ayaliz with her finished egg basket: