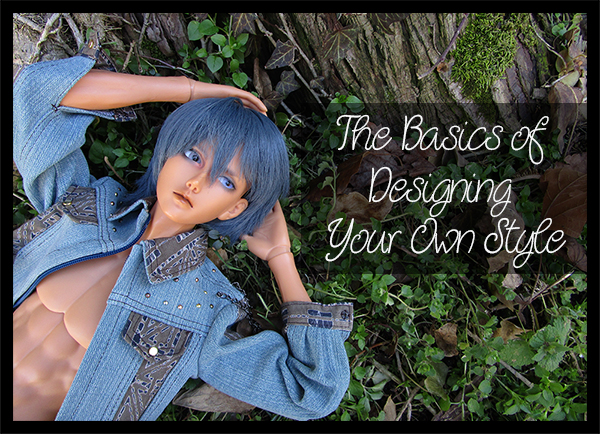
The Basics of Designing Your Own Style
By Rajendora @ Sewing Box Designs
Design is a step up from just making up a store bought pattern or copying an already made garment. Design is when you change-up the standard elements of a basic garment to create something unique to your vision. Design often goes off the currently accepted path, which obviously is the goal of the industry, to do something ‘new’ (and make you throw out everything in your closet to buy new). But unless humans start sprouting extra limbs, there isn’t much that has not been done before.
Design can signal a creative era: the Belle Époque of excessive ruffles and gathers, the Roaring Twenties with shorter hems and straight art deco lines, or an Economic Era, the make do and mend of the two big wars, or finally, a Political Era- the Hippy Era of the 60s and 70s. Every fashion student is made to study the history of clothing, from the toga to modern era, so you will see bits and pieces of the past over and over again reflected in fashion. The Regency Era high-waist gowns and shawls with ribbon tied slippers were inspired by the then recently unearthed statues of ancient Greece and Rome, the Renaissance popped up again in the Victorian Era.
We live in an age where the only restriction to fashion is imagination. This is where design comes in. You have a willing victim. Your doll needs clothes. Go for it!
Denim is reported to be very big this year. It started in Spring 2015 with the Little Denim Dress and snowballed in the fashion industry. Some of the major fashion trade magazines are loaded with new styles of recycled, and patch worked fabric and denim. Recycling is big this coming year. Asymmetry, embroidery, painting, dying, stamping, chains, raggedy, frayed, marking pen graffiti; you name it, if it’s recycled looking, it’s big. These aren’t just artfully torn up stone washed jeans, they are eye catching fantasies of needle art. But you need to have a starting point. Some of the most elaborate designs are actually surface visuals based on a simple garment structure.
Fashion Inspiration credit: ‘Close Up/Runway’ published by https://www.facebook.com/CloseUp.co/
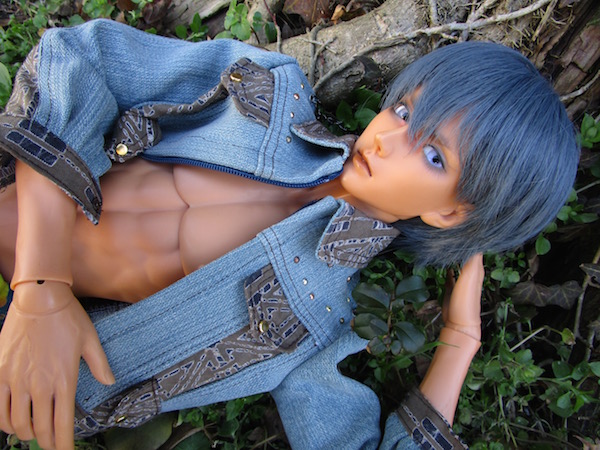
As an example of how to make something unique for your doll I present to you the humble ‘trucker’s jacket’, aka the classic denim jacket that used to be what guys and girls wore over blue jeans in weather too warm for leather biker jackets.
The trucker’s jacket (once a staple of cowboys and yes, truck drivers, and now, zombie hunters) has been painted on, studded up, spiked, laced, bejewelled, cropped and dragged behind a truck. Most recently, at the turn of this century, the trucker’s jacket even went midi, and even shorter as a ‘shrug’. Does your doll have one?
Preparation:
First pick a pattern that fits or can be made to fit your doll.
If you have made a basic fitting pattern for your doll, search online for the shapes of the pattern pieces. Run up a test piece and make any changes. You can raid 18 inch doll patterns and downsize and fit them, or buy any of the BJD patterns available that fit your doll or can be made to fit with some test pieces. Once you have your pattern perfected, you can then break it up into sections to re-design the jacket and make it your own.
Fabric:
Finding the right denim for dolls is a matter of getting the lightest weight, or moving down to Chambray, or going so far as to buy cotton printed to look like denim for the MSD and smaller dolls. If all else fails, scan your jeans and down size to scale to print up on Spoonflower if someone hasn’t already. I admit it, I use my old jeans that are worn too thin for me to go outside in any more. Did you know there is a long-standing international market for used denim clothing? It used to be that China and Russia would pay a premium for it, but now I am guessing everyone is hoarding it for remake, the same way that old Kimonos are.
If you have a fabric that does not match the weight of your denim, cheat. You can use chiffon, netting or gauze to back a piece of lace to make it match up and strengthen it to hold with your denim. Cut your pieces from the doubled layer and stitch them together in a sandwich before sewing to the denim.
For my example pieces, I made a couple of denim jackets for a 70 cm plus male doll and a skirt for an SID Girl, while going over the various techniques being crammed onto the coming fashion runways.
Your fabric choices just have to look good next to your chosen denim. It can be dark and new or old and faded, but geometric and earth prints are really showing up in the trade books.
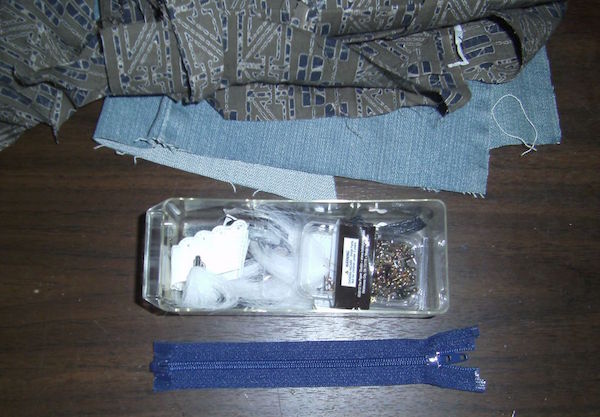
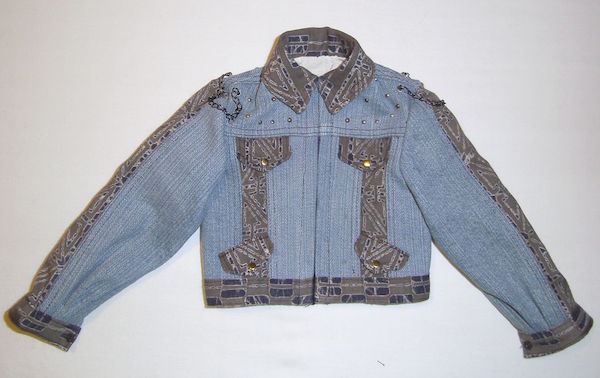
For the first jacket, I am using left over bits of yukata fabric, and a pair of very worn jeans. I also have my bits and pieces junk drawer along with a separating zipper. Denim can be thick no matter what you do to it, so for doll jackets, I normally give up and go with a zipper.
Play around with your fabric, and decide how you are going to break up your jacket pattern to make your design. Be sure to check it against your doll to make sure you are not going to overwhelm the doll with the fabric design proportions. Ideally, nothing on your fabric should be larger than the palm of your doll’s hand.
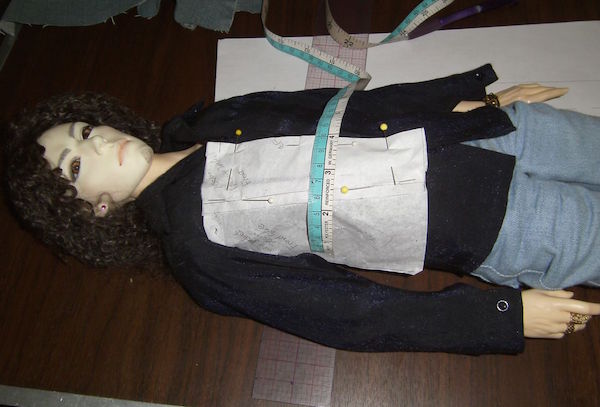
Pin the pieces on your doll to decide where to start breaking them up for patch-working in the print fabric. If you start flat on paper, you might not get the effect you want. Putting it on the doll helps you check your proportions. I went with inserts of the print in the center of the fronts and back, and the center of the sleeve. Pin the seam allowances so that they overlap where they would be sewn, and take measures from them while they are on your doll.
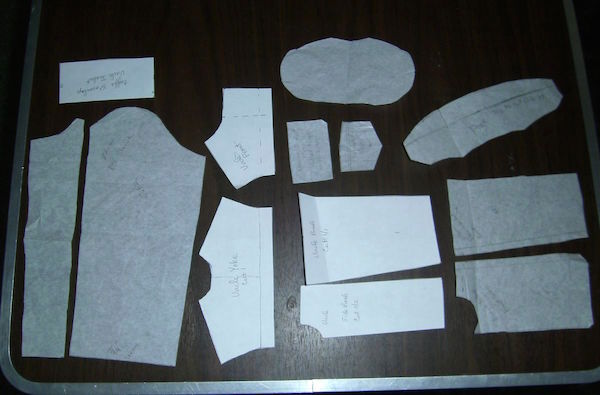
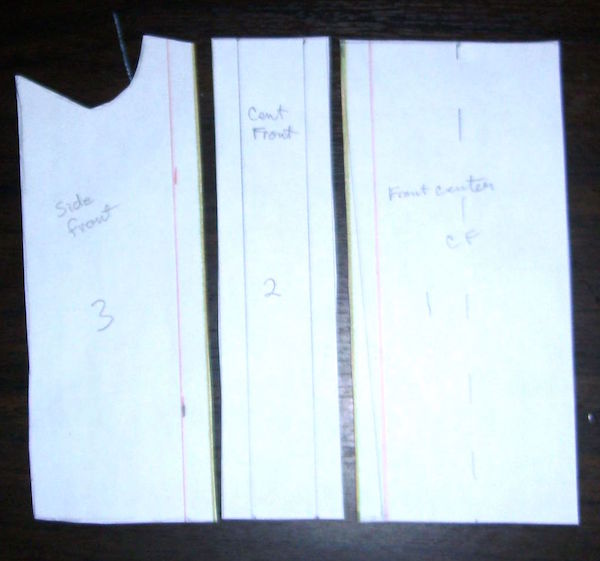
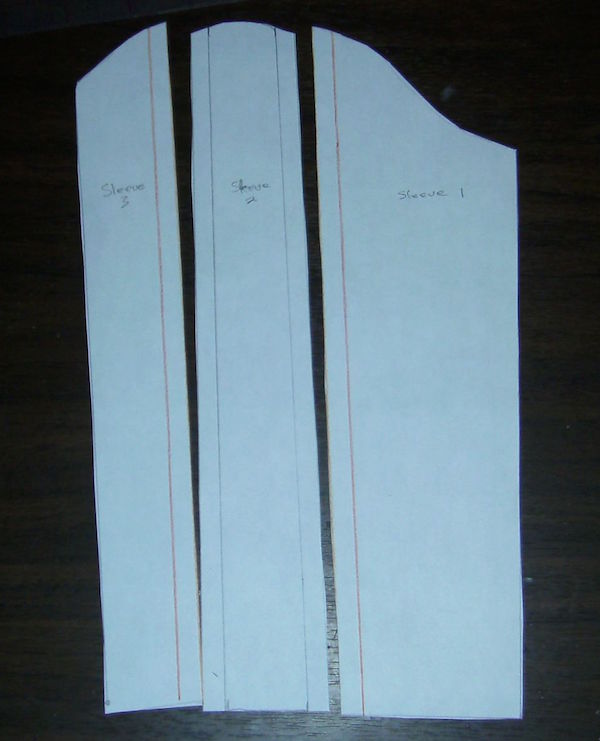
Trace your original pattern piece onto new paper and then break up the piece into your new design. Use different colour markers so you don’t get messed up over which lines are which.
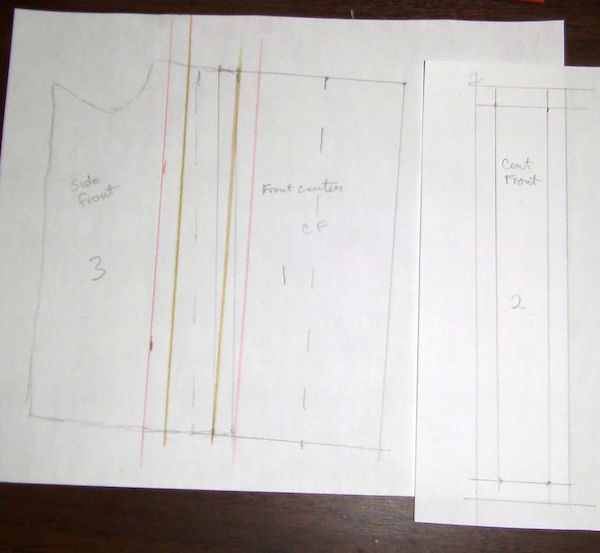
Be sure to add the seam allowance to your new seams without adding the old ones in! Cut out your pattern, pin it together and compare by laying it over the original. Make sure you label and number your pieces so you can keep track of them. That center piece is slightly triangular, and it is important to know top from bottom. You can break your pattern up any way you want, but label the pieces like a quilt or you will be sabotaging yourself. The biggest mistake in corset making is getting one of those narrow strips the wrong way round. And yeah, you can make the lower body part of your jacket look like a corset!
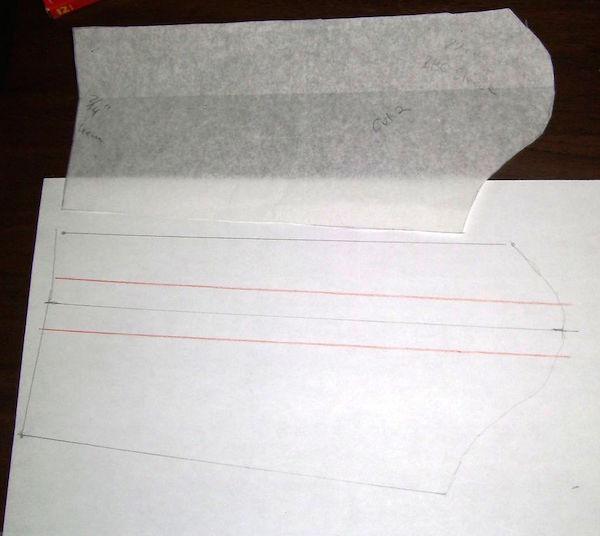
I have done the same with the larger side pattern of the sleeve.
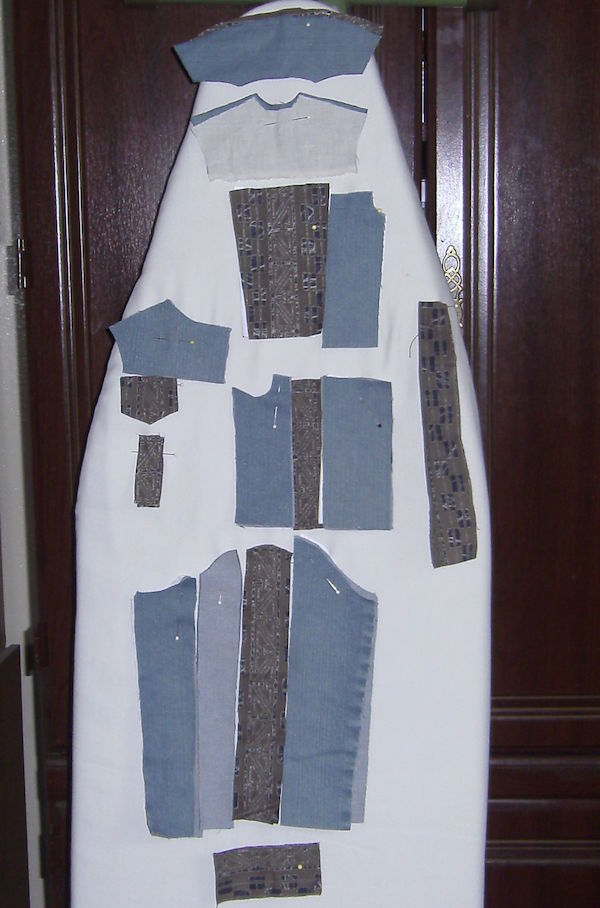
Find some place to lay out your cut-out pieces so you can keep track of them during the sewing process. You can either pin them to a towel for a quick roll up of your project at the end of your working time, or pin them to a folded ironing board.
Elements of Design
Along with choosing a thread that will enhance your garment, you might want to consider ‘staging’. If you enjoy photographing your dolls, take photos of your fabric choices in different lighting. Some fabrics have a high sheen, or like faux fur, have a shine that goes one way but not the other. You can play around with that, making the pieces shine in opposite directions.
Staging is something used in theatre to get a ‘read’ of how the production will look. You don’t want a character’s costume clashing with another one, unless you want them to. In Star Wars, for example, you have Luke’s homespun white vs. Darth’s technical black. Also, research colour and how it affects emotional perception, another theatrical trick. You don’t need to go through the trouble of getting a degree, just take the time to get to know your fabric and colours and even the prints; big vs. small, etc. You will find a lot of character artwork online from movies and theatre, go take a look with new eyes! Watch shows with that in mind. Game of Thrones for instance: really look at what the characters are wearing and how it makes you think of them. Start a collection of swatches, too, even if it is just a digital one.
Also, always keep in mind the drape of the fabric. A fabric that is thin on you may still be too thick for a doll, and no amount of fabric softener will solve that problem. Always wash your fabric and steam iron it before you cut. (Except pleather, that would be a melty mess. Unless you want a melty mess!) Never iron or steam pleather. If your pleather garments are cracking it is because someone made it with an iron involved. The garments crack right down the seams. If you want a flat seam, lightly tap over it with an upholstery hammer. This is good for the thicker parts of denim welts, too. I use a hammer on the collar points and where multiple welts overlap. Just a few light bonks will do to compress the fabric so it can be sewn or look neatly pressed. This works for the wrong side of fake fur, too.
If you are doing stamping or embroidery or embellishment, plan out how you will work that into your sewing process. I used tiny brads for the first time and put them in before sewing, thinking I was oh so smart. My plan was to protect the doll from the metal with the lining fabric. They got bent up a lot and I ended up replacing some of them when the little tabs broke. I don’t advice using tiny brads. If you can get pronged studs you can fold the prongs up into, or hot set type, those would be better.
If you want to put grommets in for hanging chains on, make sure you mark and put them far enough out of the seam-sewing area to be sewn over. Largely painted areas look far more professional when they are done first, then sewn into the frame of the seams rather than put on afterward. If you are making a crazy quilt type garment, or something with elaborate pin-tucking and piping, or lace insertions, you want to get that worked in as a whole fabric, THEN cut out your pattern pieces. It goes much quicker and you can more easily control matching things up symmetrically.
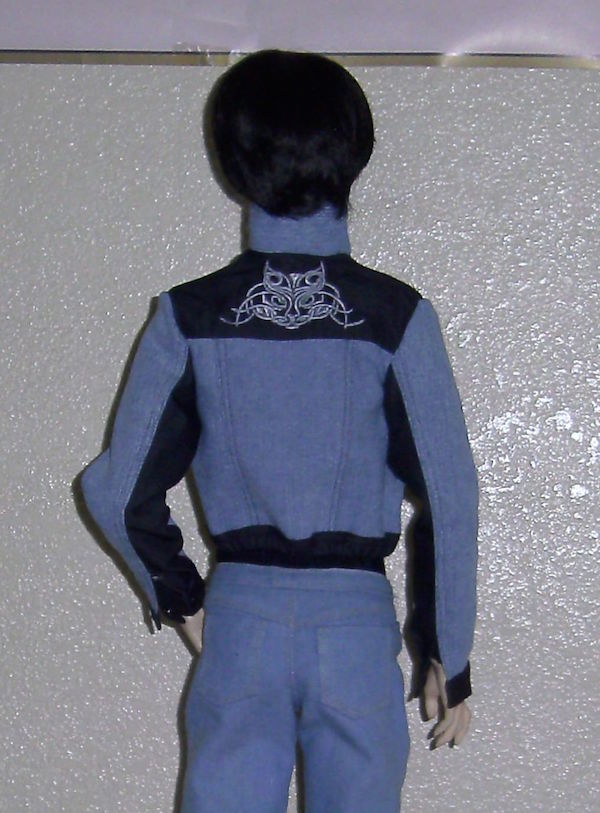
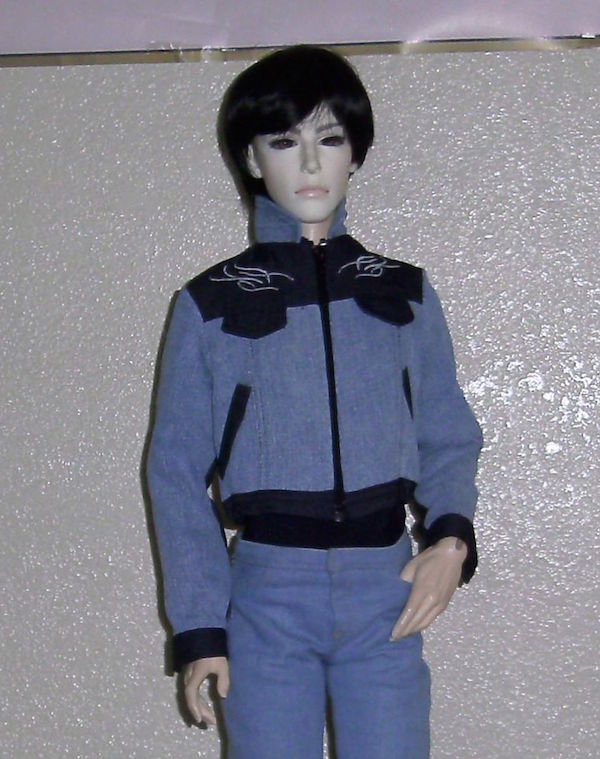
And here is the second jacket, made from the same pattern. For this one, I used black denim and light blue denim, with the yoke embroidered before cutting it out. Changing the collar to a mandarin type allows the design to show, and putting elastic in the bottom band gives it more of a baseball jacket effect. He’s wearing his navy shirt with hip hugger jeans, so it is a bit difficult to see the end of the jacket waist band.
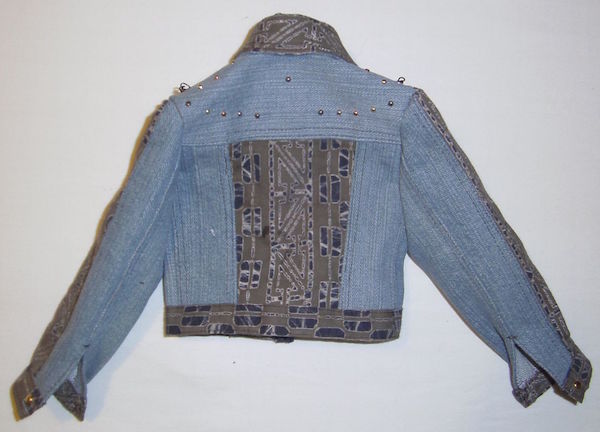
The tribal tattoo cat on the back yoke is a free embroidery from https://kreationsbykara.com. The front is my spin-off to make matching designs.
This skirt was copied from a Marcy Tilton Vogue pattern. V8561. The original people-size pattern includes the use of different grain lines, bias and non bias cut, so I thought it would be great for breaking up into different denims and did a test out.
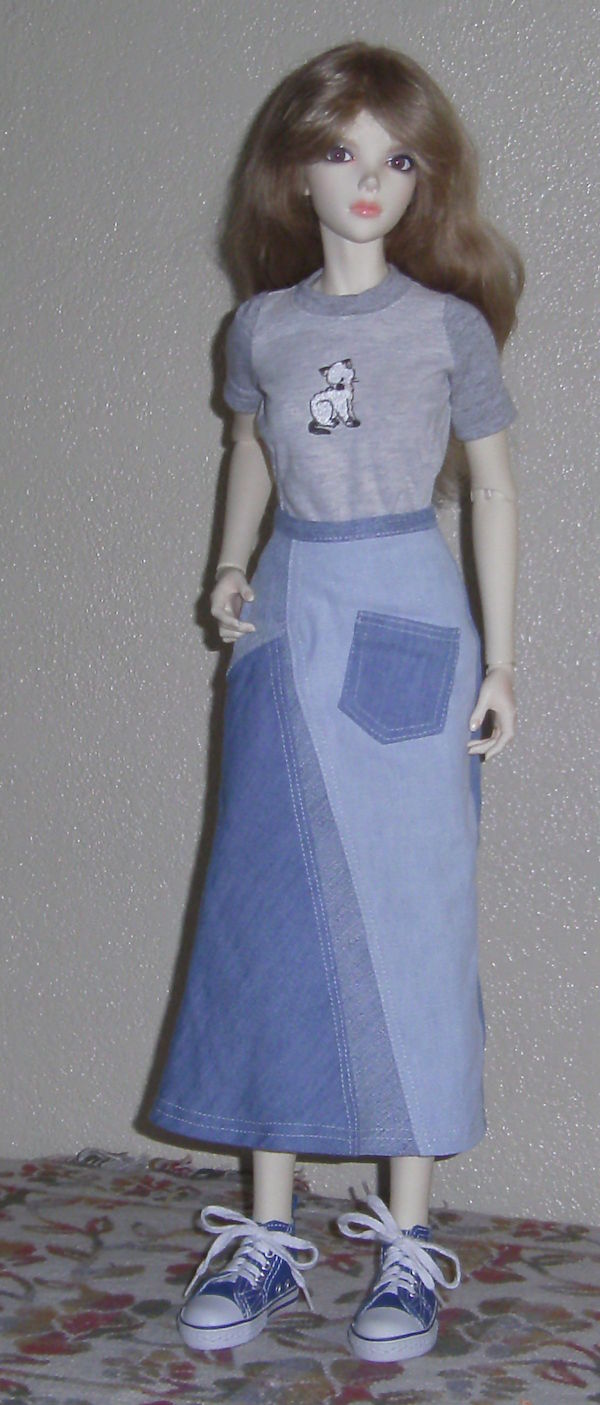
The embroidered cat is a stock design from Brother Sewing Machines, t-shirt I made.
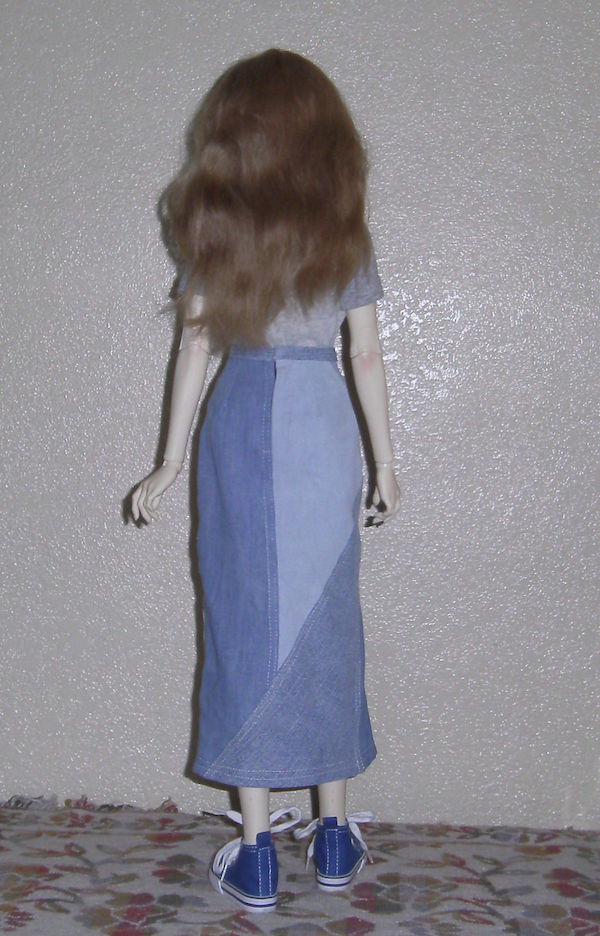
Another way to make a skirt like this is to simply patchwork some fabric together first, then press it neatly and cut out your skirt pieces.
The only rule is: Keep an eye on how your design seams line up. Mismatches can jar the vision and ruin the effect. You can use a thread colour that enhances your design. After that, anything goes. Have fun with clothing as art!
Finally, for the best examples of design inspiration I have come across outside of a classroom, I have to point you to one of my favourite doll fashion/photo blogs: http://imcatchingfireflies.blogspot.com.
The author hasn’t updated for a while, but it is still there and full of awesome. Check out the tutorials on putting together a look based on all kinds of sweet things under the tag “get the look”. It’s very inspiring and just plain cute!
Credits:
Fashion Inspiration credit: Close Up/Runway published by Close-up/Runway
Vogue Patterns: V8561 Skirt
Digital Embroidery Tribal Cat Design: Kreations by Kara