By Rajendora @ Sewing Box Designs
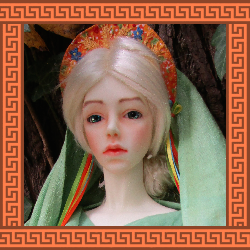
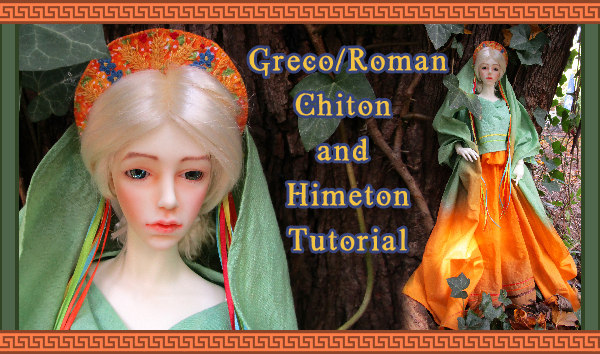
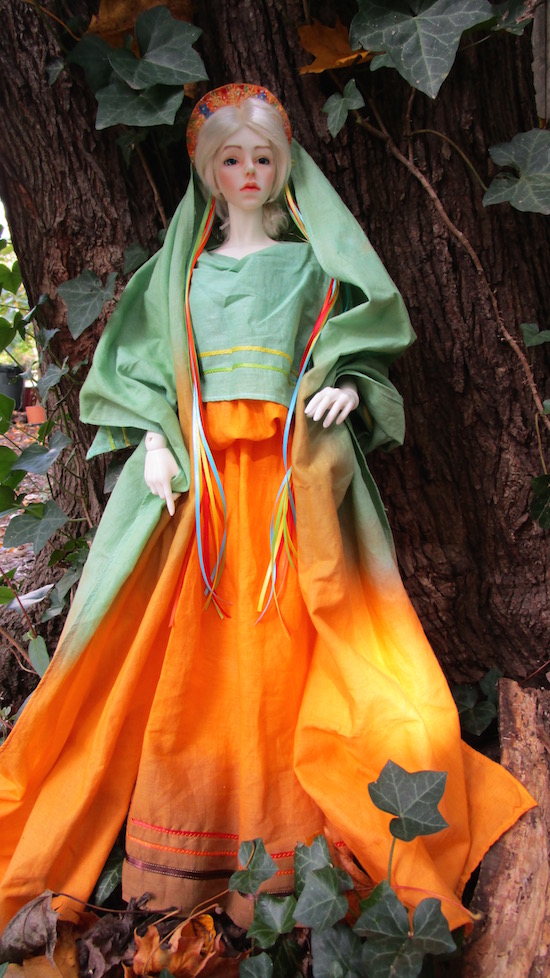
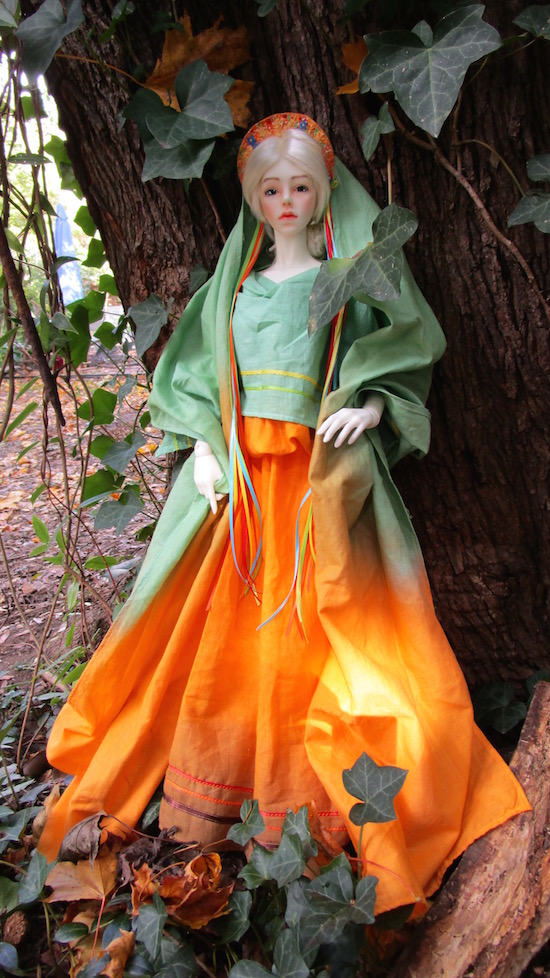
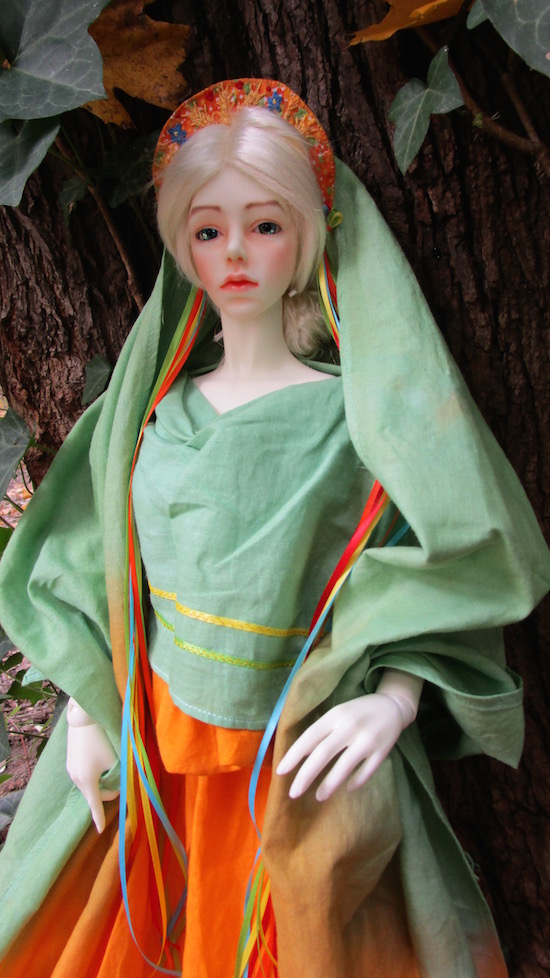
Rajendora has created a Fall ensemble for Impldoll Idol line doll Sylvia. The costume is based on Ancient Greek costumes for women. The doll in the completed outfit represents the Goddess Demeter.
Contrary to first glance at history book illustrations, Greeks and Romans didn’t always go about in plain white. Maidens from rich families could afford bleached white wool, and slaves and poor people wore cotton that bleached with time and washing, but if you were to be dropped in the middle of ancient Rome or Athens, you would be surrounded by a sea of earth tones and bright vegetable dye based colors. Wool was spun fine and woven thin and loose to create the soft drapery of clothing of the time. Most women spent their so called free time with a drop spindle and a bunch of combed wool ready to go, their hands always busy. Families had to weave their own clothing from sheep’s back to people’s backs, and also come up with set amounts of woven cloth for taxes (which then clothed the armies and such) as well as charity for the temples they belonged to. For decoration, because wool lasted quite some time longer than most fabrics, trims were loosely embroidered so that it could be picked out later and new popular designs worked in.
So for your project, chose natural fabrics that drape like crazy or rayon, and think about your colors and trims. Along with embroidery, you can use ribbons (they had them back then) braided cording, and of course, machine stitching if your machine does fancy work to sew on trims.
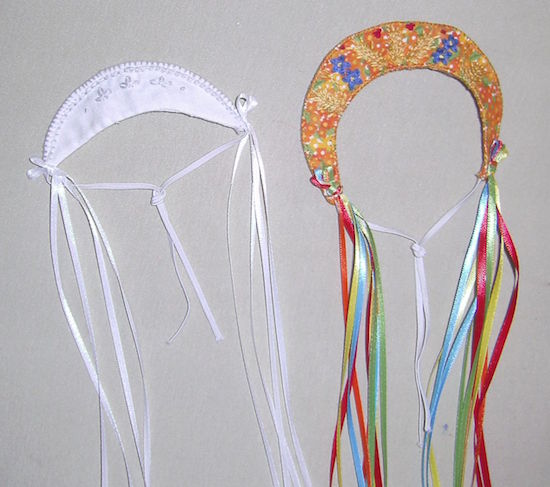
Head Dress:
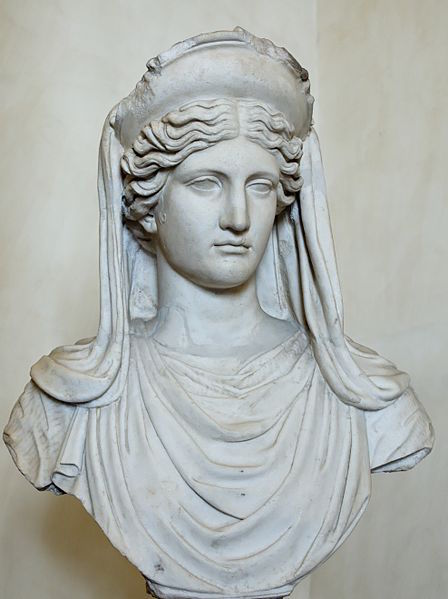
This is a simple half moon type shown on most statues.
Matrons; big crowns, maidens; tiaras. It’s interesting to see that most of Middle Europe’s traditional ethnic bridal costumes still show the signs of Demeter/Ceres in their construction. Wheat bundles, fall fruits and flowers, all signs of fertility and harvest, have given way to photos of saints and more flowers, but there are still regions where the crown of Demeter can clearly be seen. The bridal bouquet modern girls carry now is the remnant of that symbolism. (Images from net.) So you can use this as a jumping off point for the serious Ukrainian and Russian bride crowns.
Draw a circle and cut and fit the paper to your doll’s head until you get the outward tilting crown shape.
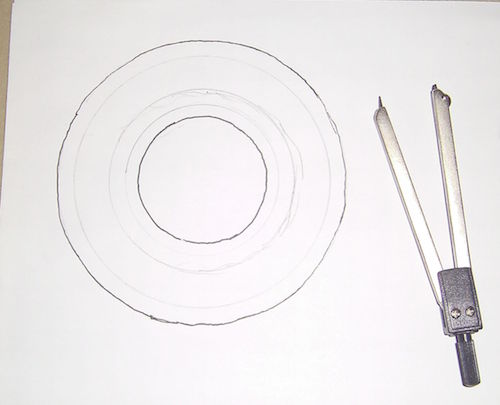
It’s sort of like making a cone. Remember to allow for the oval of your doll’s head when you draw the final pattern, and a seam allowance.
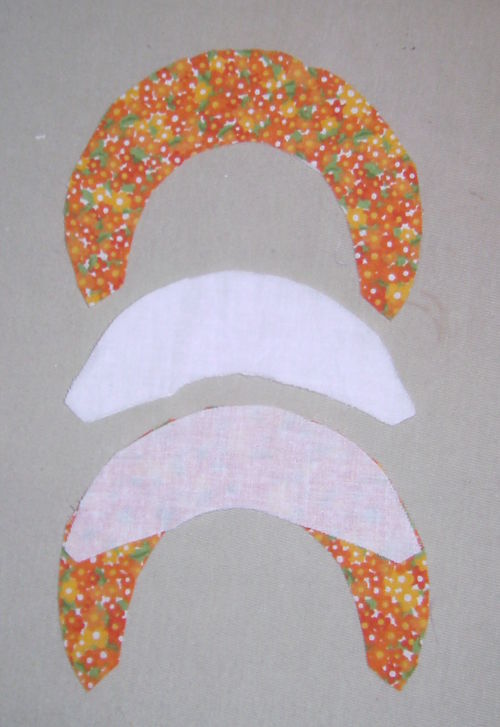
You’ll need a front and back fabric, plus interfacing to make it stand up. You can embroider before assembling to make it easier, and if you draw your front piece, and put it in a hoop, then cut it out that helps for really fancy work.
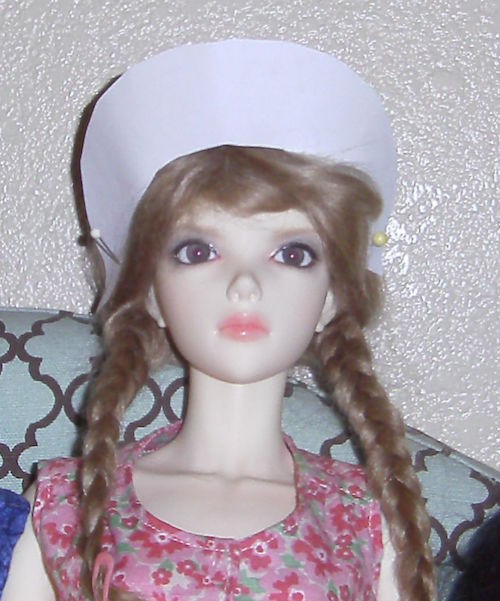
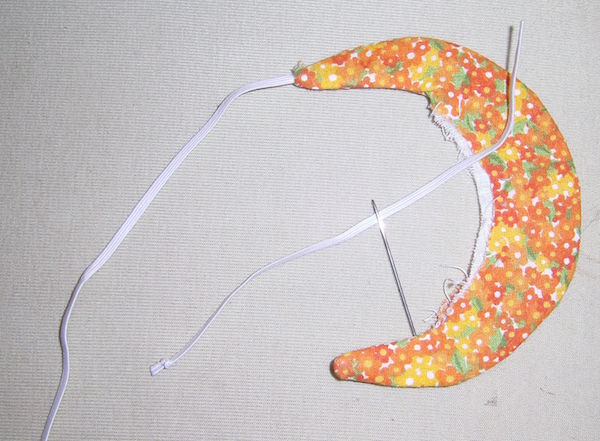
Once you’ve sewn up the top and side points and turned it right side out, press and then sew in some thin elastic with a tapestry needle. Then you can tie the ends to fit your doll’s head under her hair once you’ve got her dressed up.
Sew up your opening and get busy decorating!
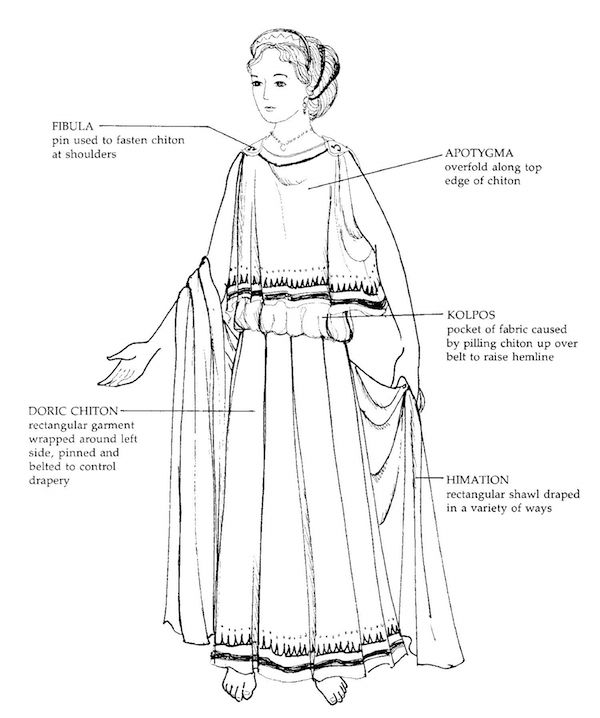
Chiton:
The Chiton is a simple rectangle, with the trims across the top and hem. The ‘style’ part is in the way it’s tied and adjusted. For the largest dolls, you’ll need about a yard and a half of 45 inch wide cotton, silk, rayon, or if you’re nuts for authenticity, very fine challis wool, for a chiton and himeton to match. Pattern before you buy, so you will know how much fabric you will need. Polyester fabrics just WILL NOT WORK. They won’t drape well and look like hell, take a theater costumer’s word for it.
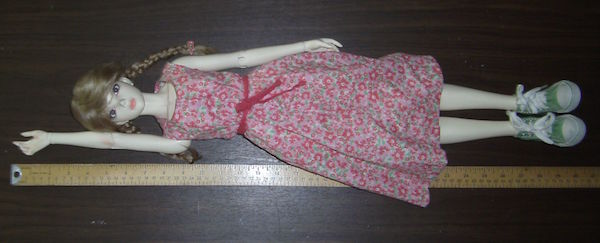
For the length, measure from finger tip to toe plus a little extra (because some dolls can’t actually stretch out to tip toe).
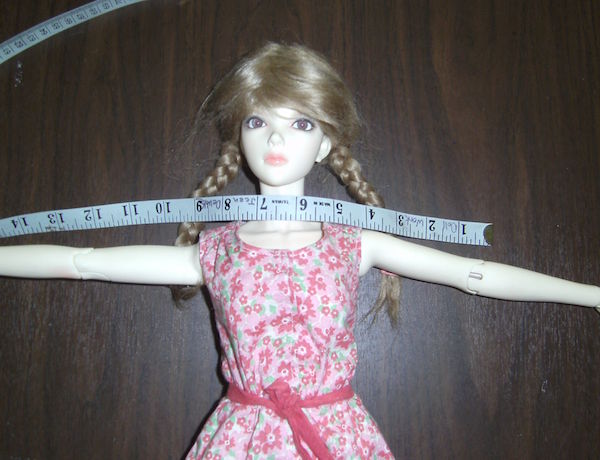
For the width, from elbow to elbow times two.
You’ll want to fringe or hem your top fold over one way, and the hem the opposite so you don’t show one of your finished hems on the front side.
Dressing the doll, and marking the shoulders and waist for finishing:
Remember that your fabric might still be stiff at this point, especially if you have dyed it. Don’t worry about that, if you’ve used natural fibers, after you’ve sewn the chiton, you hang it from the shoulder points and let it dry in folds.
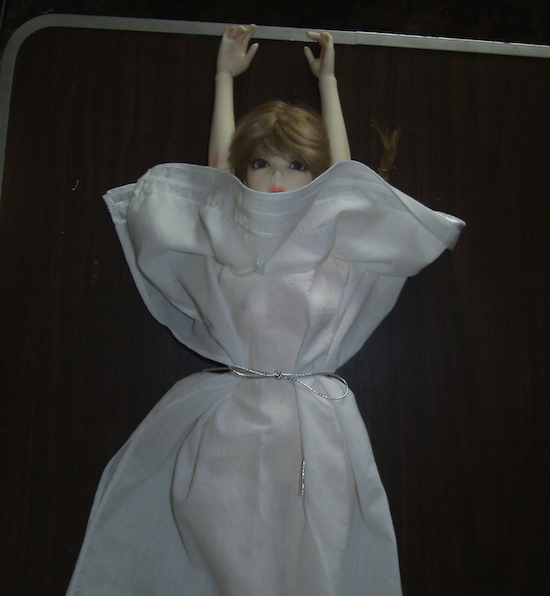
Fold the finished chiton top down to where you want it.
Fold the chiton in half. Place your doll in the middle of the ‘back’ and fold the front over.
Position the middle front where you want it, and pin the shoulders just inside the joint of the arms.
Pin the front down where you want to gather it for the drape.
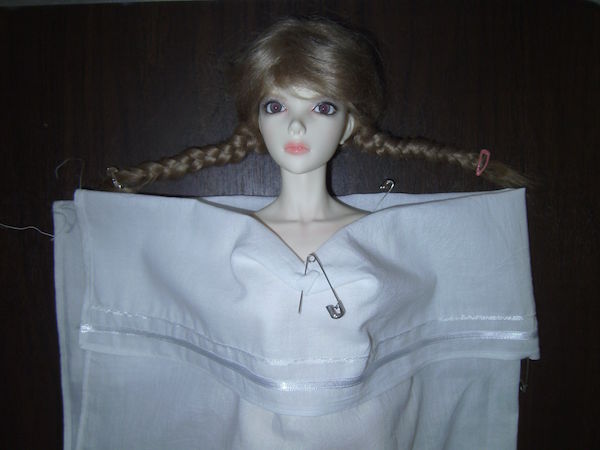
Fold up the top, and tie on your waist belt.
Poof up the fabric over the belt until you have your desired hem length, and arrange the folds of the skirt. You can overlap to close the gap or arrange to have a leg showing, depending on your character.
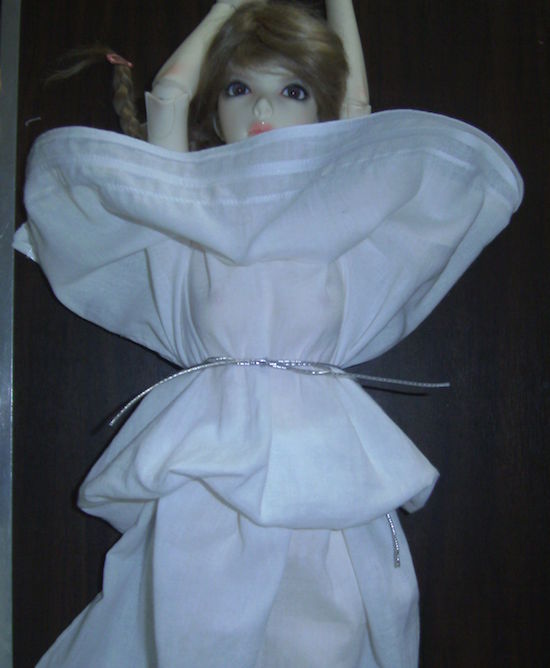
Now tie your under bust tie on and arrange the folds of the waist poof neatly.
Fold down the top and adjust your pins and have a good look at her standing up so you are certain everything is where it needs to be.

Remove the chiton and hand sew the shoulders and neck drape into position. You can put some small decorative buttons for the pins at the shoulders.
If this is a permanent thing, you can now mark and put a waist elastic in under the poof and it will look normal. You can also look up more styles of Chiton in Greece and Rome and use different methods of decorative tying over the bust, and pinning of the sleeves.
Himeton:
Maidens wore their hair less elaborately and didn’t have to veil their heads in public until they were ‘out’ (ready to marry). Matrons wore their hair up all the time, as elaborate as possible, and veiled their head as a sign of being married. It didn’t have to cover the whole head, just be there as a social fashion thing. The other ladies would slut shame you if you didn’t. Matrons also were expected to have upper arm coverage. Back then it was more of an age concealing thing. If your character is a mature woman 20 and up, she can have more decorative sleeves, but a maiden would have bare arms. But here’s the crazy bit. Greek Goddesses are traditionally shown baring that upper arm for all it’s worth, even the supposedly seriously married moms, like Hera and Demeter (AKA Ceres). Why? Goddesses don’t age. If you look at statues, almost all of them have one arm raised to show how ‘youthful’ they are.
For hair dressing I’ve included a really neat link to a hair dressing archaeologist’s YouTube page. She researches and recreates the hair styles shown in statues and paintings. It’s an awesome resource for many historical hair styles for doll wigs.
Patterning:
Rectangle measures: Usually from head to ankle for length and any width you like. Hot weather would be sheer and narrow stoles, and cold weather, your girl would be wrapped up in heavy wool.
For ombre dying fabric, see the Youtube tutorial links below. I used powdered Ritt dye, which gets all over no matter what you do, but that’s the joy of Ritt. You can do amazing things with the powder, like sprinkle it on wet fabric to make a starry or cloudy sky and all that, so yes, powder has its place, but it’s messy!
Note, use a cotton or cotton wrap thread to sew with before dying, and make sure you change your matching bobbin to the cotton as well! I was all clever and then forgot to change my bobbin and still ended up with non-dyed poly white thread on half my project. (GRRR!)
Links:
Janet Stephens, Hair Style Archaeologist
Best Easiest Ombre Dip Dying tutorial
Scanned images from ‘Patterns For Theatrical Costumes’ by Katherine Strand Holkeboer, pub. Prentice Hall Press, 1984, ISBN 0-13-654260-3 All rights belong to Ms. Holkeboer. This is a great book for costumes from Ancient to Edwardian times. It has basic pattern shapes for all the outfits that a competent stitcher can then use to adjust to fit anyone or doll. Included are some ethnic, fantasy, animal (a lion!) and religious costumes.
Instructions for a toga may be found here:
~Greco/Roman Men’s Wear Tutorial~
The BJDcollectasy review on Impldoll Sylvia may be found HERE.
I really enjoyed this tutorial. Had a dim notion that there were colors used in the ancient societies, but never imagined ombre, which looks terrific! Well done and very entertaining!