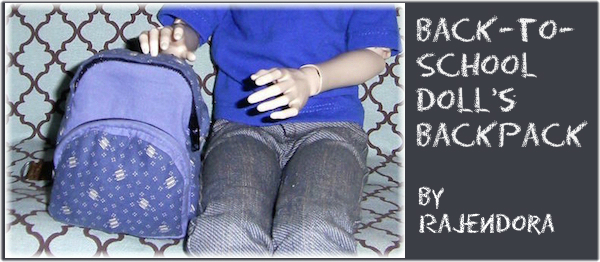
DIY By Rajendora @ Sewing Box Designs
Most back packs are rectangular or oval. You can decide which you want like to make. My preferred back pack is an oval top, rectangular bottom. This is an every day, student-use back pack. You’ll need to figure proportional room for your doll’s stuff, books, tablet, phone, music player, and other important ‘stuff’’. I went with a medium size: good for a tablet with keyboard, etc. What makes it look more realistic is how you make the straps and decorate it.
Read the instructions over and make sure you have everything in mind first before you begin. It also helps to examine a people-size back pack. I had to re think a lot of things about this to simplify it and it’s still a bit of a tricky one, especially sewing the straps on in the right order. Sewing skill level is about what it takes to make a teddy bear, or just be a very determined beginner with a pack of band aids.
You’ll need:
SD MSD Backpack Pattern
Fabric in one or two colors you like, not more than ¼ of a yard for most sizes.
Iron on interfacing if you’re using a thin fabric. (I just doubled up my fabric)
About 3 yards or less of gross grain polyester ribbon,
6 jump rings about 6 – 8 mm across, depending on your doll size.
Some needle nose pliers to make them into D shapes.
2 separating doll size zippers, 4” long or more. You can use non-separating, but I decided that was a P.I.T.A. factor and highly recommend the separating type! Fletcher Doll Patterns has the best zippers, with proportionate pulls which I will use next time.
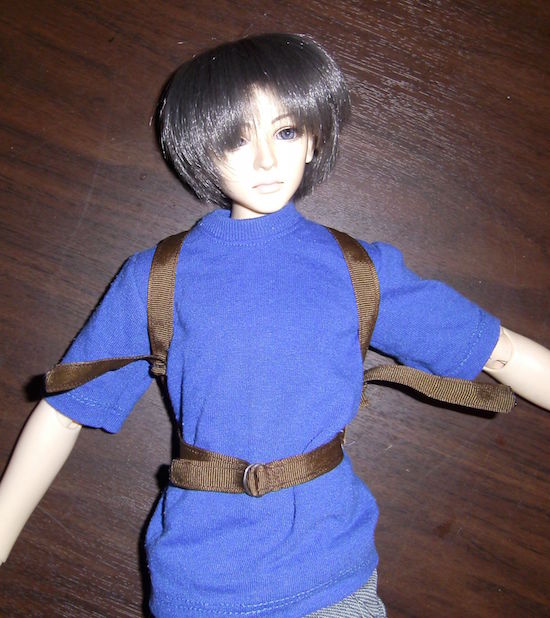
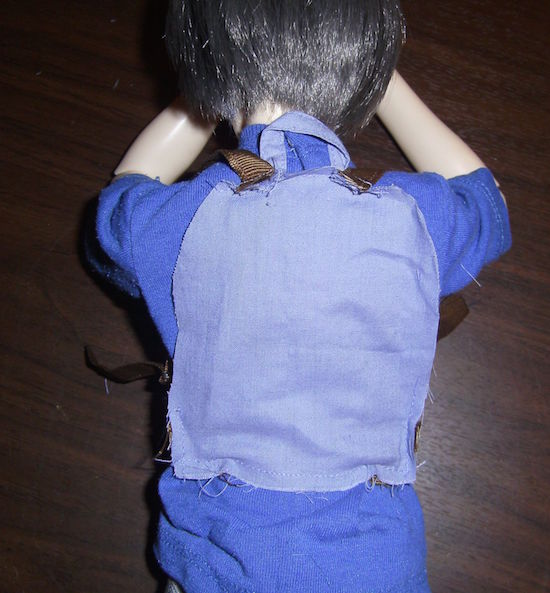
A serious back pack pretty much covers the flat part of the upper back without interfering with shoulder and arm movement. Also, if you’ve been suffering from a lower back ache like your grandpa, and you’re only in grammar school, you’re wearing your back pack too low. Doctors recommend a back pack on a growing child should have a waist belt to keep it from being worn too long; so your YoSD or child MSD would have that extra belt on it, used or not. Older dolls can get away without one, but for looks, the straps hanging down are normal.
How to Pattern:
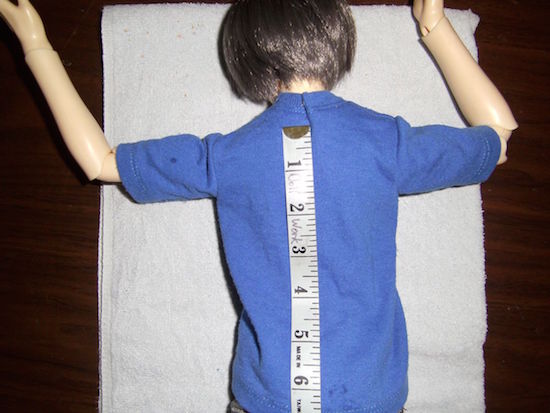
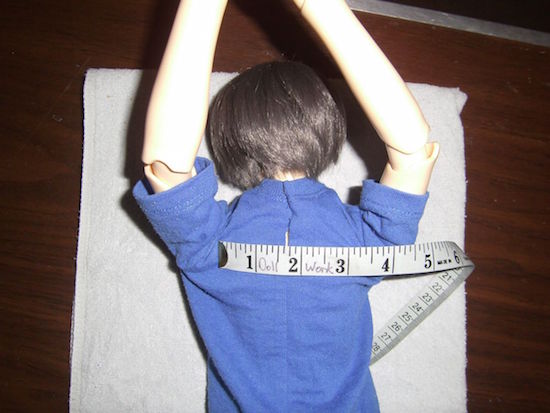
Measure from the middle of the doll’s shoulder blades, to about the top of the hip line. Then across between the armholes of your dolls torso. Use these measures to first draw a rectangle. Then decide on the shape of your backpack. If you have a purse mirror laptop, go with the measure of that. Once you have your base pattern, don’t forget to put your seam allowances on! The standard 1 cm, or ¼ inch will do.
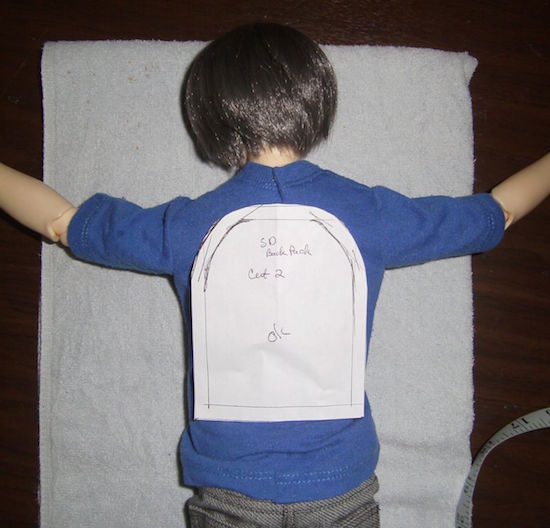

For the sides of the back pack, just pin the back paper pattern to your doll’s shirt and determine what looks ‘real’. If your doll is a major full time student/worker, yeah, deeper sides; but a casual commuter, narrower sides. My guy is about middle school age, so he would have a tablet and some note pads and maybe a book or two, so I’m going with a fairly smallish size. The fun part will be making or collecting stuff to put in the back pack! Draft your side pattern by measuring around your base along the seam line, not the outer line, and splitting that measure in half. Add a little extra length, just in case. Like waist bands, side pieces can fool you; thickness of fabric and stitching often takes up a bit of length a paper pattern doesn’t allow for. Test your pattern by taping up a paper towel version and trying it for size, and make any adjustments.
Sewing:
The straps are what make it look real. You want to use 7/8 to an inch wide polyester gross grain ribbon for a 1/3 or larger doll. For a 1/6 or smaller get a ¾ inch wide gross grain ribbon. Fold the ribbon in half or thirds and press it. Your finished straps have to fit through your jump rings. You might also make that all important carry handle most back packs have, that I forgot to mention when I was photographing the project in progress. Just fold a few inches of fabric in four to make the handle and stitch that the same as the straps.
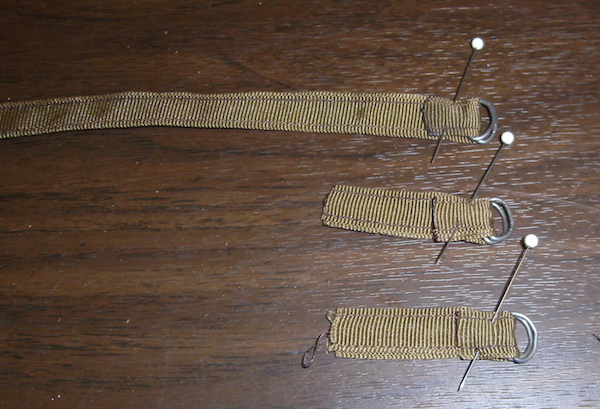
You’ll need to cut your ribbon into pieces, but first, just press it and stitch two lines down the edge to make the ribbon into a fairly good imitation of a nylon strap. You’ll also need to make three sets of jump rings into D rings as shown. For my SD guy, I cut two 12” pieces, two 6” pieces, and two 10” pieces to make the arm and waist straps. Adjust these measurements for smaller or larger dolls.
Use a candle (don’t hold the match, you’ll get burned!) hold your breath, and lightly singe the ends of your straps to close them and prevent raveling. Polyester will do this! Don’t inhale the fumes, it’s awful!
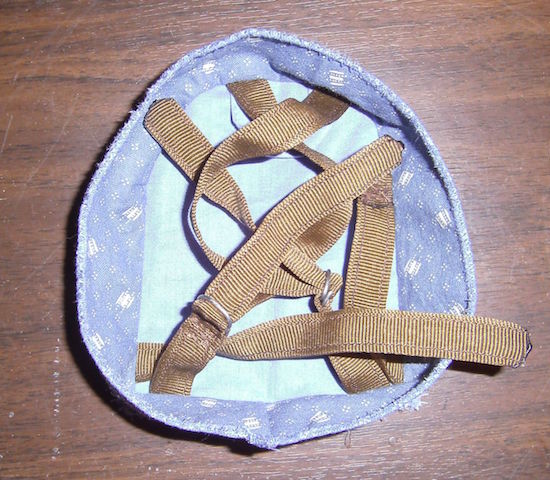
It’s easiest to hand sew the rings on. Use a back stitch and make it pretty on the side that will show. You make a crossed square pattern, just like on a real strap. Make sure they are all evenly done the same.
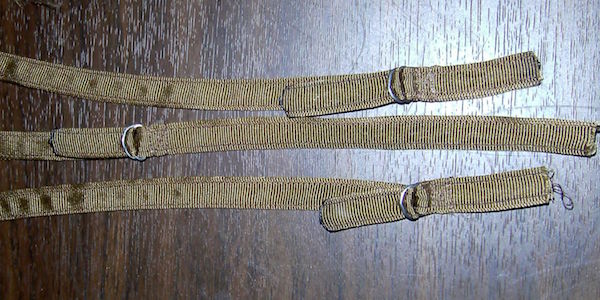
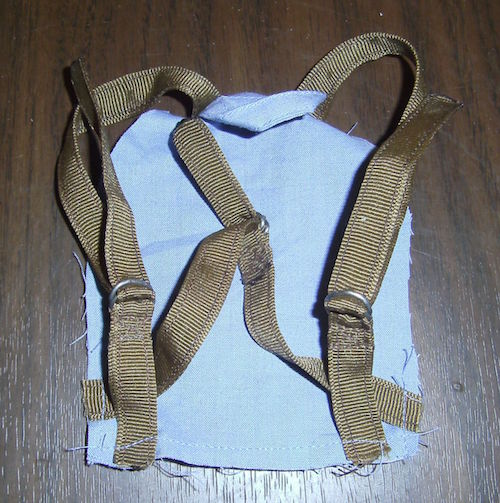
When you have your ‘D’ rings on half your straps, curve off the ends of the opposite straps and singe them. Assemble your straps, the arm/shoulder ones will have the D rings on the bottom of the back pack, and the waist one will be about the middle of the two 10 inch ones, allowing for the overlap.
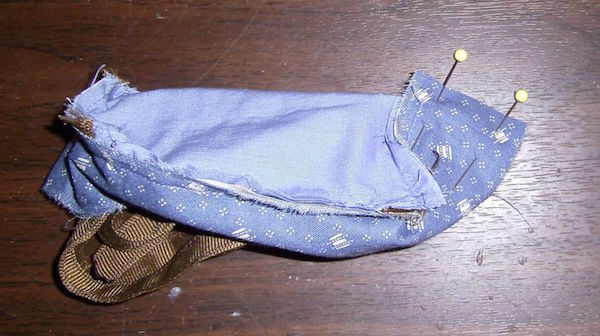
First sew on your handle strap if you made one, in the top middle of the back piece, on the right side, not the wrong side of the fabric. Now pin the shoulder straps with the D-ring sides on the bottom, just inside the side seam allowance of your back piece. Position the top ends where they will work best on your doll. You will want to test this on the doll before sewing; also for a rough idea of how long to leave the straps. You may have to adjust the lengths later and re-singe the ends. No big deal, right? Baste the straps on inside the seam allowance so that when the seam is sewn, the stitching won’t show.
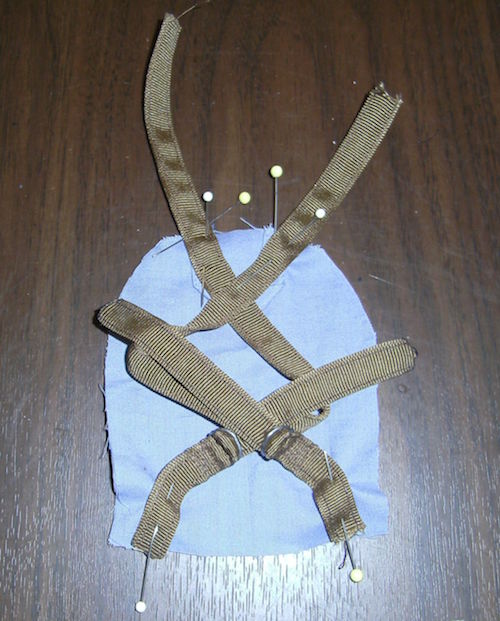
Now pin the waist straps in the side corners at the preferred waist level and baste them into position. My back pack is small but a larger back pack would have them higher up to match the doll’s waist.
Test the fit on your doll.
Now, over your strap pieces, pin your back part side piece into place around the sides and top curve, starting from the middle top, and down to the end of the side. Stitch it into place, then clip right on the corner and pin to the middle of the bottom flat seam. Stitch across to the middle, then pin and sew from the other side.
Now pin the side pieces right down the middle of the bottom of the back pack and sew them across to close the loop.
Now sew the sides on your front pocket pouch piece.
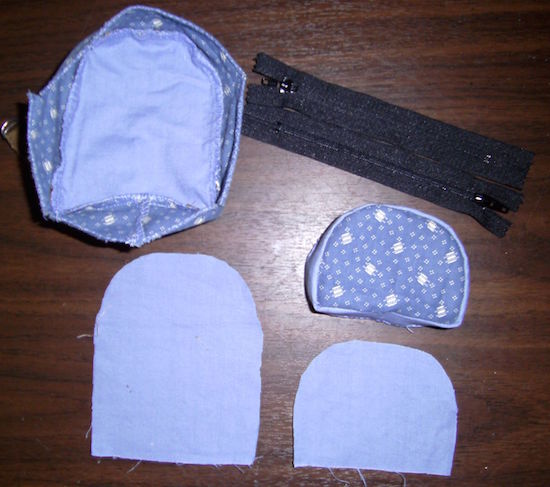
Now you have these parts; the back, the front , the front pouch, a back for the front pouch and some zippers. Now would be a good time to determine if your obsessive enough to put in a little pencil holder, calculator, pocket thing in your front pouch.
Now if you’re smart and used a separating zipper, unlike me, the next batch of sewing is easier. I used a non-separating because I have a batch in stock. These are small nylon, but not doll zippers, so the pull is huge. Basically, you’re making two zippered pouches, with a lapped zipper so that one side laps over the zipper and the other side is just on the edge. Check YouTube for a “how to make zippered pouches” tutorial. It’s really difficult to explain without a video and you’ll be so much saner for it. Usually they are little make up bags or pencil cases, but it will give you a good mental grasp on the situation.
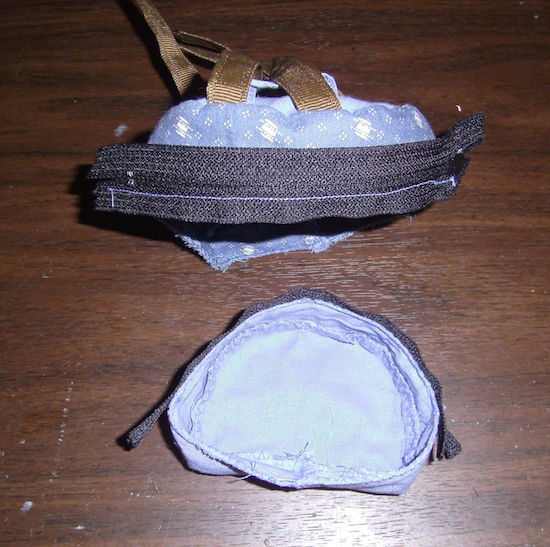
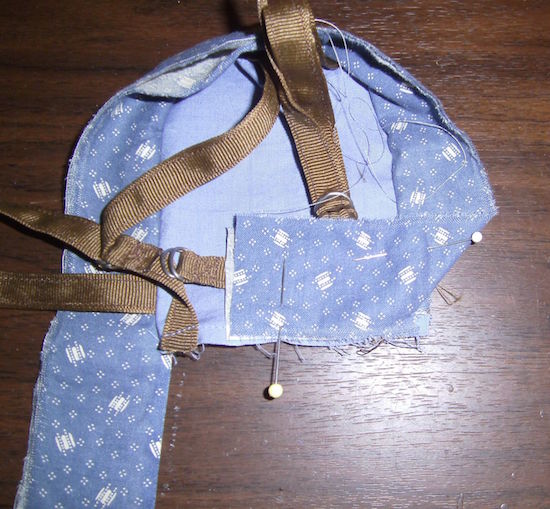
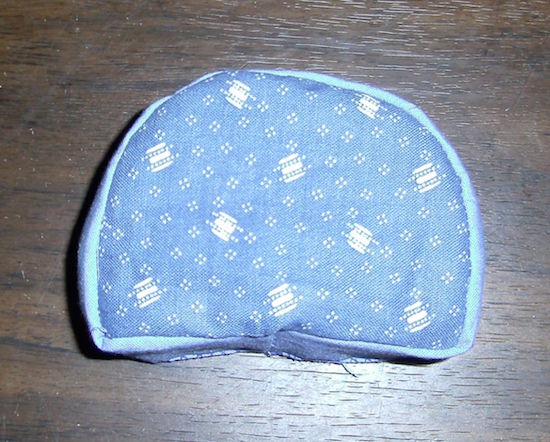
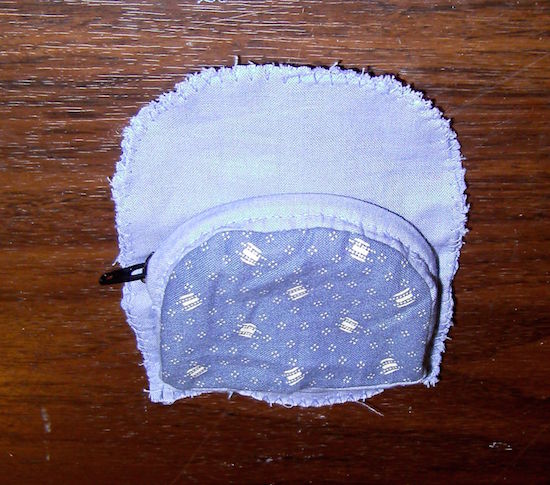
Your front pouch will end up like this from the back view. You’ll need that back piece to sew the pouch onto the front of the back pack neatly.
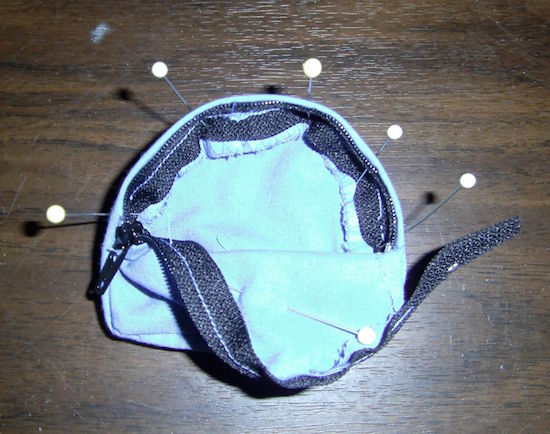
As you can see, I had to top stitch by hand to make the overlap on the zipper area, it was too small for my machine to handle and make it look nice. Never be afraid to hand sew if your machine is giving you grief. Use a back stitch, (see YouTube!) and it looks just as nice as machine stitching after a little practice. And sometimes it’s just faster to hand sew than to fight with the machine on the smaller items, like for YoSD.
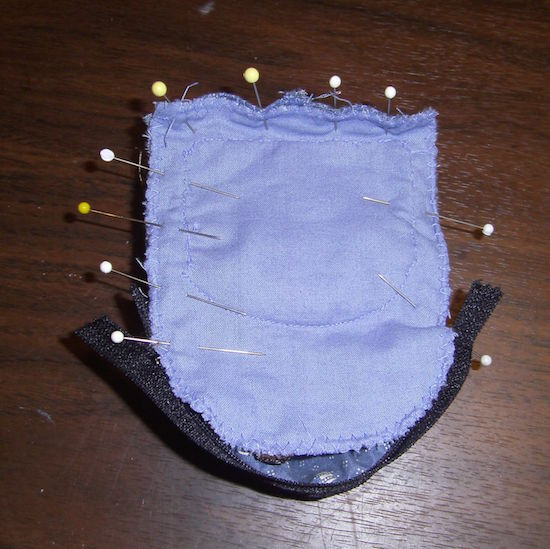
Now pin it onto the front part of the back pouch from zipper end to end, as shown, and sew on the machine or by hand, right along the seam allowance inside the front pouch.
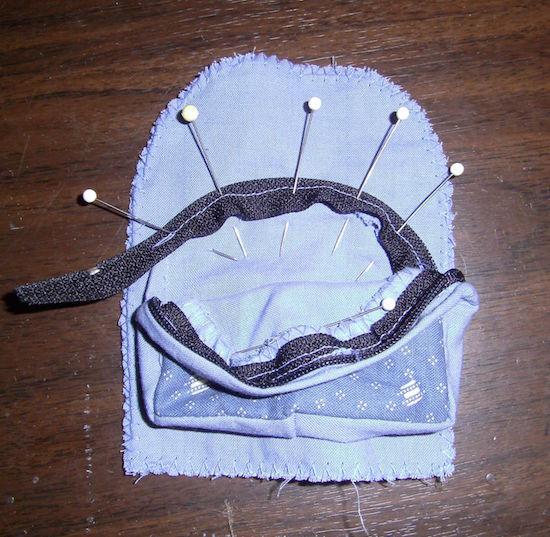
When it’s done, you have the front piece to the large pouch ready to pin on. Be sure to tuck all your straps inside and out of the way of the seam allowance, so they don’t get caught in the machine.
Now make your overlap on the back side of the top zipper. Once again, I’m hand stitching with a back stitch.

Finish sewing on the other side of the zipper, and make sure it closes without catching. Tuck your ends in and tack them to the inside seams of the pouches. If you’ve been smart (unlike me) and used separating zippers you can put them on before you sew up the sides of your pouch. Just make sure you mark carefully, so that they line up in the end. Once you have them in, tack them together on the ends with a few stitches to keep them from separating. Also if you have to shorten the zipper, tack it so your slider doesn’t slide off. Most doll zippers need a crimp bead or a few stitches to keep the slider in place when you buy them for some odd reason. If slider does come off you can slide it back on, just be prepared to try a few times before the darned thing works!

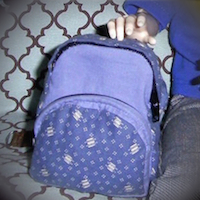
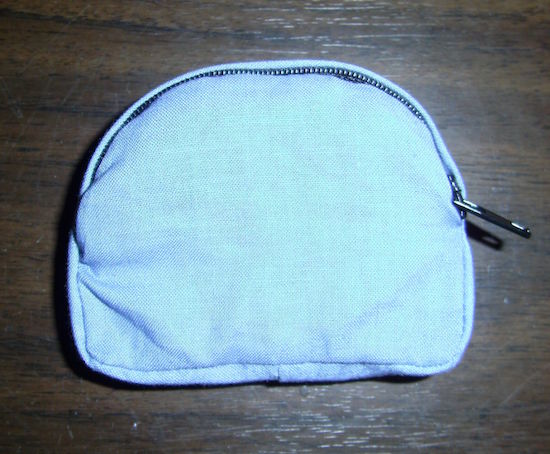
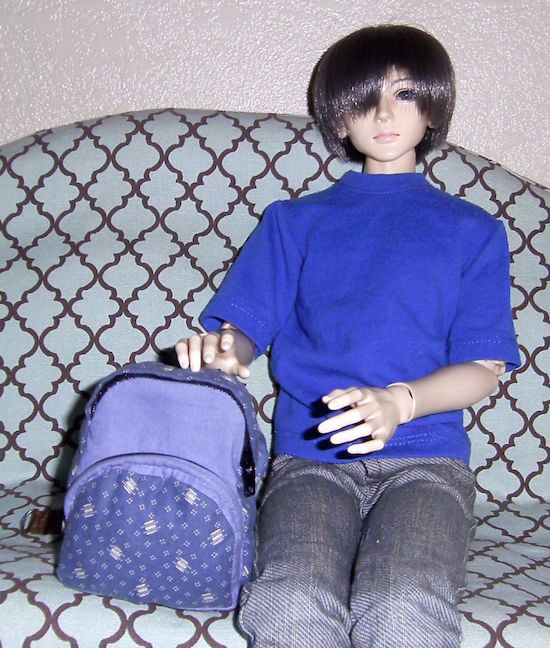
So, here is my finished back pack; a basic rectangle with a rounded top. The pattern can be made more square or more oval, it’s up to you, you do the basics. Two pouches and some crafty straps with D-rings.
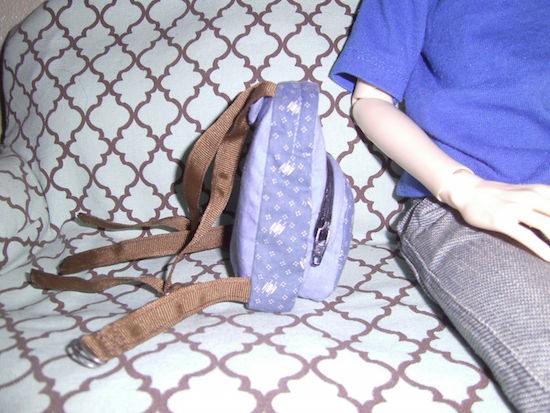
You can bling it up for a girl doll, or make a cartoon print one for a child doll, and put your own ‘logo’ on.
The good doll zippers can be found at: Fletcher Pattern Company
Tamara ships fast in the USA, and her prices are awesome. Also, their patterns all look pretty nice (it’s just hard to size for BJDs based on ‘SD’, as we all know, one size does not fit all!). They have buttons, snaps, grommets for corsets, and buckles. This is the only company I have learned to rely on for almost all my doll notion supplies.