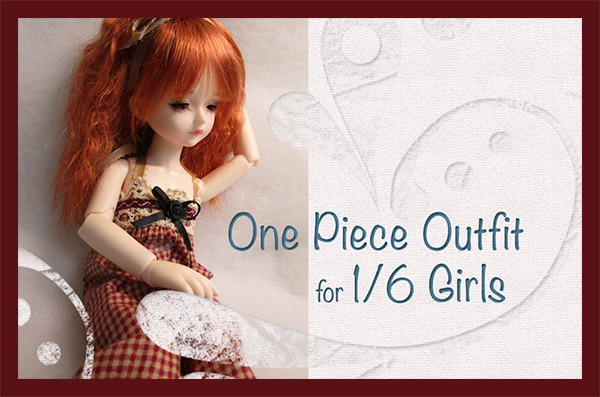
This outfit was first made for our 2015 Angell Studio New Year Baby, Ayaliz. It came out so well and was so much fun to make, I decided to come up with a pattern for other 1/6 size dolls.
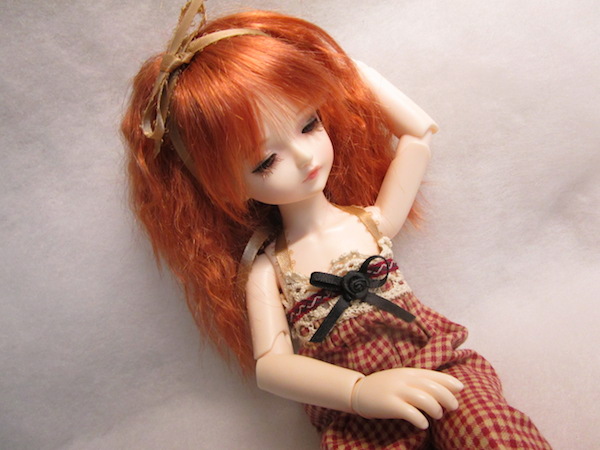
Special thanks to Emory of Junkyspot for our lovely model, Mystic Kids Isabel.
Two sizes of Jumpsuit/Pajama patterns are included here, one for 26cm to 28cm dolls and one for a Kaye Wiggs slim 1/6 doll. This project uses very little material. It can be easily sewn by machine or by hand.
Materials:
Fabric, such as cotton material; prints, flannel, or fine soft muslin
Lace
Ribbon (optional)
Snap
Matching thread
Fray Check
Seams Great (optional)
Sewing notions (needle, pins, scissors etc…)
Step 1:
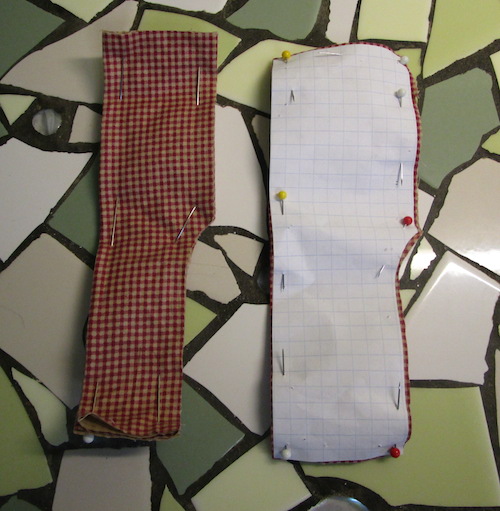
Download your pattern by clicking the link under the list of materials. Cut out two pieces on a fold. The pattern for 1/6 dolls is long enough to fit our 28cm tall Mystic Kids Isabel. For a shorter doll, just reduce the top and bottom length. Since this project takes so little material, you can just cut out the pattern, fit the full size outfit to the doll, fold over the extra and trim away any excess.
Step 2:
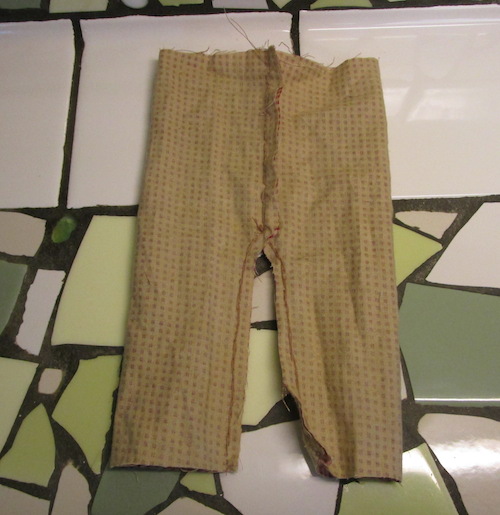
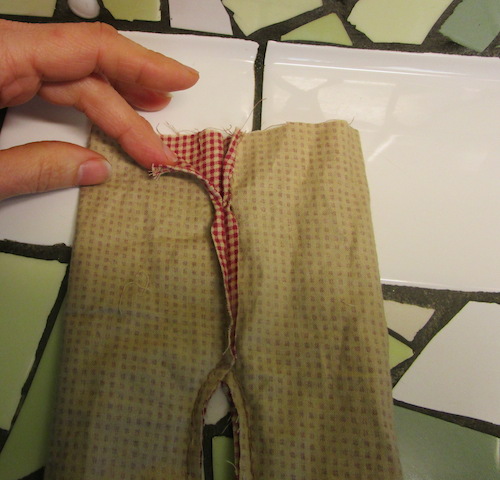
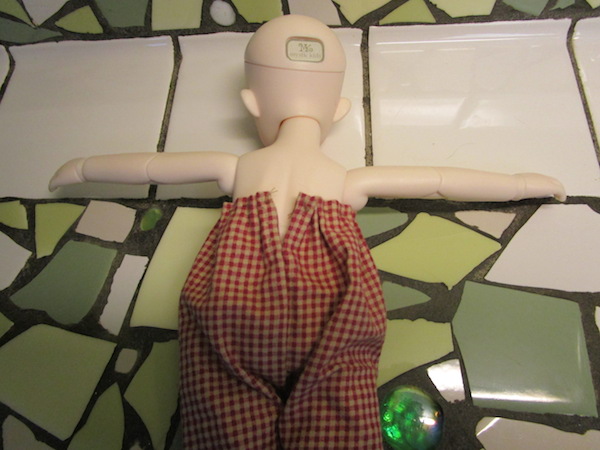
Sew the upper part on 2 sides, leaving an opening of about 1 inch at the back. Sew the legs on the other two sides. It should look like this:
Step 3:
Hand or machine gather the fabric at the top.
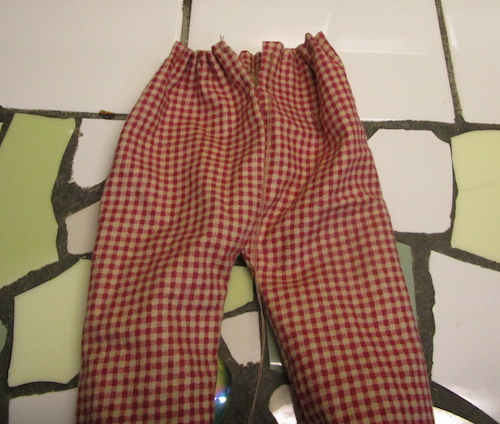
Knot it. The gathered material should be able to wrap totally around the body with some overlap at the back opening.
Step 4:
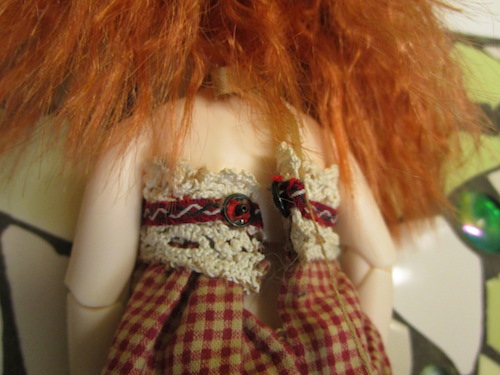
Cut out the lace band for the bodice. It should be long enough to wrap around the body below the arms. There should be an overlap at the back for a snap and to finish off the ends. Sew and/or glue the ends.
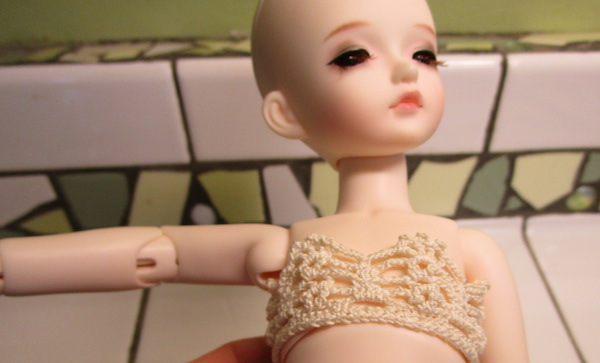

Step 5:
Sew the bodice to the top of the outfit. I doubled it over and then sewed down the gathered material when attaching it to the lace bodice. This holds it in place and keeps it from bunching up underneath when the outfit is worn. The material can be tacked in place with a few stitches as well. Seams Great could also be sewn over the gathered material to help it lie flat. See it used on this tutorial HERE.)
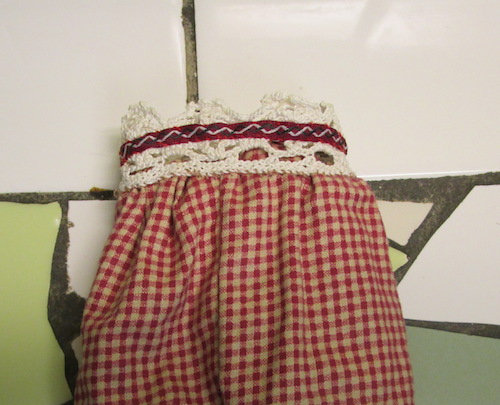
If desired, you may add additional bands of trim to the bodice (as is done here).
Step 6:
The jumpsuit can be left strapless. Ribbon ties, or perhaps lace straps, may also be sewn to the bodice as shown below. Any additional decoration like bows or flowers may then be added.
Step 8:
Add a snap to the top back.
Step 9:
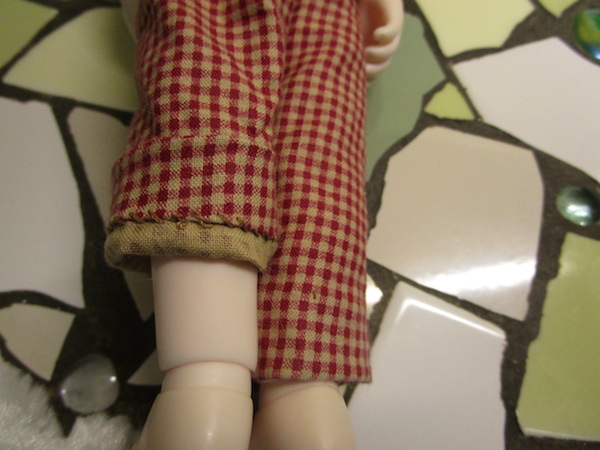
Choose pant leg length. Hem the leg openings. Optional lace, ribbon or other decoration could be added after (see Ayaliz).
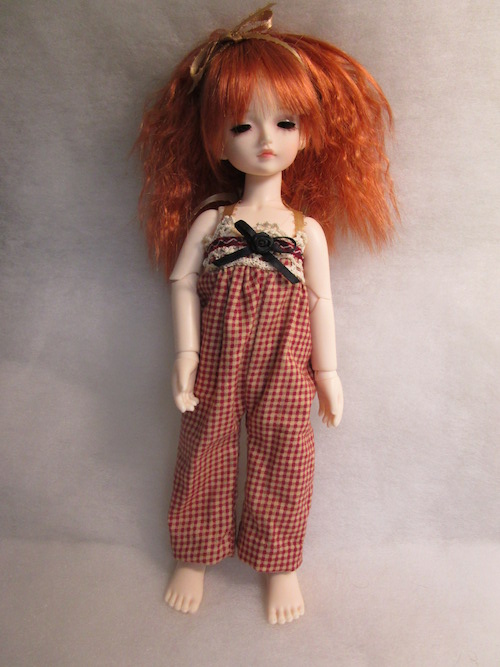
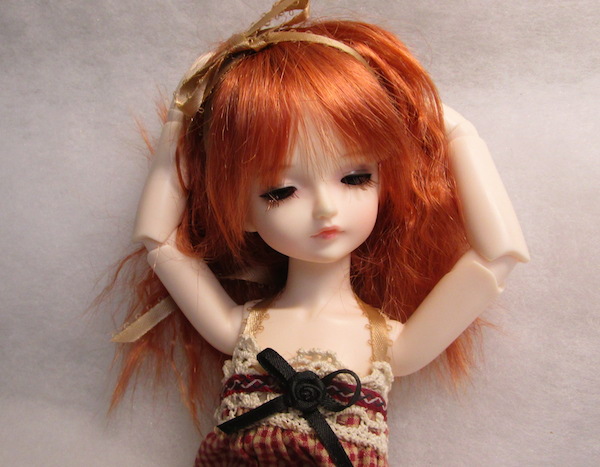
Finished outfit: