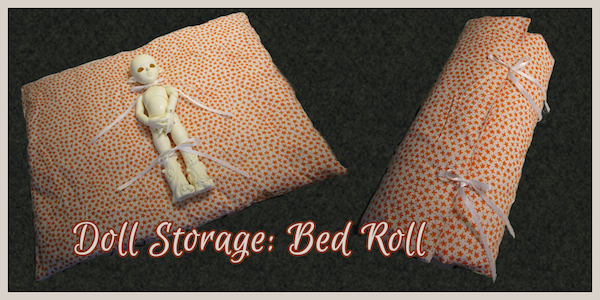
This is the first of a series of tutorials on making rolls and bags to protect and store your dolls. This tutorial shows how to make a basic bed roll which is very easy to assemble and to customize. This roll design works best for smaller dolls under 1/4 size. Even for those whose sewing skills are minimal, this is a very easy project.
Material list:
fabric (amount depends on the doll’s size)
polyester batting
matching ribbon
matching thread
sewing notions (needles, pins, scissors)
Note on fabrics: The material chosen should be free of dyes that can rub off and stain your doll. Any printed fabric should be washed thoroughly to remove excess color. I like to use cotton, but smooth synthetic fabrics may also be used. Soft plain or bleached muslin may be used as well. Avoid overly stretchy cloth like tee-shirt material.
Step 1:
First, cut two rectangles of fabric or one large rectangle on a fold. The size of the rectangle depends on the size of the doll for which it is intended. This little guy is a 1/6 size Harley from ImplDoll. I added about 2 inches (5cm) of material above and below the doll. (When measuring and cutting, Remember to take into account your seam allowances.)
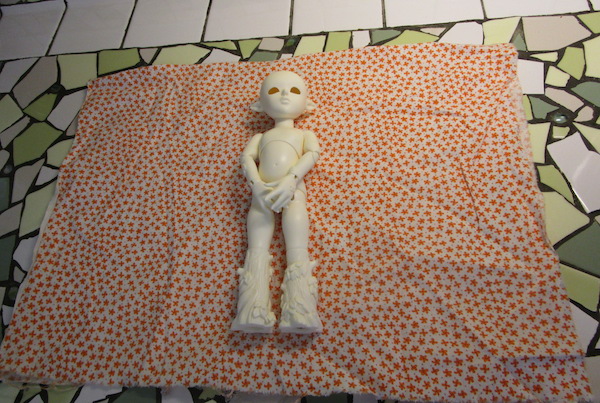
For the horizontal measurement, I based it on how and where the fabric would wrap over my doll when the roll is closed. I folded both sides over him loosely. The final measurements for my material were about 14″ high x 20″wide (35.5cm high x 51cm wide). My fabric piece is folded at the top, so I only have three sides to sew. If the material was being cut on all four sides, I would have added a little more to the height. This size will probably work for most 1/6 dolls with a little more material added to the height if the doll is taller than 26cm Harley.
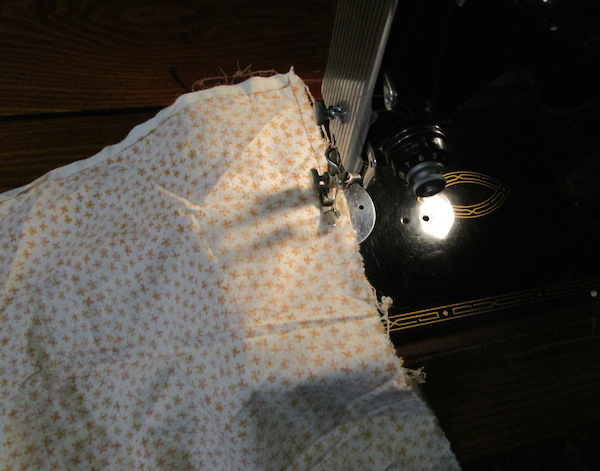
Step 2:
Reversing the fabric, sew the seams leaving one side open.
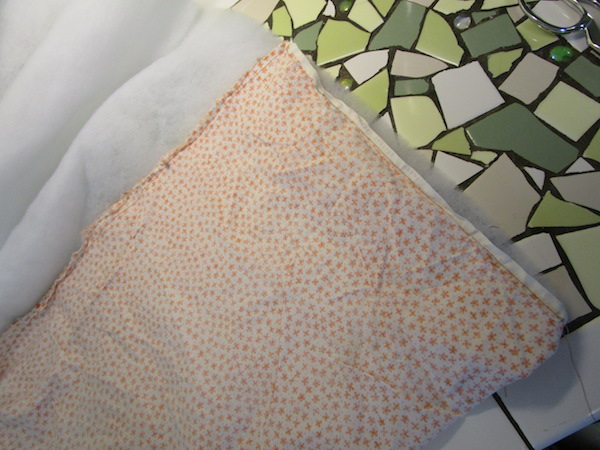
Step 3:
The batting can now be cut to size to fit the inside of the fabric pocket. Lay the material down on the batting to gauge the size needed. I am using 1/2″ (1.25cm) thick batting, but I decided to double it for more padding.
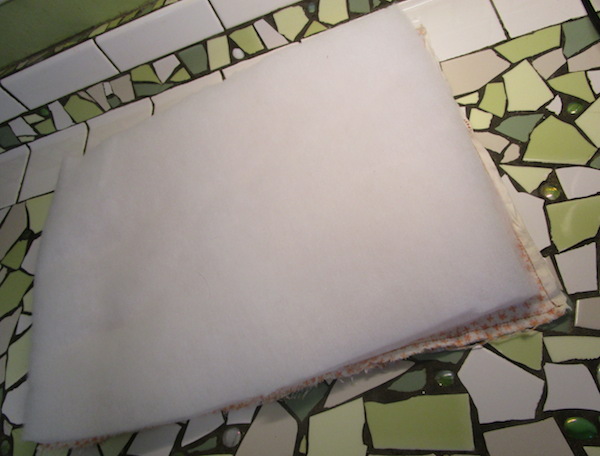
Step 4:
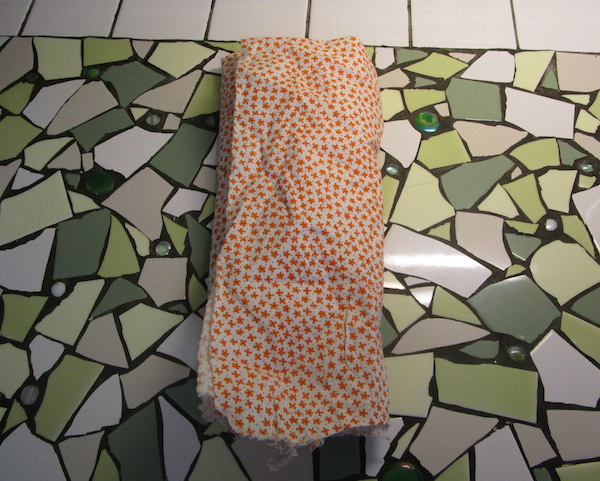
Next, the batting is added to the pocket. Lay the batting inside as flat as possible. If it bunches up inside, trim off any excess batting. The final result should look like a skinny little mattress. Once the batting is in place, fold over the edges of the material on the open side and hand or machine sew it closed. (I sewed mine by hand using a whip-stitch.)
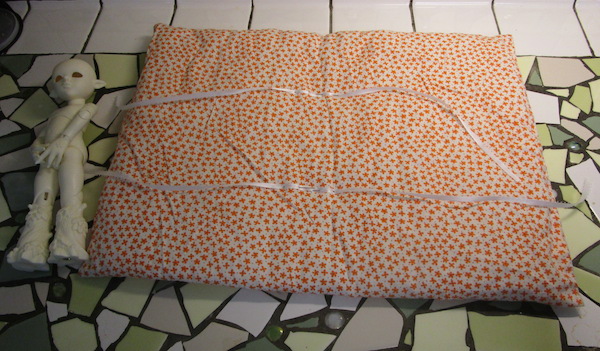
At this point, your project should look like this:
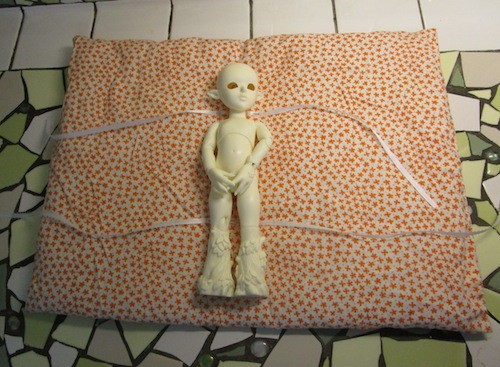
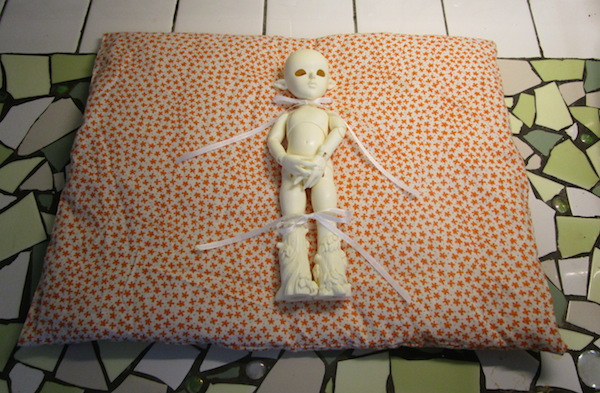
Step 5:
Some ribbon is added next to hold the doll in place within the roll. One piece will be added at the neck, and another holds the legs in place. To decide the location, I place the doll approximately in the center of the rectangle and pin the ribbons in place parallel to the top and bottom. The neck ribbon is 18″ (46cm) and the ribbon that holds the legs is 24″ (61cm). The ends are cut at an angle and sealed with fray-check.
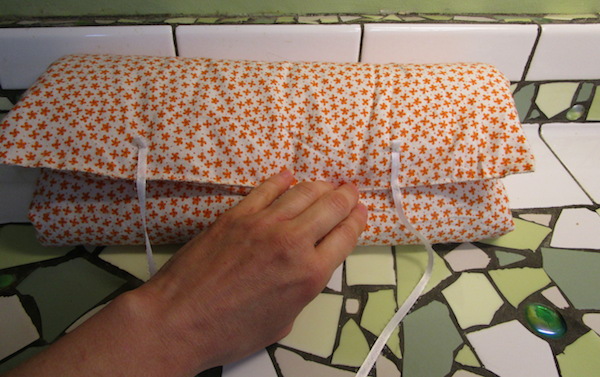
Step 6:
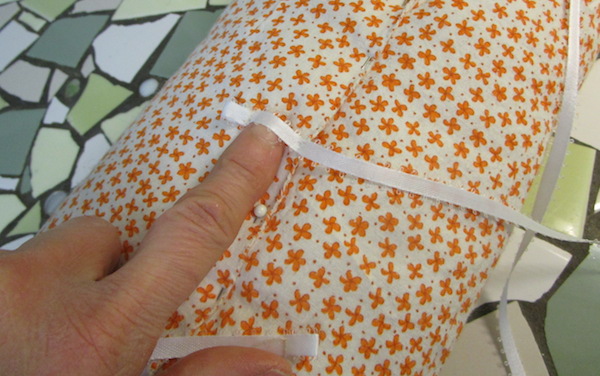
Sew the ribbons in place for the outer ties. I cut four ribbons 12″ (30.5 cm) long. I folded one end over twice for each ribbon and stitched it in place. The first ribbons I added were to the edge of what will be the top flap over the doll. I sewed the looped end one inch (2.5 cm) from the edge and again at the edge of the top flap. The other end of each ribbon I cut at an angle and sealed with Fray-Check. To figure out where the ribbons on the other side would be sewn, I folded the roll and pinned the top edge in place as seen below.
Here is a detail of how I sewed the ribbon onto the roll. The other ribbon should be sewn so it can tie to the top ribbons.
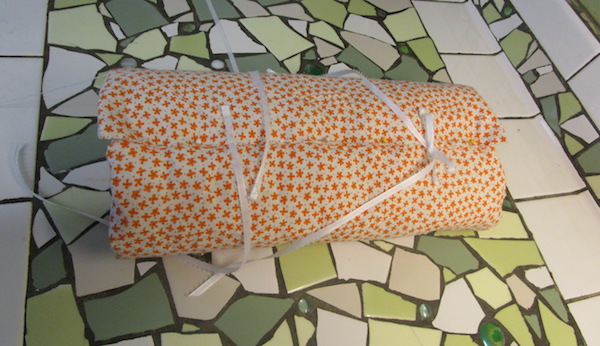
Here is the roll with the one bottom ribbon in place and tied to the top ribbon. The remaining ribbon is shown before it is sewn to the roll.
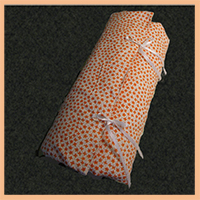
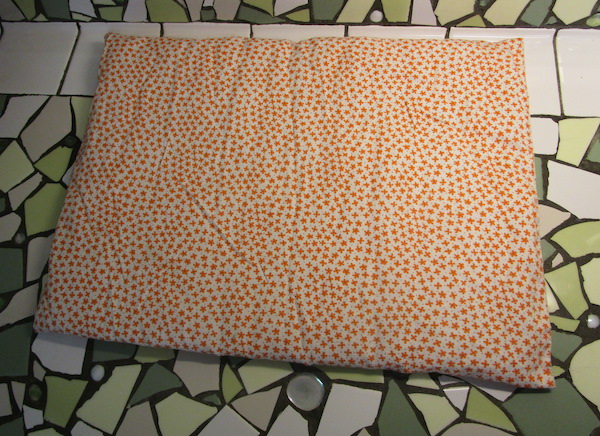
Finished project:
When it’s finished, your roll will look like this when closed. Pockets may be added to the inside or outside of the roll if desired to hold additional parts or accessories.
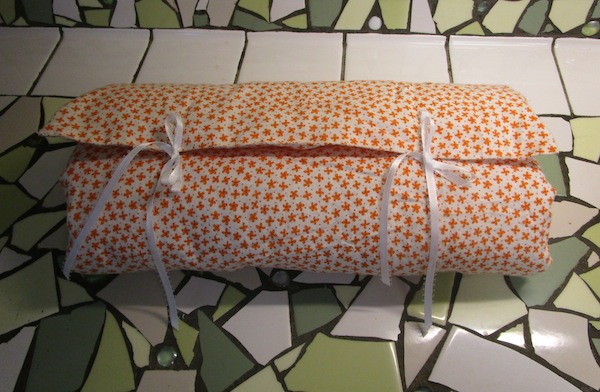
Pretty cool!