
This tutorial by Cindi Stowell of Cindi’s BJD Designs shows how to make a skirt with lots of layering. Mix and match fabrics to make a an outfit that is a real fashion statement.
Materials needed:
Skirt Pattern PDF (originally part of Cotton Candy)
1 1/2 yard fabric
2 yards fabric trim
1/4 yard for skirt and underskirt
~~~~~
Step 1:
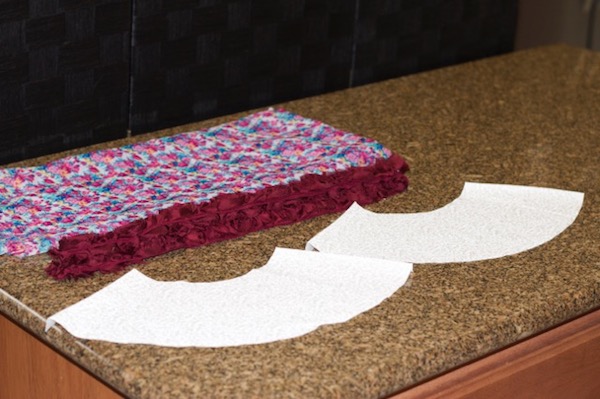
Cut out your skirt and underskirt.
Turn in 1/2 inch center back seam and iron flat.

Step 2:
Cut out a piece of material. All the sides are uneven. This makes for a shabby skirt. Start with longer layers for the back of the skirt. Measure each piece to be roughly the same length.

Step 3:
Gather your piece and pin to the bottom edge of the skirt piece leaving the 1/2 inch center back seam.

A close-up:

Step 4:
Cut another uneven piece of fabric and begin the process of gathering each piece and pinning it to the bottom edge of the skirt. Work the rows of shabby ruffles from the center back seam towards the middle. Each shabby ruffle is smaller in length.
The first row is all pinned and ready to be sewn on the sewing machine. This skirt has 16 individual gathered pieces attached to the bottom.

This is what the skirt looks like on the doll with the first row of uneven ruffles.
Step 5:
Repeat what you did on row one and start another row of shabby ruffles.

A picture of how uneven one of the shabby ruffles is. The more uneven the ruffle the shabbier the skirt will be.

Another picture of an uneven shabby ruffle ready to be gathered and place on the skirt.

A picture of the skirt with two rows of shabby chic ruffles. Row two has 16 individual shabby ruffles.

Here’s what the skirt looks like on the doll with two rows of shabby chic ruffles.

Step 6:
Create a third tier. Here row three is completed. Each row of shabby ruffles is smaller in length.

Step 6:
Pin lining right side to skirt right sides together around center back and waist. Stitch together. Clip corners and turn right side out. Press with iron. Add snaps to the back of the skirt.
Add your fabric trim. I added 4 rows of fabric trim to the skirt.

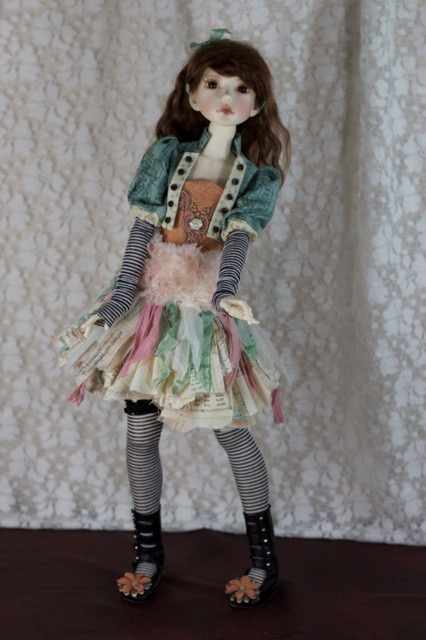
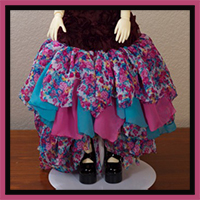
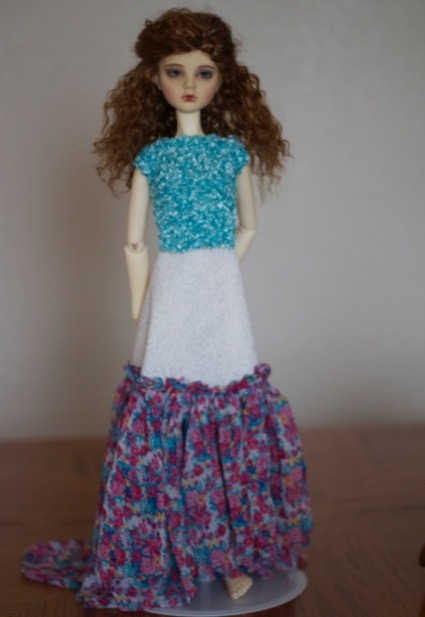
Other skirts made with the same technique: