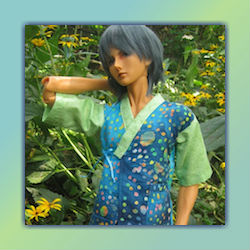
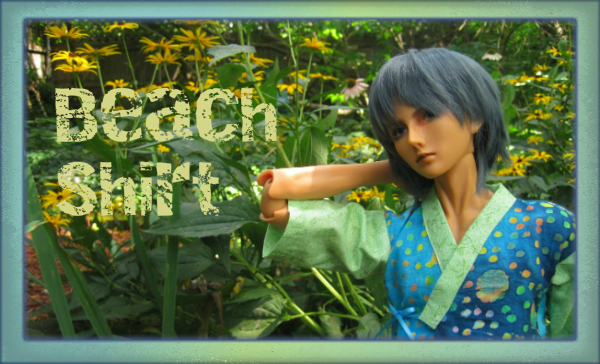
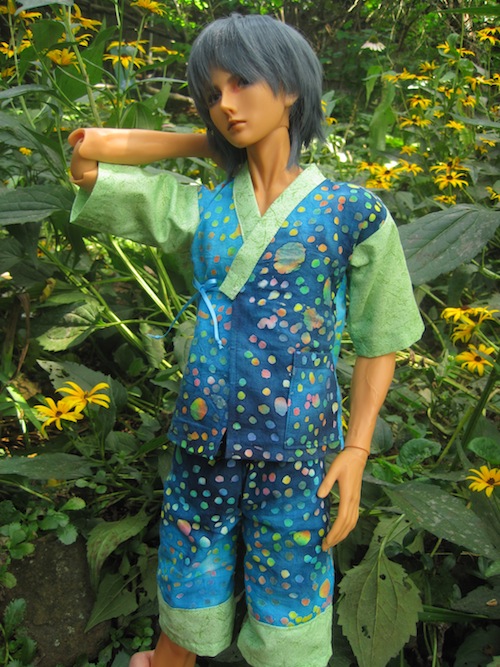
By Rajendora @ Sewing Box Designs
Rajendora designed this shirt to pair with her Surfer Shorts.
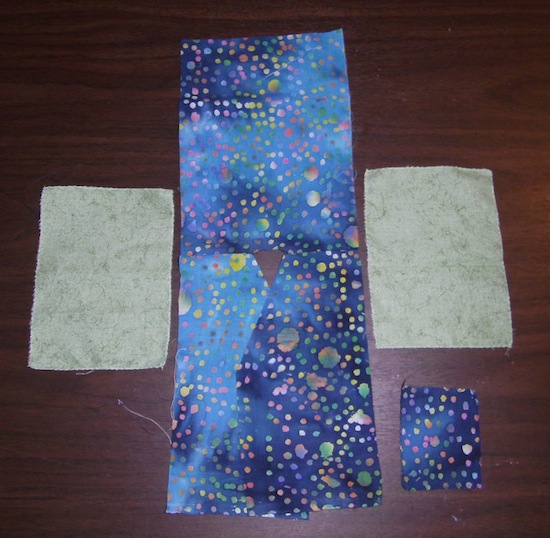
This top is based on a Japanese style top called a hanten. This type of top is very casual, worn like a t-shirt, or a work uniform top where you want to have that t-shirt flexibility. It’s a wrap top, so with tie adjustment, one size fits most. For the amount of fabric, I used the left over fat quarter scraps from the previous tutorial along with the same contrast as the shorts for the sleeves and neck band. A fat quarter (22 by 18) and some contrasting fabric scraps would make the whole outfit.
To make your pattern, you will need your doll’s hip measurements, plus an inch or so, depending on how loose you would like your top, and the length from the doll’s side neck to hem of where you want the top. For the sleeve pattern, you will need the widest part of the doll’s upper arm, plus an inch, and however long you want the sleeve to be, keeping in mind it should not come below the elbow joint. The pattern pieces are all based on rectangles.
Take half the hip width (don’t forget that extra inch or so before you divide by 2!) and draw a rectangle with the width of the shoulders as shown. Then add your seam allowance. I always go with 1/4 inch, and allow 1/2 inch for hems.

Now label that pattern piece ‘back’ and trace another rectangle to make the front. Lay it on your doll as shown and fold back the corner at the side neck to make the front piece.

Now you can fold over the side, adjusting your pattern to where you want the tie string to be on the doll’s body. I forgot my guy has a super long torso and put the tie string too high for a traditional hanten, so watch that! Unfold your pattern and add the 1/4 seams before cutting off the excess paper.
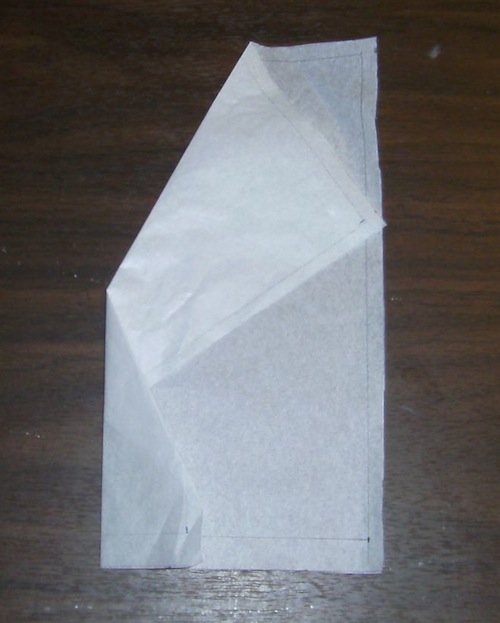
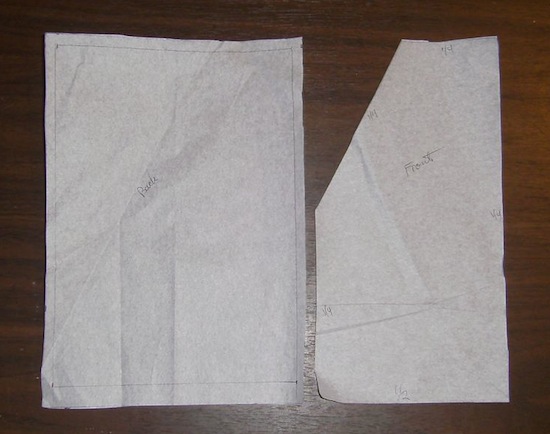
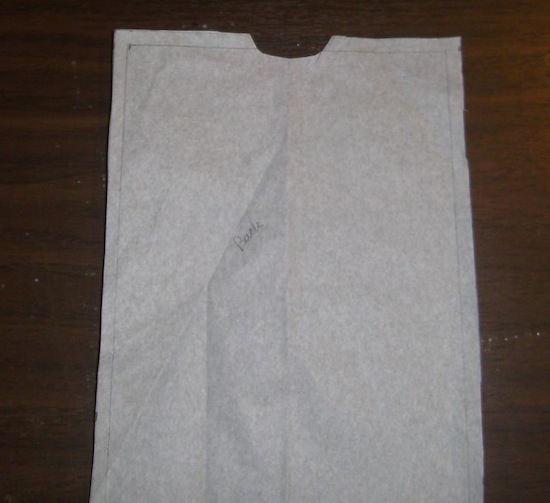
Now take the back pattern and fold it in half lengthwise and lay your front pattern shoulder-to-shoulder with it.
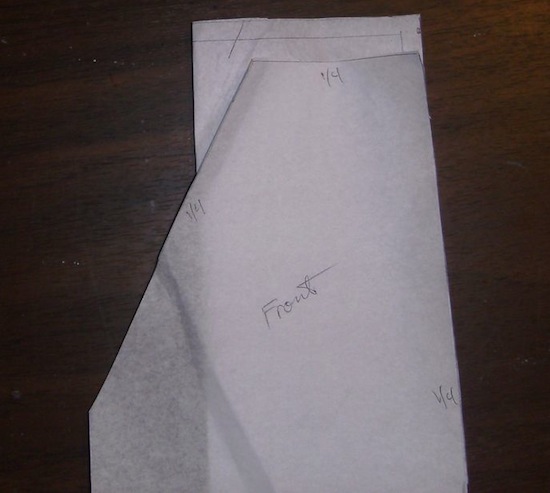
Mark your seam line and cut a curve to fit the back of the doll’s neck, keeping in mind your 1/4 inch seam allowance as shown.
For your sleeve pattern, it’s another rectangle. The width of the arm, plus an inch, and the length of the sleeve, plus the top shoulder and bottom hem seams. I also made the traditional side pocket. Adjust that to your doll’s hand or just make it what ever size you want, like where he or she can keep a pair of sunglasses after a day at the beach.

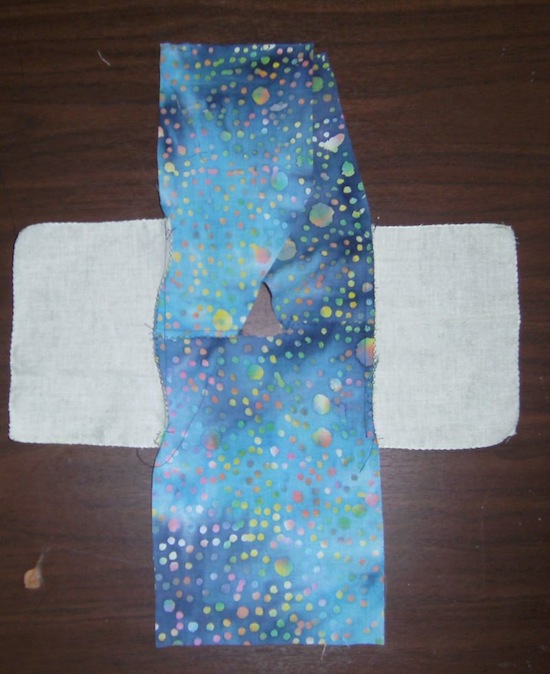
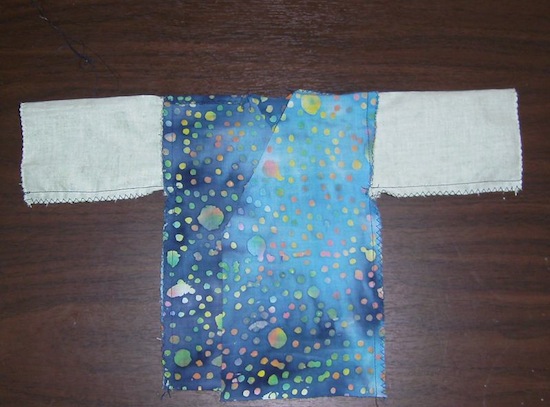
Sew your shoulder seams together and over-lock or zig-zag your raw edges to finish them.
Line up your sleeves with the shoulder seams so that they are right on the middle.
Sew and finish your raw edges as shown. I then finished my sleeve hems on the machine because it’s for a big doll. If you have a smaller doll, do the hems first, then sew up the seams, unless you want to finish the hem by hand.
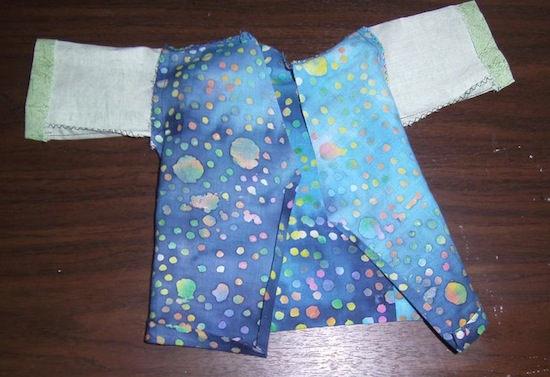
Now roll your front edge seams twice and your hem to finish on the machine.
And you’re ready for your neck band. Measure the length of your neck line and add two inches. Make your band at least 1 1/2 inch wide. You’ll want that overlap at the ends. Pin on the back of your top neckline as shown (you’ll be finishing it on the ‘right’ side) and sew straight along it at 1/4 inch seam allowance.
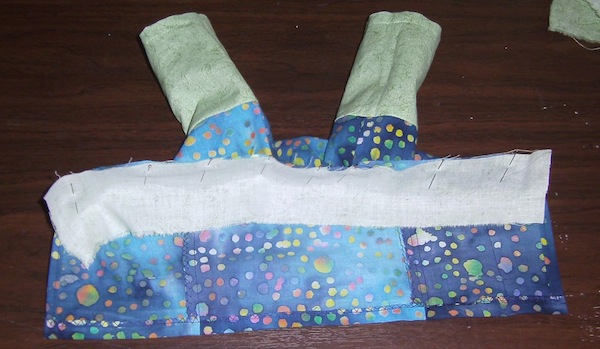
Cut off all but 1/2 inch of excess, then fold and press as shown at each end.
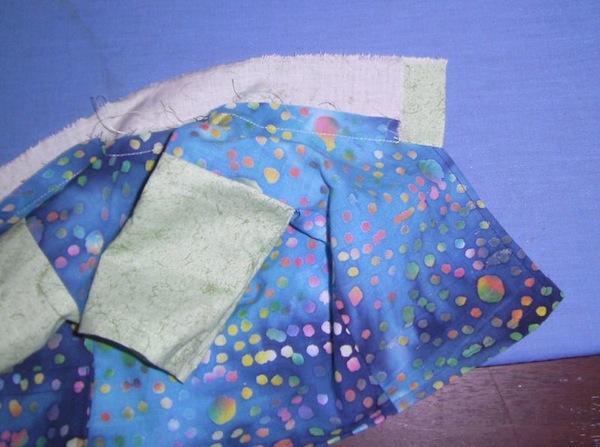
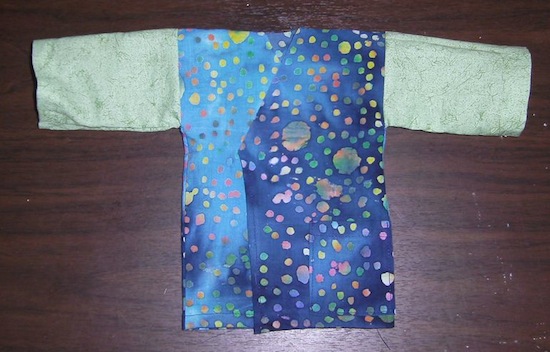
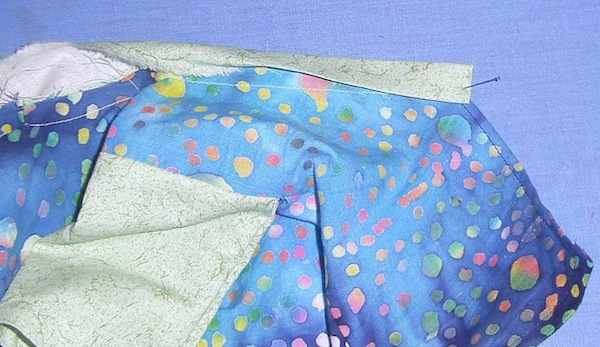
Now fold your neck band (to the front of the fabric) twice, and press. This makes a very nice neck band and is a traditional kimono method (except then it’s folded to the inside, not the outside). Top stitch the band on your machine close to the edge of the fold.
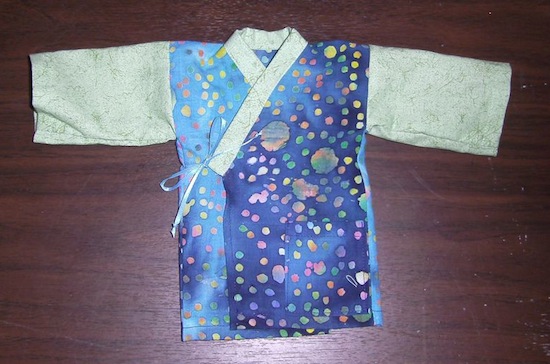
To finish your top, using a tapestry needle, sew in some 1/8 ribbon to match your fabric. One side will go in the side seam, usually at the waistline, and one at the bottom of the neck band. Tie a double knot to keep it in place on both ends.
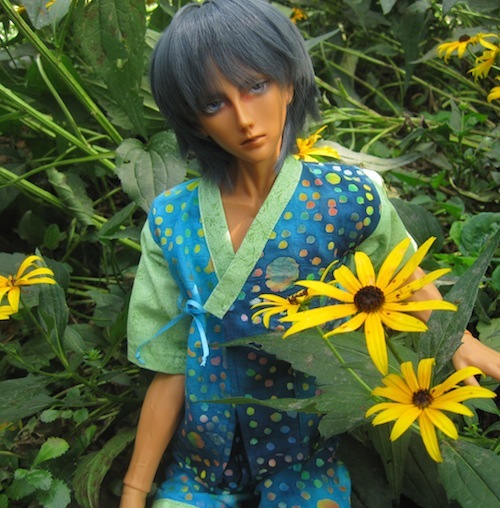
And your doll’s top is ready to wear! This will work for girls as well as boys. Just remember that traditional Japanese clothing folds left over right for living people of either. If your doll is playing a ghost or a zombie, wrap it right over left. Vampires are on their own. O_o
1 thought on “Beach Shirt Tutorial”