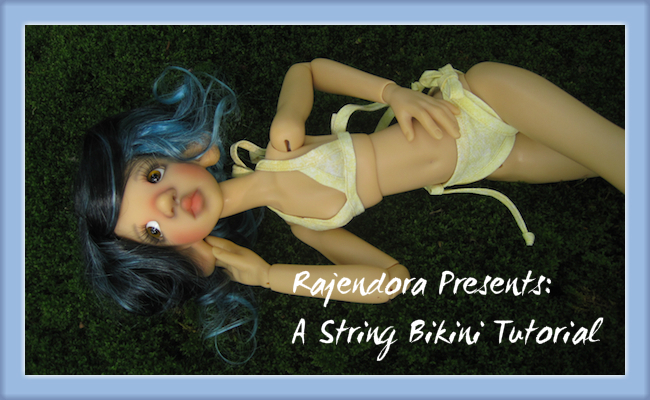
A String Bikini Tutorial
By Rajendora @ Sewing Box Designs
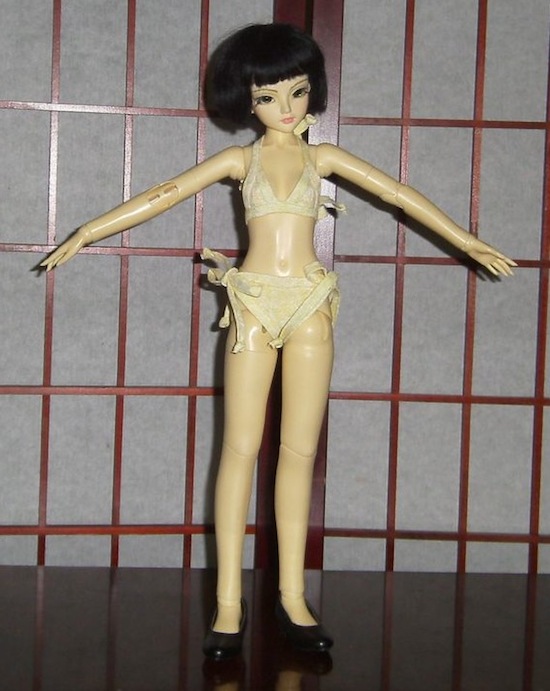
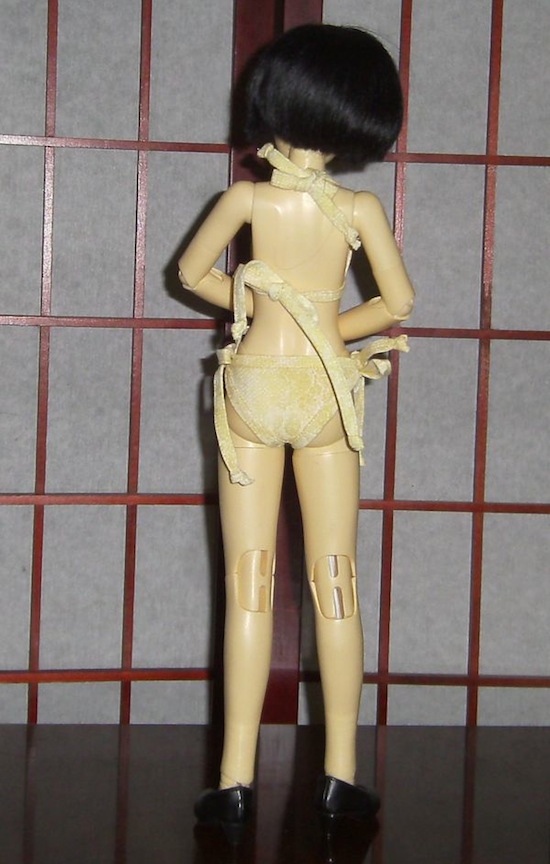
This is an extremely tiny bikini, so much so that the strings take more fabric than the actual bikini! The nice thing about it is with strings you have room to mess up. I have issues with tying bows so the strings on the sample on my MSD girl are rather a lot of string, but they can easily be cut and re-knotted. You might want to double check tutorials on bias binding. It’s a lot easier than it looks for the neat finish. And while I used the same fabric, you can use contrasting fabric.
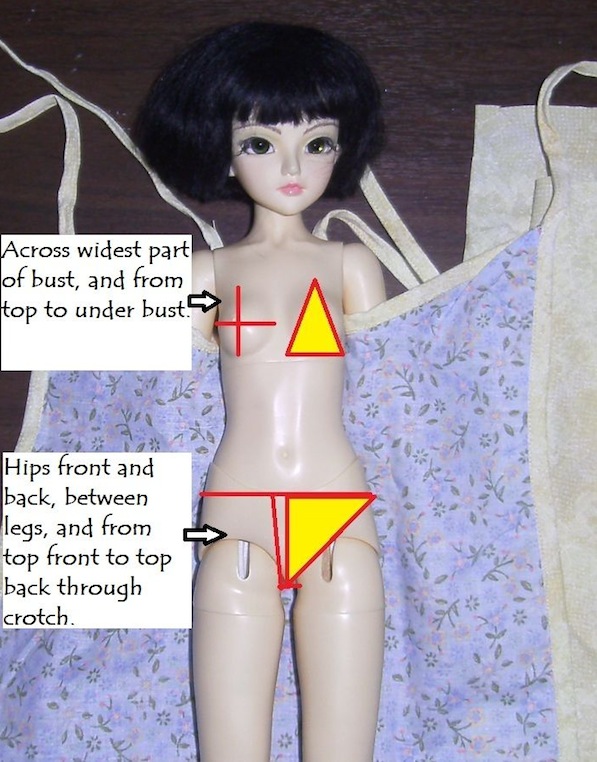
You’ll need these measurements (the yellow bits are just for coverage).
Across the widest part of one breast.
From the top of the breast to under it.
Front hip to hip.
Back hip to hip.
Width between the legs.
From where you want the top front to the top back.
You’ll need 5 lengths of at least 18 inches of bias tape, home made or ready, quarter fold and as narrow as you like. I use a 1/4 for dolls, and cut my strips 1 1/4 inch wide. For some strange reason that extra 1/4 always disappears in the folds when sewing. If you are working with a bigger, SD size doll, use 24 inch or longer strips. For YoSD, I would suggest narrow ribbon and a heck of a lot of patience! (For YoSD I would also suggest one trapezoid top rather than two triangles.)
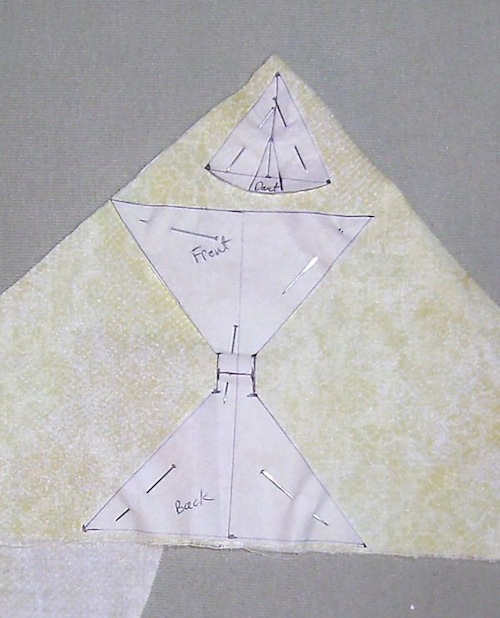
You’ll want to end up with these shapes after you’ve drafted your pattern. This is a rough drawing, so don’t try to use it as an actual pattern. Test the cut out pattern pieces on your doll to make sure you have the fit right before cutting out anything.
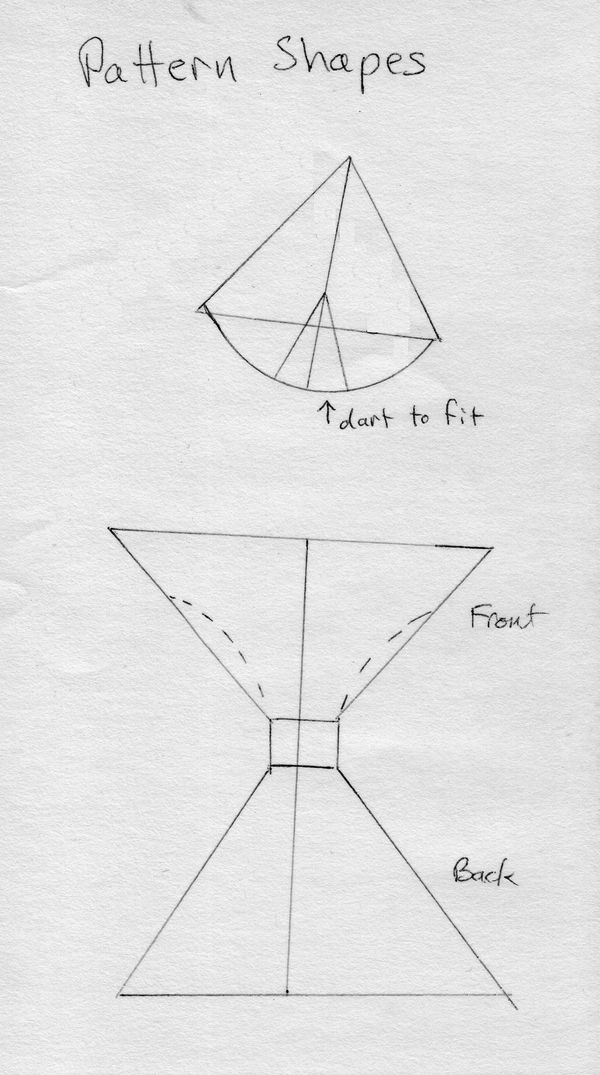
Top
Using your bust measure, draw a triangle with the across as the base and length as the height. Then add a curve at the bottom. You’ll be fitting the fabric to your doll’s bust to make the dart so don’t worry about that, it’s just an example to follow.
Bottom
Using your front top to back top measure, draw a line (refer to the example again). Then cross it top and bottom with your hip measurements. In the very middle, start your crotch measure, the pattern will be smaller in front than in back. After you’ve made your pattern, trace your doll’s leg opening curve onto the cut out pattern so the fabric won’t get caught in her joint. Or do what I did, just put the fabric on, chalk it and trim it off.
As you can see, the pattern is very easy to draft. (At this point I had not cut out the leg opening curves.)
Sewing instructions.
I cut my bikini in one layer of fabric because it’s made for such a small doll. The bias tape will add bulk. You don’t need a seam allowance with this pattern, as all seams are finished with the bias tape.
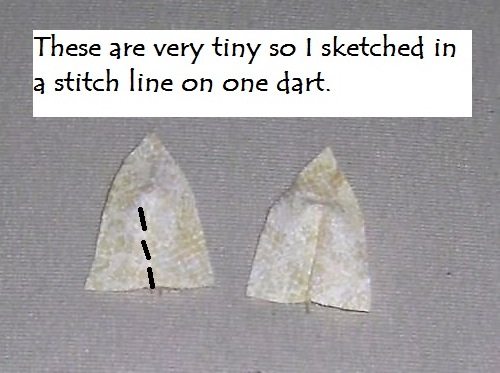
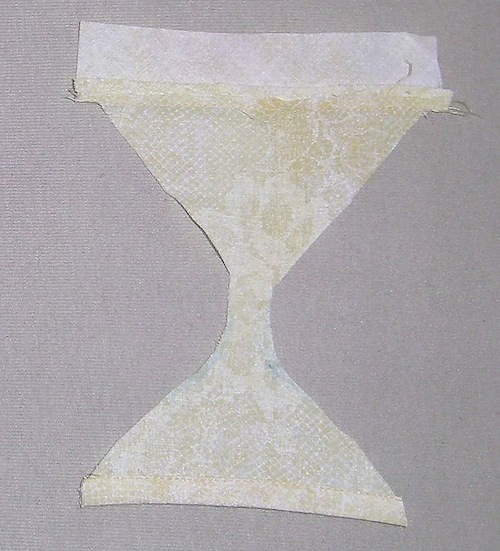
Starting with the bust piece, make your darts by fitting it over the doll’s bust and using a small pin. Sew the dart.
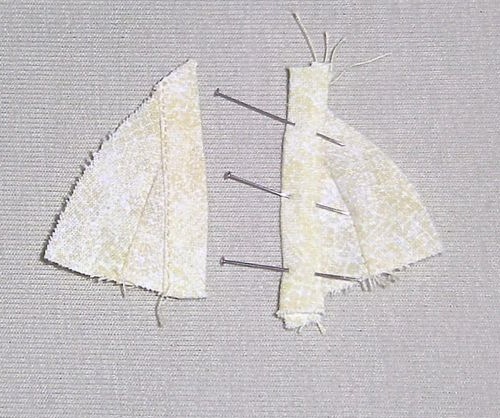
Now pin on the inner side bias and sew it on, as shown. I always sew on bias binding from back to front so that I can be sure the outside is finished neatly and more easily than front to back. Trim off the excess at the corners to reduce bulk. Press, pin and sew on your bias neatly.
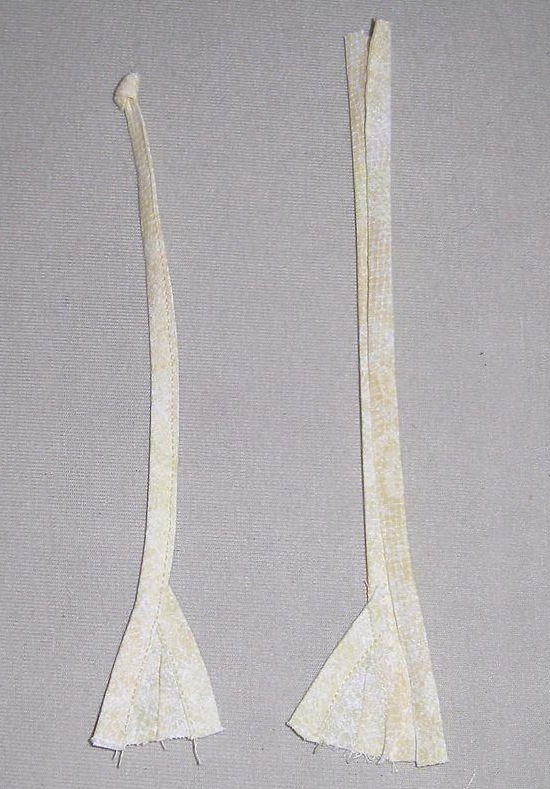
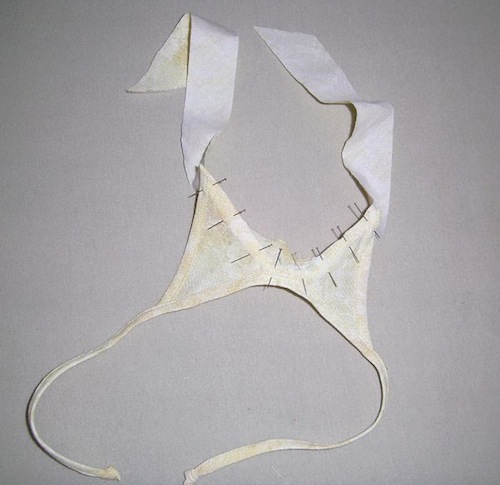
The outer side bias is the neck tie strings. Cut one of your 18 inch bias strips in half. Cover the top point with this piece, and finish as shown. Tie a simple knot on the end, finishing it as a triangle and trim off the raw edges and pull it tighter to make them disappear into the knot.
Now check the bust pieces on your doll to see if you need space between them, or where to place them on the chest tie piece. Pin and sew as shown.
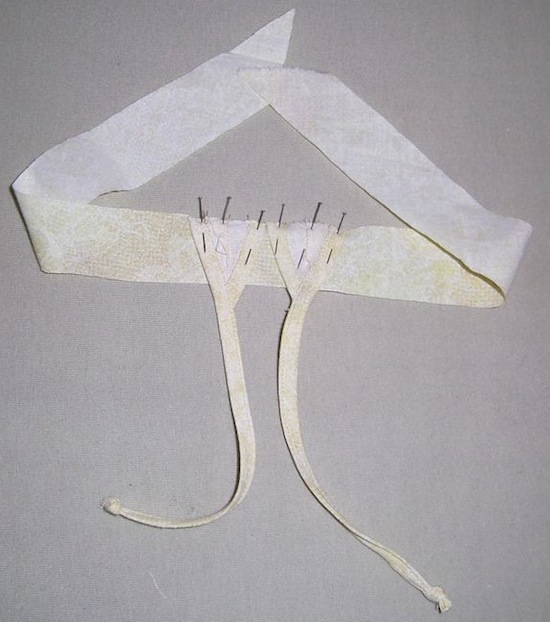
Now for the bottom, start with the top front and back bias strips on the bottoms. As you can see in this photo, the front is smaller and I’ve chalked and cut off the leg top curves, blending the line to the hip points. Trim off excess fabric in the bias seam by 1/2 to reduce bulk.
Sew on the hip tie strings as shown. Don’t worry if they over lap a little in the crotch area.
Finish all your strings with a triangle knot and trim off any excess raw edge showing, then pull it tighter.
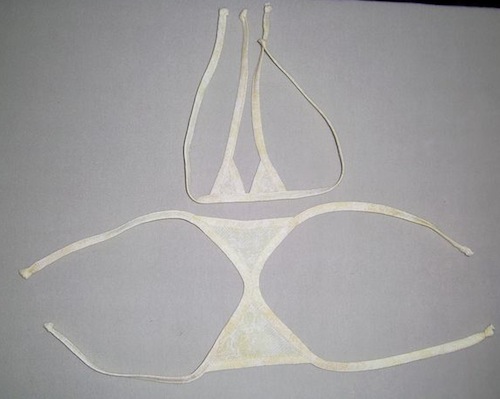
And you’re done! You can adjust the length of your strings after you’ve tried it on your doll and before you tie the knots on the ends.
~~~~~
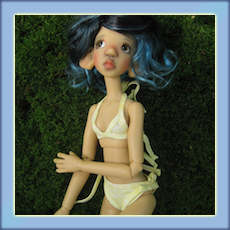
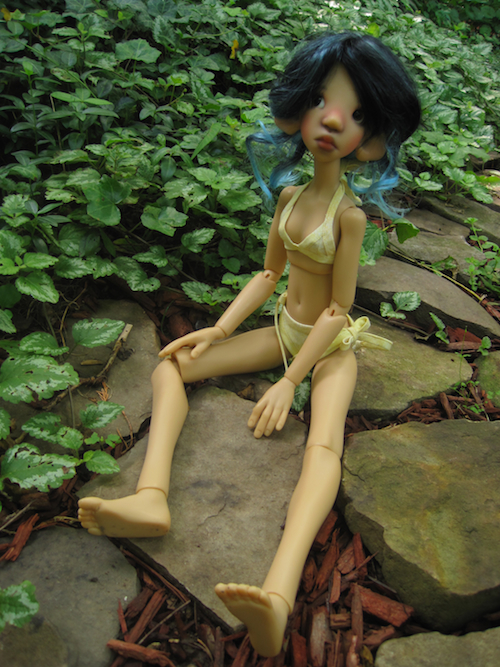
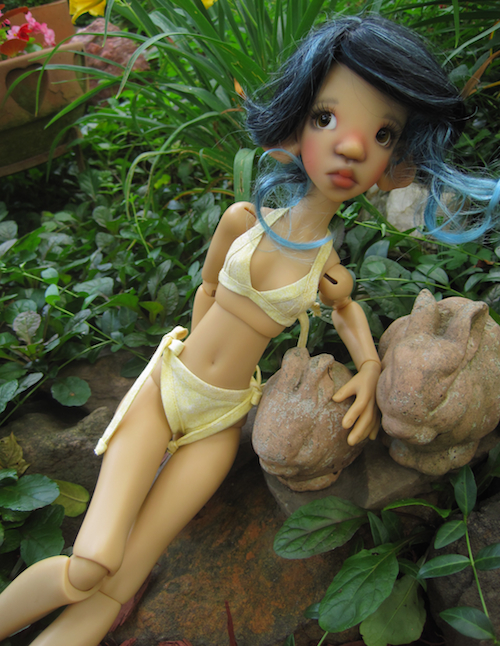
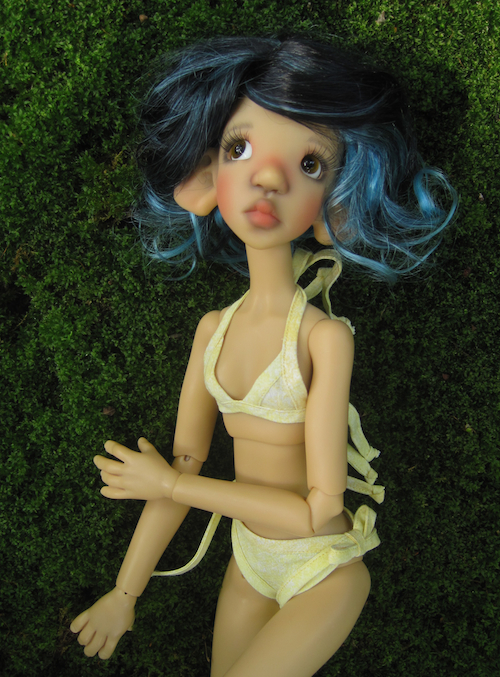
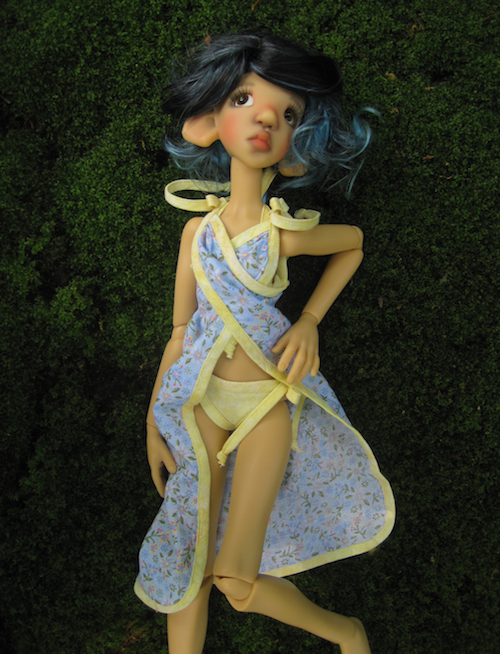
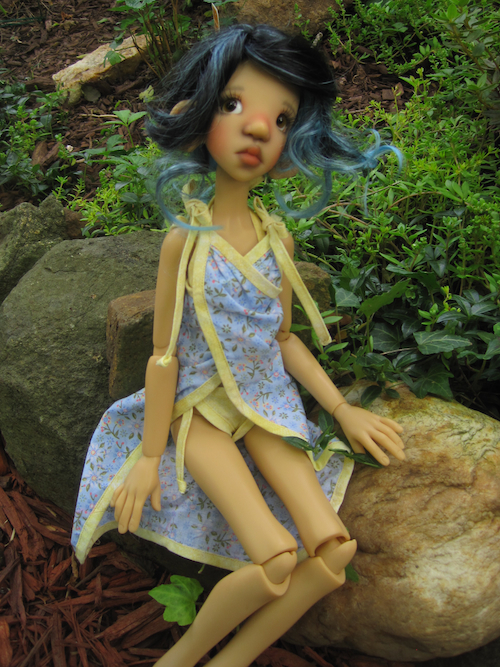
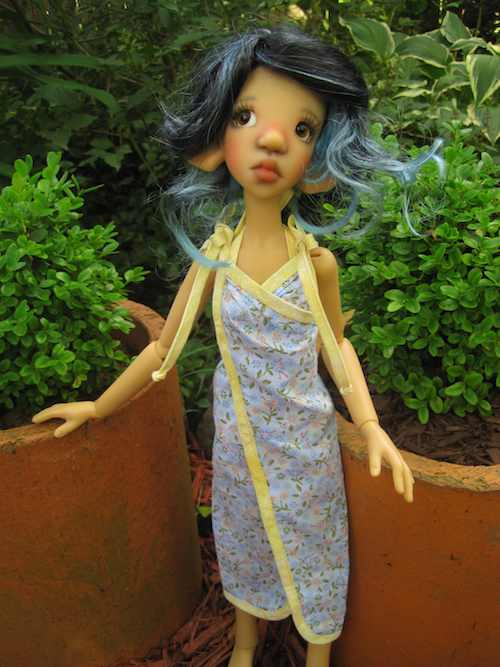
Bikini with matching sundress wrap shown on Kaye Wiggs’ Tobi
1 thought on “A Bikini for Your BJD”