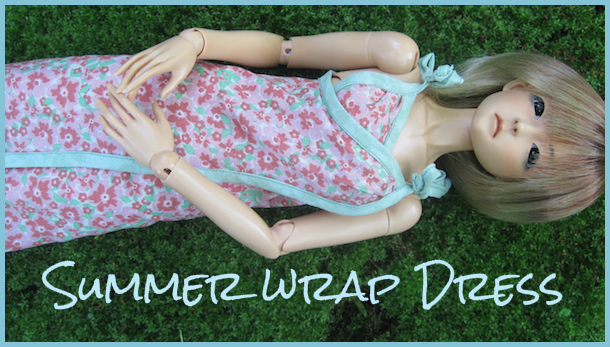
Summer Wrap Dress Tutorial
By Rajendora @ Sewing Box Designs
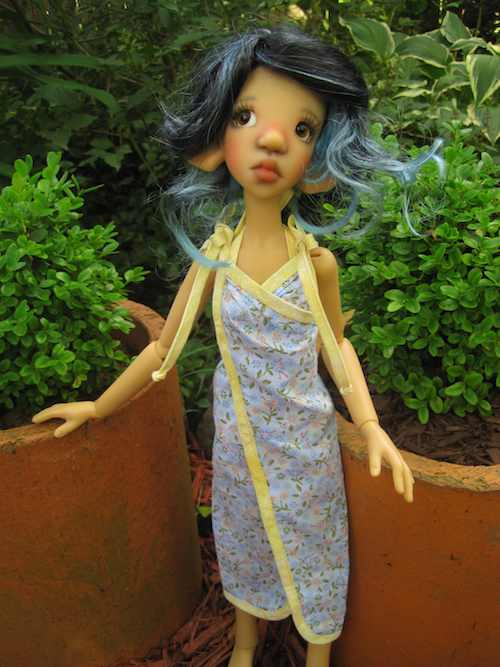
Since we’re into heat waves across my end of the country, we’ll be skipping along right into Summer and save the Victorian Crinoline project for later. Here is neat little wrap dress that can be made to fit multiple size dolls (or enlarged to make your own!).
 You can buy bias tape or make your own to compliment the fabric you chose. I cut my bias tape at 1 1/4 inch wide, and sew with 1/4 inch seams because that other 1/4 inch always seems to disappear in the folds. You can, of course use narrower bias tape. It’s a quick project, too, once you have the pattern adjusted, and are used to putting on bias tape. You can also make it double sided if you use very thin material, for larger dolls. If you really down size it for YoSD, try using ribbon you can fold in half for the bias trim and strings.
NOTE: When sewing on bias tape, remember, it stretches, but you don’t want it to, so pin it on without pulling on it, and try to avoid any stretching. If you aren’t sure how to sew bias tape trim, check a few YouTube tutorials and see how easy it really is. Just start with pre-made bias, and pins are your friend. To make your own bias tape, you don’t need all the fancy gadgets and sewing feet. There’s a trick to ironing bias tape with a long pin or safety pin in the fabric of your ironing board. You just set your bias tape ‘maker’ at the right size on the ironing board, and as with the devices, run the fabric through while you press it. Then just sew it on with a regular foot. Make sure you preshrink your fabric before you make your own bias tape.
Measurements you’ll need to check: Bust, widest part of the hips and how long you would like the top from the armpit of the doll to the hem.
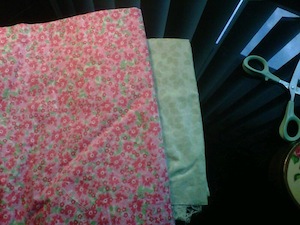
Fabric: I used less than a fat quarter (18 by 22 cuts from the quilt or remaindered section of the fabric store) of light weight cotton for both dress and bias tape.
Always make sure you test your fit before cutting your fabric. These patterns are made to roughly fit the wide range of MSD and SD girls. The SD size pattern was tested on a slim SD girl and a Soom Super Gem, the MSD size pattern was tested on a basic MSD girl. Always paper test your fit first, paper towels are a wonderful, inexpensive test ‘fabric’.
1. Print out the pattern and run a test with paper towels and tape. Remember the shoulders will be tied with bias strings, so just tape the cut out piece edge to edge. Make any adjustments needed. The pattern is marked where the center back is on the fold, so you’ll want half your bust and hip measure to go from the back center to across the front, with overlap.
2. Measure all around your corrected pattern for how much bias tape you will need; the back neck bit, the arm pit to shoulder bits and around the whole dress. Then add 4 x how long you want your tie strings to be to the entire length, and a few inches more just because.
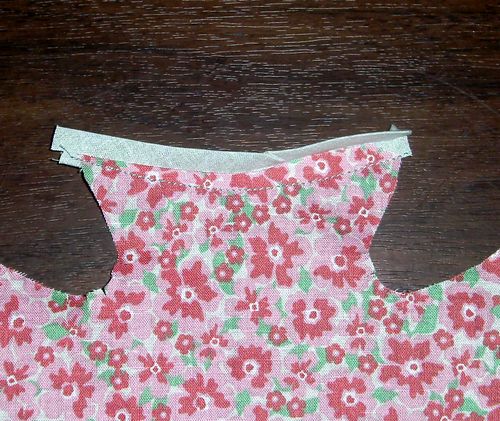
3. Starting with the back neck, sew your bias tape on the back of the fabric first. You’ll be flipping it over to the right side to finish it neatly.
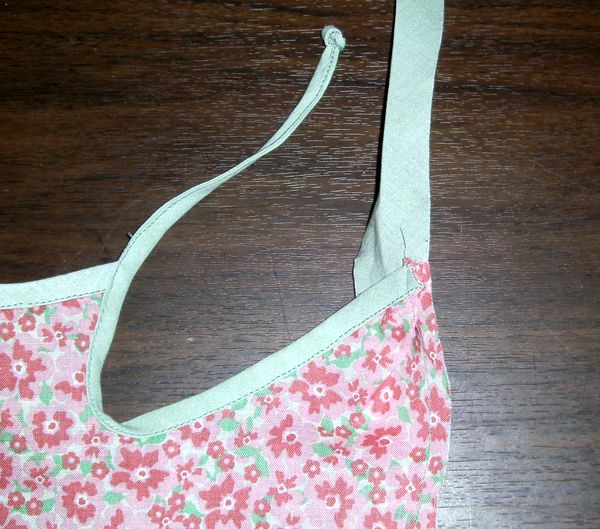
4. Now cut the bias tape for your arm hole to shoulder seam, making sure you leave enough to make the tie strings. Sew it on the back of the fabric first. Trim off a bit of the excess seam on the back neck but be careful not to trim too much. Flip, press, and sew the bias on the front, making the tie strings. You can finish the ends with a little triangular knot.
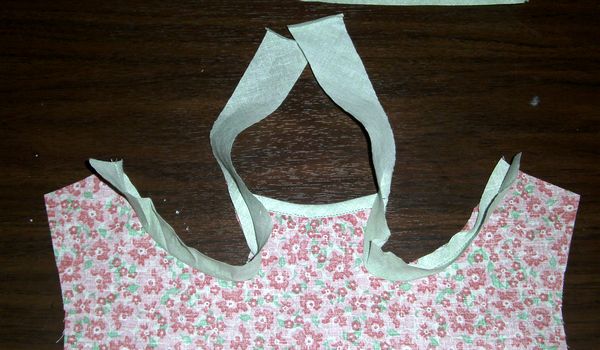
5. Next pleat the front shoulder area into as tight a section as you can and pin and press. Then pin and sew on the bias tape, allowing for the tie strings to match the length of the back strings. Trim off the excess at the corner before flipping and sewing the bias to the front. Once again, finish the strings part with a little knot.

6. Flip the bias, press and pin neatly and finish sewing around the front side and it’s done!

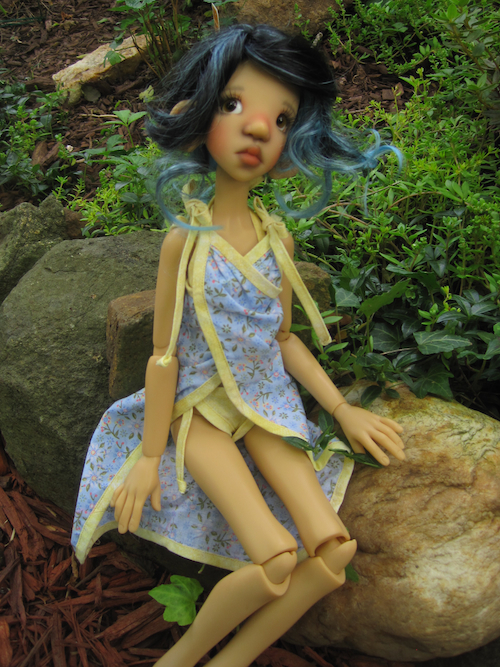
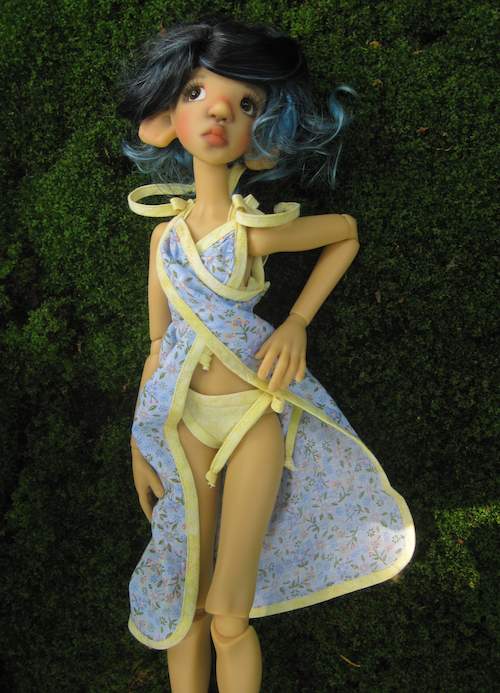
To dress your dolly, wrap the dress around the doll either way you prefer, left to right or right to left, and tie the shoulder strings in a bow.
This pattern can be shorted to make a cute top over a skirt or jeans, or by changing the type of fabric you use, made into anything from evening wear to a nightgown. You can add seam allowances and a full lining with just the tie strings for a more formal look, or put a belt on for figure emphasis. I like the chain style hip-hugger belts for this type of loose fit. (Two bracelets linked work great!) It’s a very simple pattern that leaves the creative part up to the stitcher to redesign and play with it.
~~~~~
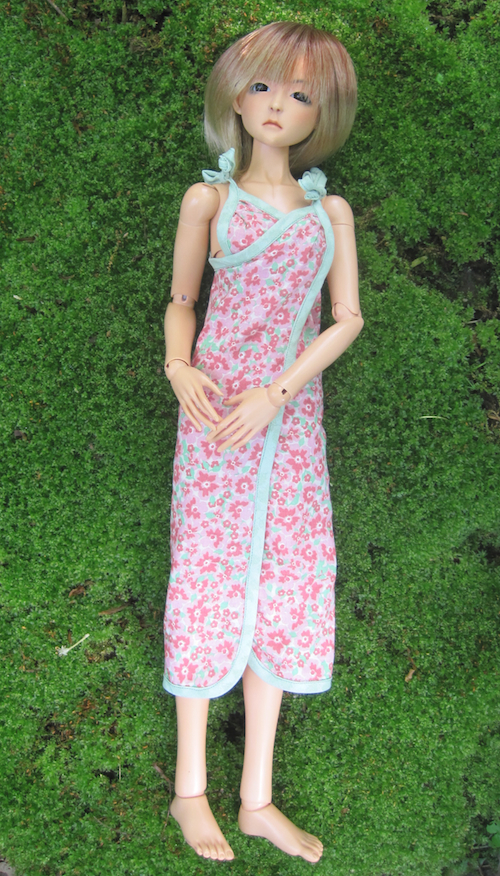
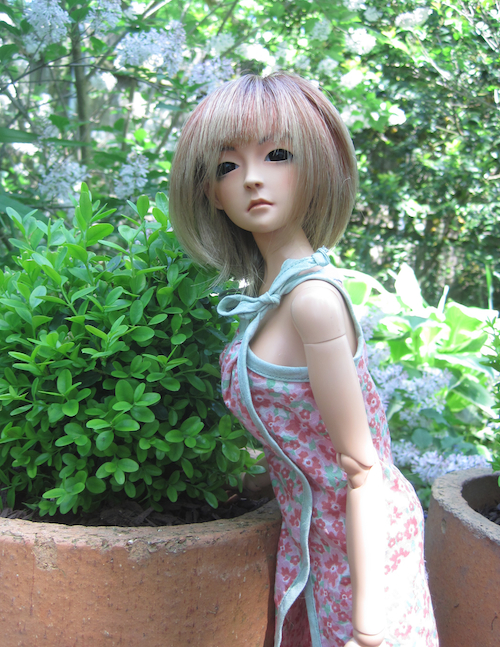
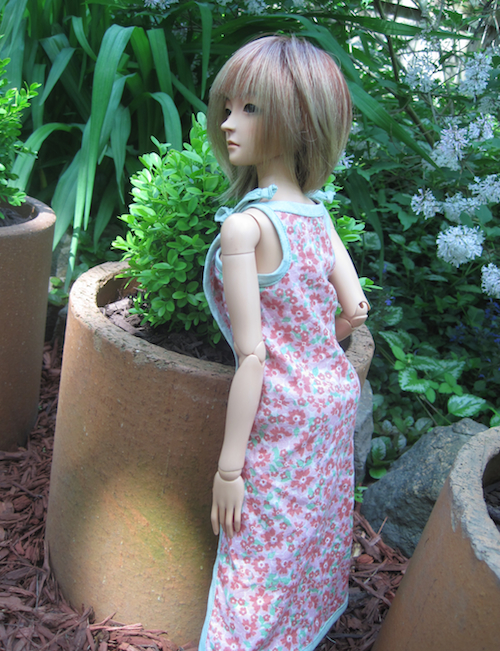
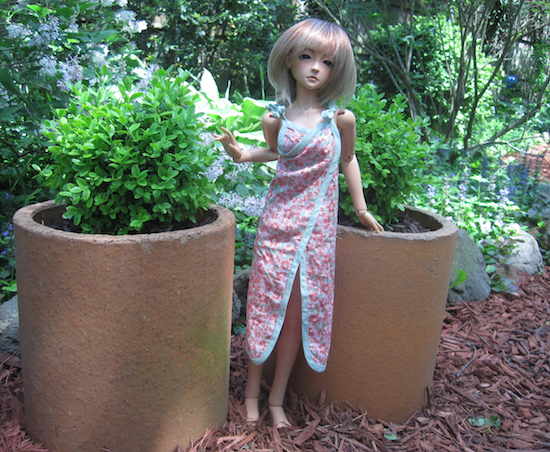
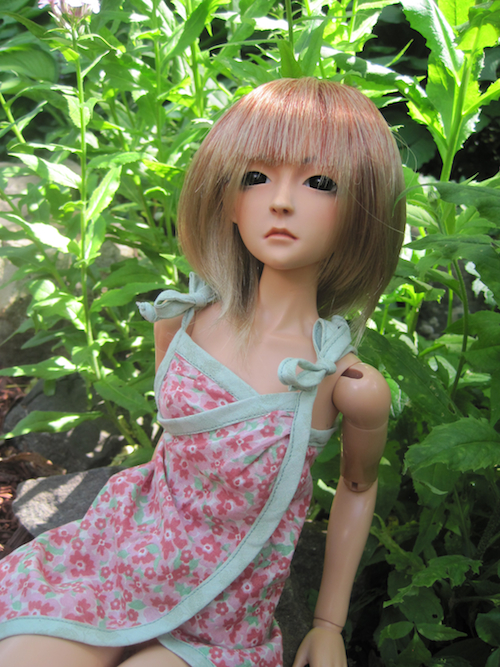
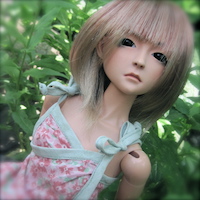
(Dolls used in photos include 56cm ImplDoll Model line Tdelia in tan resin (above) and Kaye Wiggs’ Tobi by Kaye Wiggs (below). Tobi is wearing a bikini created from another tutorial by Rajendora HERE.)