How to Pattern and Sew a Simple Chemise and Petticoat
Part 2: The Petticoat
By Rajendora of Sewing Box Designs
This is the second part of a series that I will be doing on historical underpinnings and then modern underwear. All you need to know to start with is how to work a sewing machine, and measure your doll, and draw lines as indicated to make the patterns. The sewing is basic straight stitch and zigzag. The aim of these tutorials is to give you a basic grasp of the methods of patterning and construction so that you can then take the basics and move along to your own designs. Keep in mind that I’m not a trained teacher, I’m just passing along what I’ve learned by study, research and working in theater costuming.
~~~~~
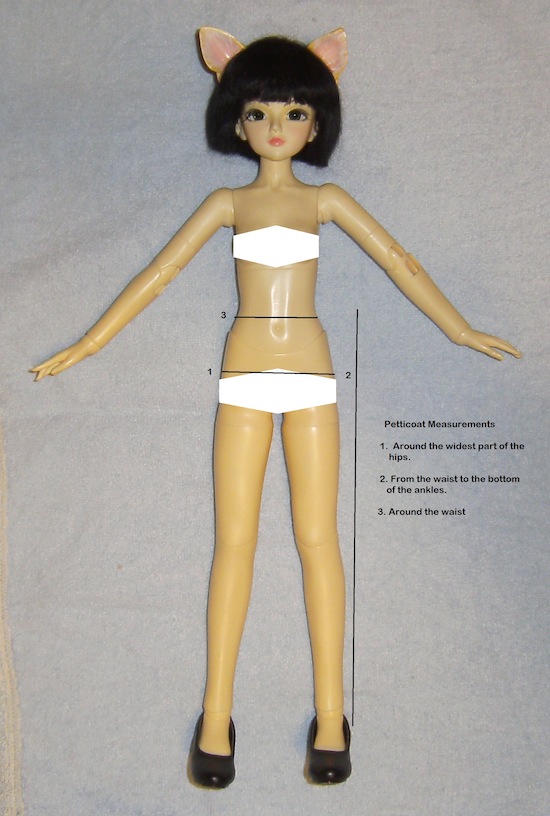
For the Petticoat, you will need these measurements.
1. Around the widest part of the hips. 2. From the real waist to the bottom of the ankle. 3. And around her waist for the elastic.
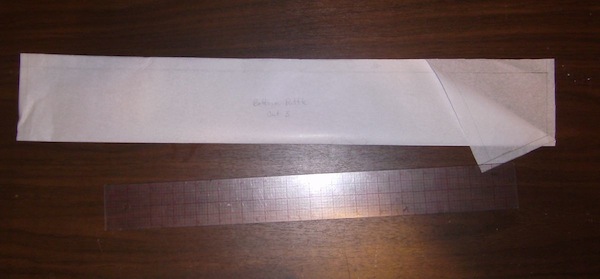
Patterning the Petticoat.
You’re going to be working with simple rectangles. I’m going to show you a one ruffle petticoat, but you can make tiered ruffles using the same formula. Just remember that from top to bottom, each tier is three times the width of the one above it.
Starting with the #2 measurement, mark the length of your petticoat. Multiply #1, the hips, by 3. You’ll want a 1/2 inch top and hem allowance and a 1/4 inch seam allowance. Your elastic will be your doll’s waist measurement with an extra 1/2 inch for sewing the overlap.
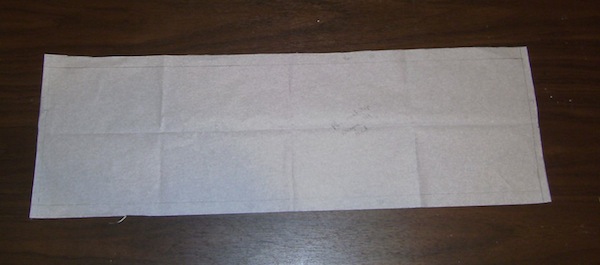
Now, for the ruffle. Decide where you want your ruffle to start. It can be half way down or 2/3 way down, or where ever you want it. If you’re doing tiers, it’s up to you. I’m using 2/3 for this tutorial. Mark your pattern 2/3 of the way down, and draw your seam and add your seam allowance (1/4 inch). Measure the difference and use that as your ruffle length. Using the width of your petticoat pattern, (#2 times 3) you want to triple that again.
Because I’m going with 2/3 to 1/3 I simply fold my skirt pattern in half to make the 1/3, and cut three pieces.
Assembling the petticoat
Starting with your ruffle, sew the seams together and zigzag the edges. Press the bottom hem up 1/2 inch and stitch at 3/8 of an inch. Now, run a gathering stitch around the top of your ruffle at 3/8 of an inch. I use the widest stitch on my sewing machine and loosen the tension a little, and hand quilting thread because it’s just a bit thicker and stronger. Leaving some length to pull the gathering, set this part aside.
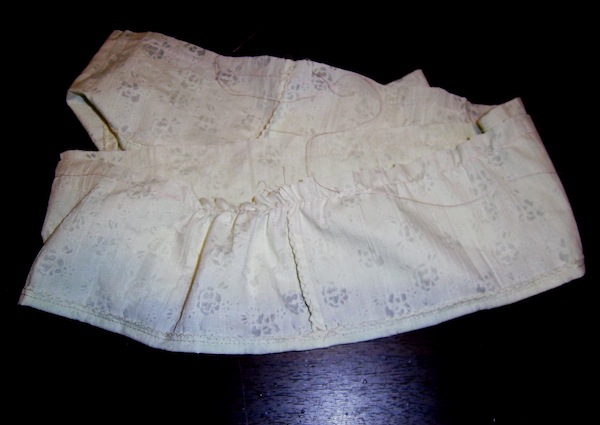
Sew your top piece together at the back seam. Fold and press the waist down at 1/2 inch. Sew at 3/8 of an inch. Cut and thread your elastic through the casing and hand sew it shut.
Flip your petticoat top and mark it at even spacing. Now divide the ruffle and do the same. I use about 8 points of reference because it’s just easy.
Pin the ruffle to the petticoat and then gently pull the strings until it’s all snugly gathered. Pin it like crazy. Press the ruffles down and double check that you don’t have large folds or catches.
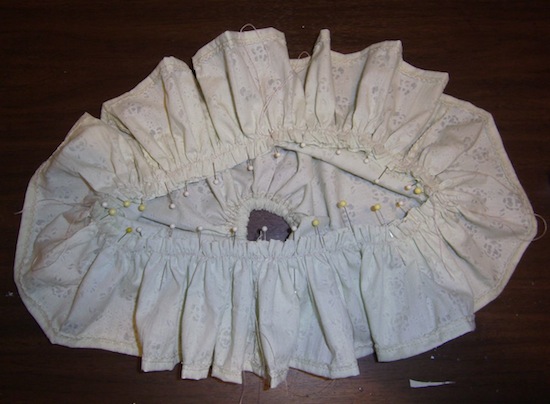
Sew the ruffle on at 1/4 inch. Pull out the gathering string.

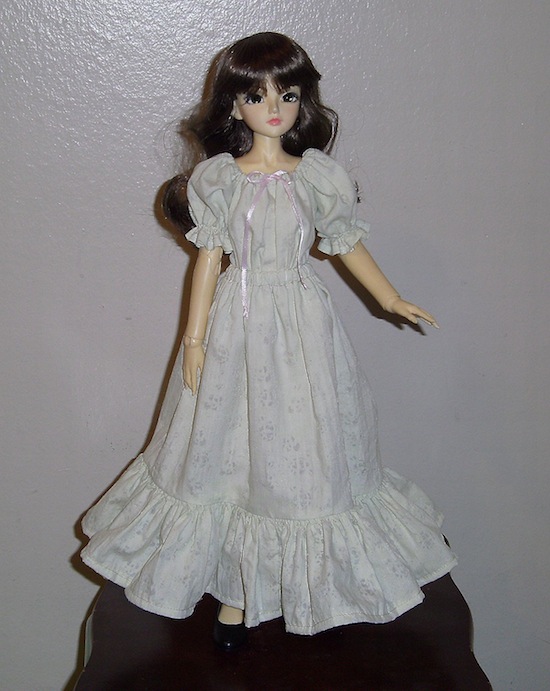
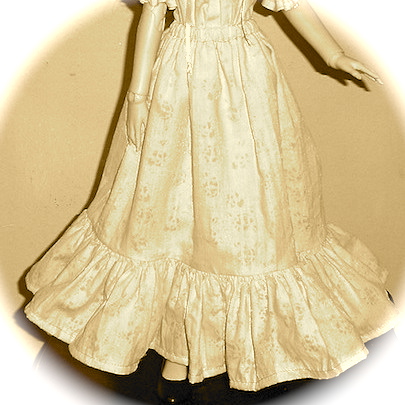
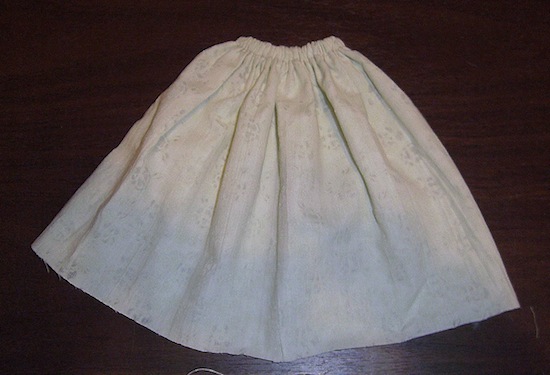
You’re done. Any holes from the gathering stitches will close up in the first wash. Press everything neatly and dress your doll. For smaller dolls, you’ll want to thinner fabrics. I’m using a burn out gauze for this sample and it’s still a bit bulky. To compensate you might reduce the multiples of your chest and hip measurements.