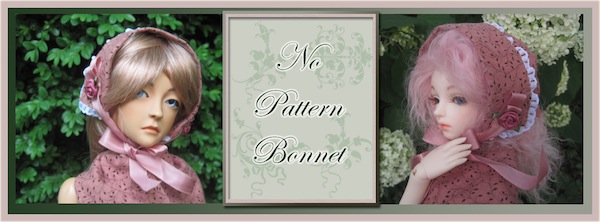
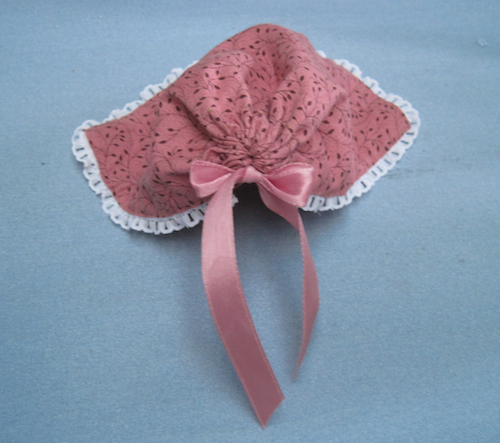
This lovely fully-lined bonnet is made from a single rectangle of material. It is not difficult or time-consuming to make. The finished bonnet fit both my 1/4 size Little Harmony Irin and my smaller 1/3 girl ImpModel Tdelia.
Materials:
A rectangle of cotton patterned fabric 8 1/2 inches (21.59cm) by 11 inches (28cm) (The stretchy side should be the shorter end)
Matching thread
Needles for hand sewing or a sewing machine
ribbon
Iron
Decorations for the bonnet (optional)
~~~~~
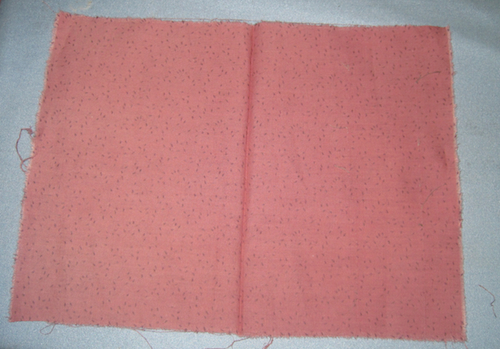
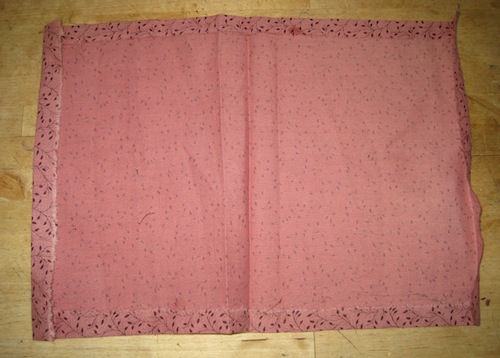
Step 1: Take your rectangle and fold it in half pattern side out. Press the folded material to form a crease down the center.

It should look like this from the back.
Fold the long edges as shown about a 1/4 inch (.1016cm) and carefully press them down.
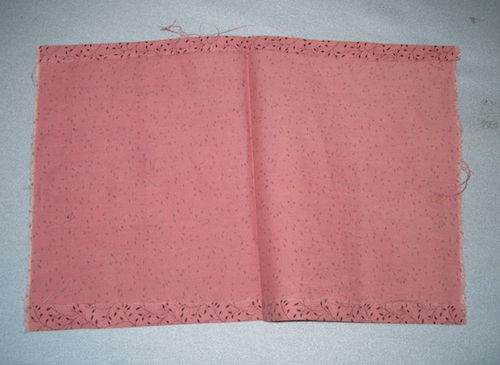
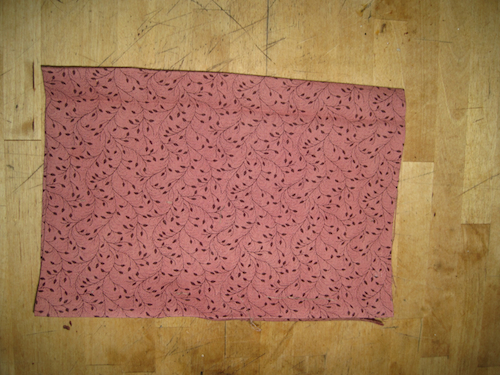
Do the same on the ends. Fold the center over a little wider than the ribbon you plan to use and press that to make a crease on either side of the center crease.
Your material should look like this:
Step 2:
Sew a seam along the crease above the material fold. This will form a casing for ribbon.
Step 3:
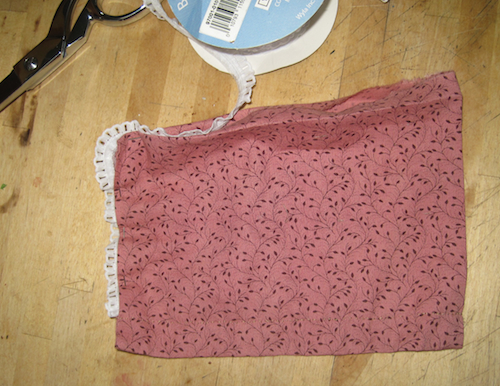
Starting above the casing, pin lace around three sides ending above the casing stitching on the other side. Double fold and (optionally) stitch the ends of the lace on either end.
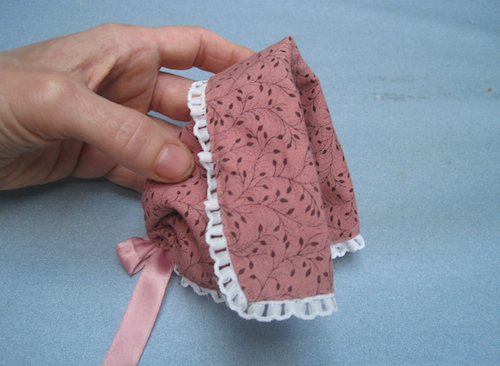
Step 4:
Hand or machine sew the two sides together with the lace sandwiched in the middle. If you are worried about the lace slipping out of place when you sew, the lace can be basted in place before sewing.
Step 5:
Once the two sides beyond the casing are sewn, Run your ribbon through the casing.
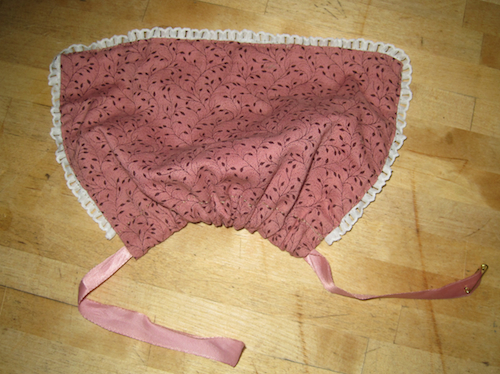
Gather up the material along the ribbon and tie a bow with the ends. This will be the back of the bonnet.
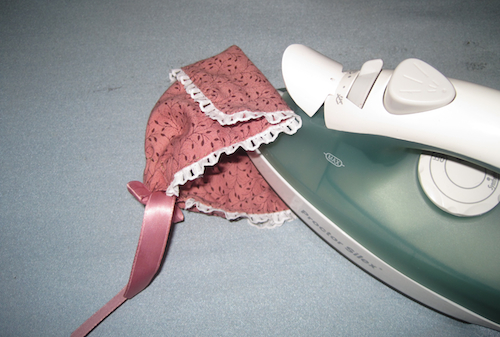
Step 6:
Now fold the other end over as shown in the photo below. This will form the brim of the bonnet. The fold can be adjusted to look best on your doll. Before you try it on, put a wig on the doll’s head. Fold it back to a point you like, and pin it in place.
Press the fold with your iron.
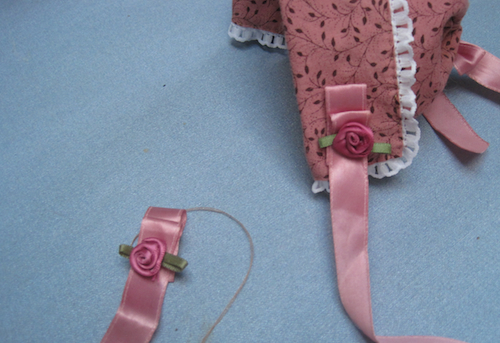
Step 7:
Take a piece of ribbon and form two staggered loops. Sew a decorative item (a button, jewelry, silk flower, ribbon rosette etc…) to the ribbon. Make a second matching one. Sew them as shown to the sides of the bonnet through both the folded material and the material underneath. Make sure it is properly attached.
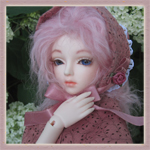
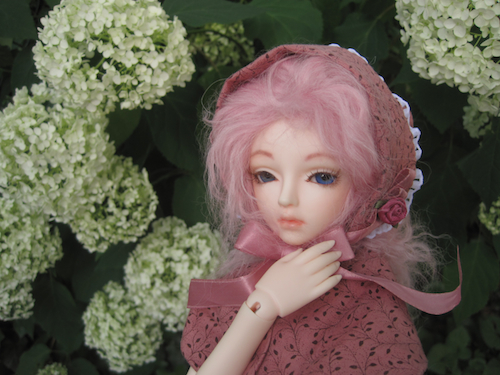
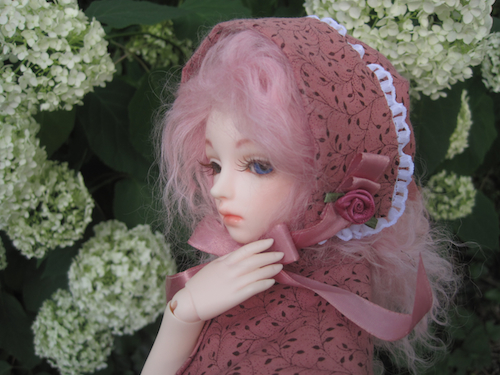
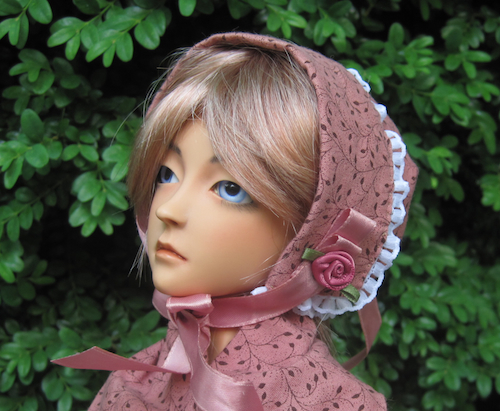
The finished bonnet:

love the site
Fantastic site and so easy to follow. Thank you.