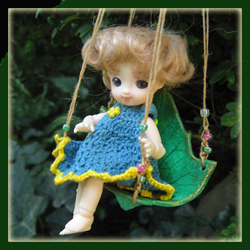

This is a fun project for small dolls. The swings are very quick and easy to make.The hardest part is waiting for them to be ready to paint and decorate!
Note: The instructions here are based on using DAS clay to make the seats. Other clays may be used, but the instructions may have to be altered to take into considerations the specific properties of the clay selected.
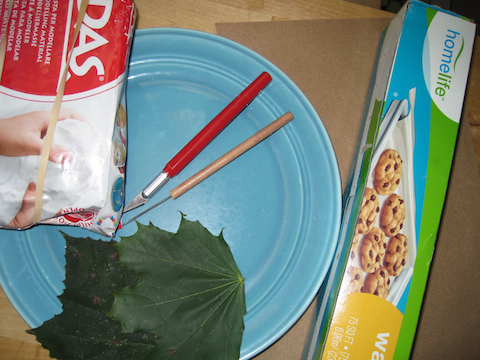
Materials:
Leaf in desired size
Rolling pin
DAS clay (or any other clay you prefer)
Wax paper
Thin blade Xacto knife or clay needle tool (A needle stuck in a cork could also be used)
150 grit sandpaper
Small drill bit
White glue
Paints
String or ribbon
Optional: fan to speed drying
Decorative items (beads, tassels, glitter etc…)
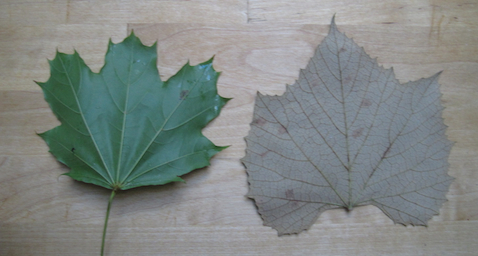
Leaves to look for:
The best leaves for the project are wide with strong veining on the underside. Cut the stem off of the bottom of your leaf.
~~~~~
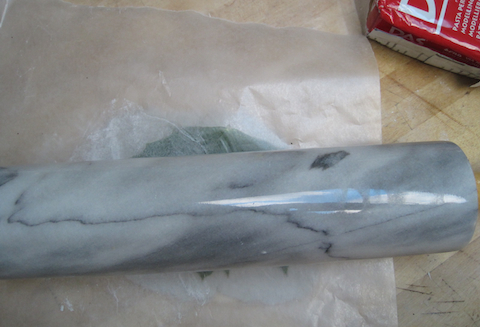
Step 1: a. Roll out a piece of clay to the thickness of pie crust. I rolled mine between two sheets of wax paper.
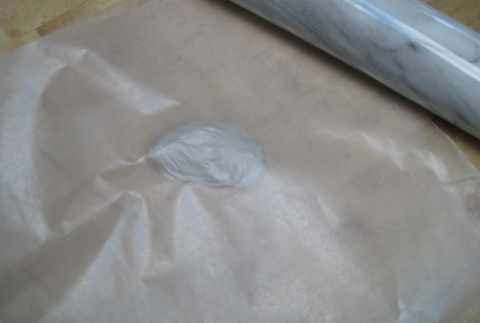
b. Place your leaf on top and see if it fits your clay slab.
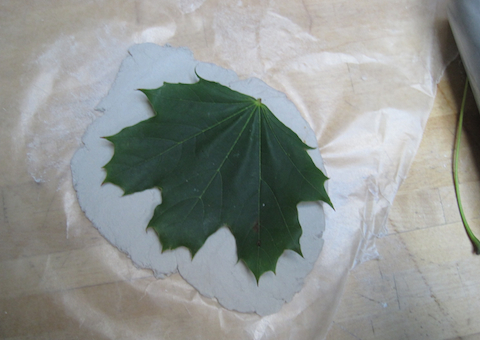
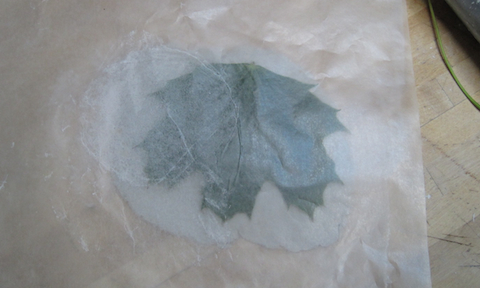
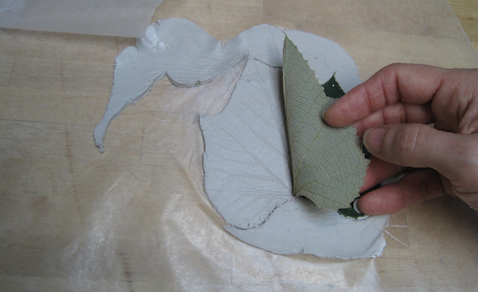
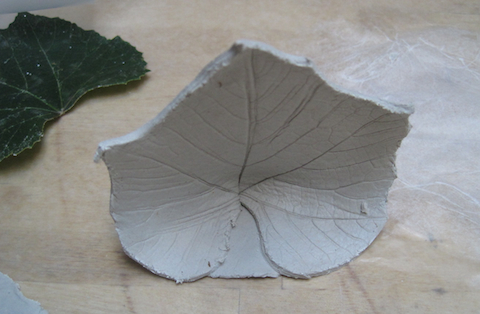
Step 2: Once you have a slab of the right size, place your leaf veined side down, and roll the leaf onto the clay to make the impression.
Note: With a leaf like this grape leaf, it isn’t necessary to cut all of the little notches. I simplified the outline with a series of points. This still looks good and is easier to sand.
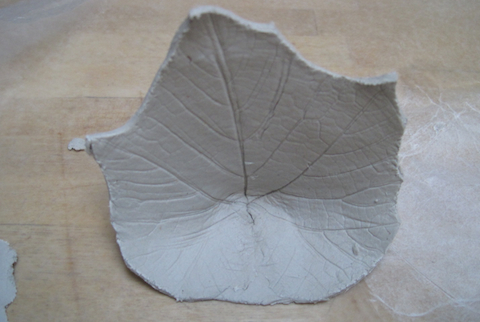
Step 3: Create the seat. There are two ways to do this, one is to bring the bottom edges together and pinch them together removing any excess clay. The other is to add an additional piece of clay. The choice is based on the leaf, the size of the chair and the dolls sitting on it. For the smallest seats I preferred to pinch the seat together, for the larger ones I added a piece of clay. If desired, a part of the leaf may be pressed into the seat area after it is formed to add some veining lines.

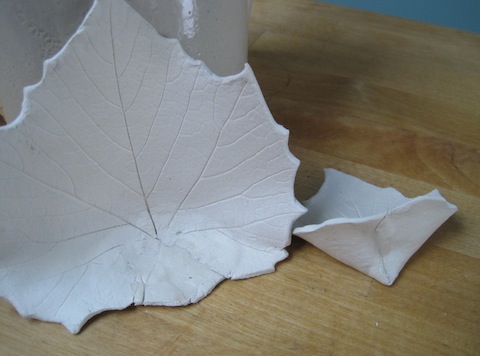
Step 4: Let the clay dry. DAS clay dries white. To speed the drying process, I blew a fan onto my projects, turning them occasionally. (Note: If the joining area of the seat separates, a little white glue can be put in the crack and pressed together then left to dry.)
Step 5: Sand the edges if the leaf and any other places that need it with sandpaper.
Step 6: Drill holes to hang your swing. For most seats, I drilled 4 holes. You can first use a nail or pin to make a guide for your bit, then drill a small hole big enough for the hanging cord or ribbon you plan to use. I
Step 7: Paint your seat. I used a variety of acrylic paints. Gitter, glazes and other effects may be added. Use your imagination!
Step 8: Add hanging cords. Ribbon or various waxed cord, thin jute or other cord may be used. A good place to look for interesting cord is in a bead store or jewelry-making section of a craft store. The cord may be braided or knotted.
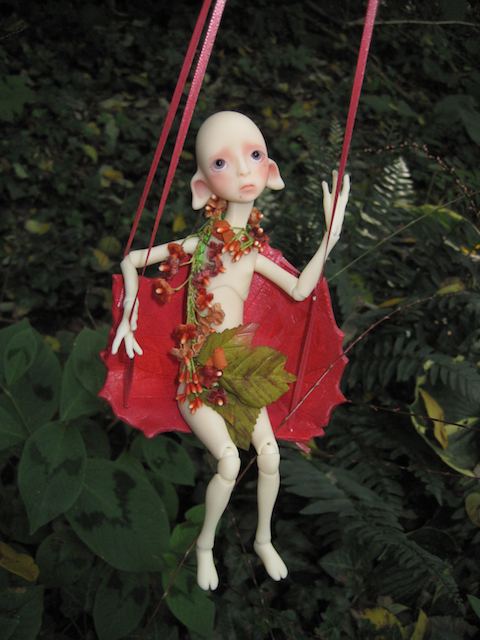
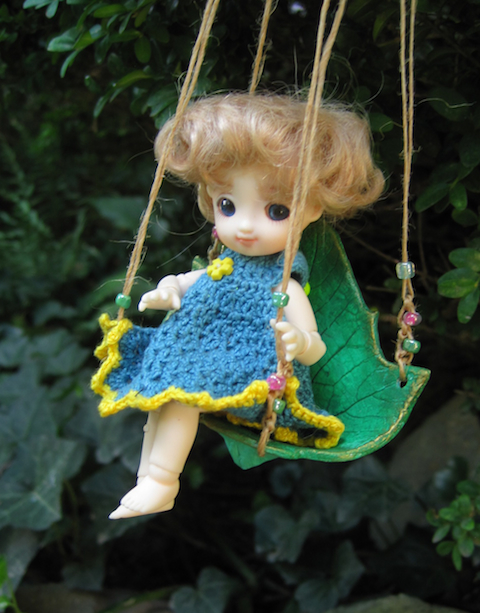
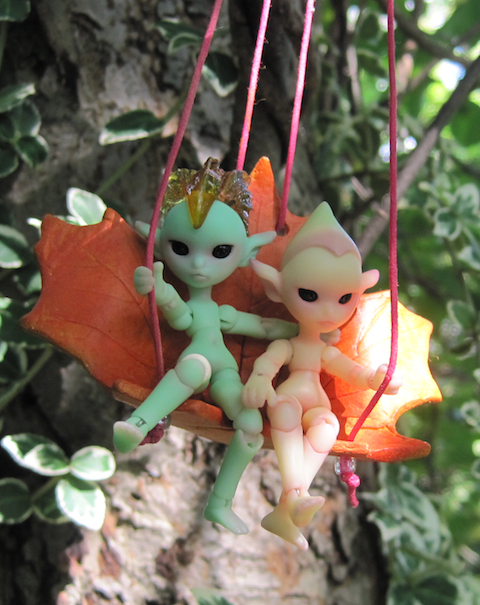
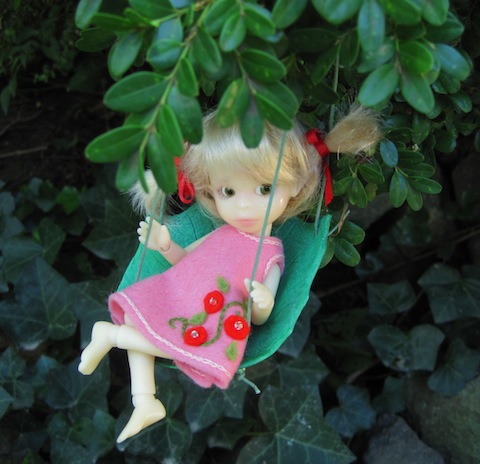
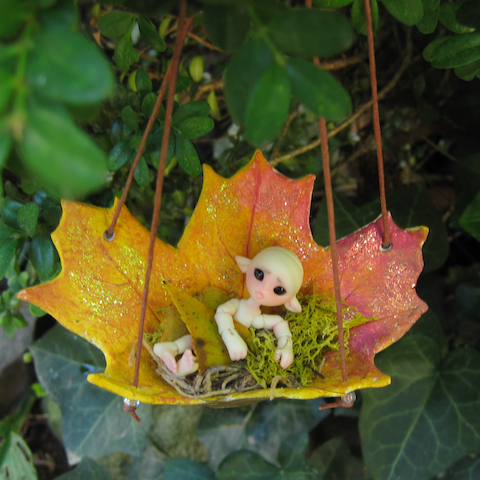
The swings were so much fun to make, I made several. Some of them may be seen below. (All swing cords are made of waxed cord with a bead and knot at each hole unless otherwise specified.)
Featured Article