~By Martha Boers, Antique Lilac
I was making a traditional-style Northwest Coast Native button blanket, and would need many hundreds of pearly white buttons, and didn’t want to use the thick ‘craft’ buttons, so decided to make my own. Making buttons from polymer clay sounds simple enough – roll out the clay, cut out the buttons and poke some holes in it. But it’s a lot more complicated than it sounds. For one thing, the clay is very soft, and distorts very easily especially if you touch it. The clay also tends to stick to everything – including the insides of the straws I used to cut out the circle shapes. After a bit if experimenting, I eventually came up with a way to make the buttons without ever touching them with my hands.
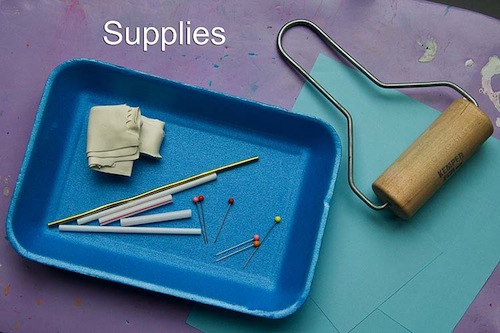
Supplies:
– polymer clay in desired colour
– roller – or pasta maker (one dedicated to polymer clay)
– plastic straws the size of the buttons you want to make, and another straw or dowel to fit inside
– Styrofoam meat tray (clean)
– paper
– pins
– baking tray lined with paper towel
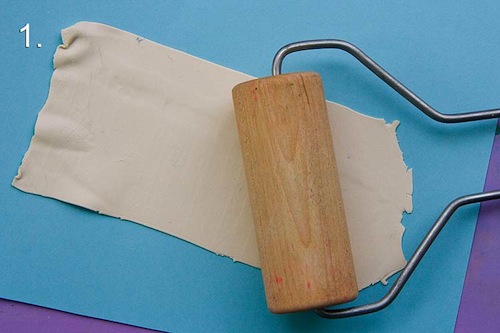
Instructions:
1. Roll out polymer clay on a sheet of paper – or run through pasta machine – to desired thickness.
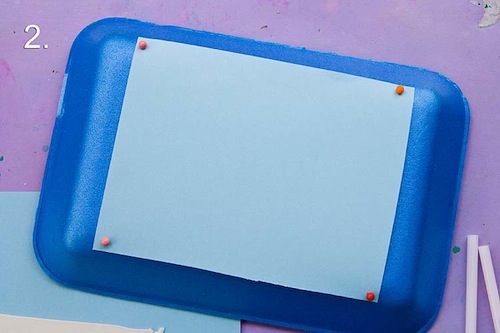
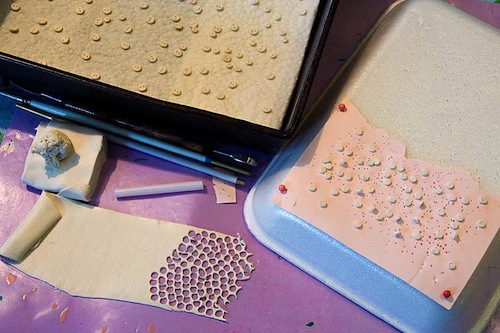
2. Cut a rectangle of paper and pin onto back of Styrofoam tray.
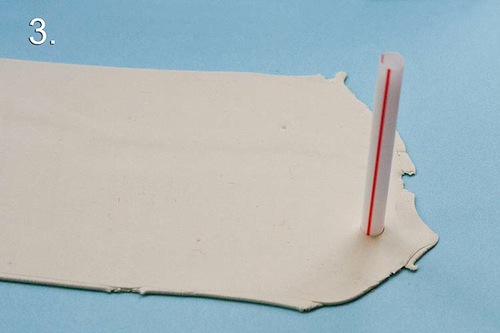
3. Press straw into polymer clay, twist…
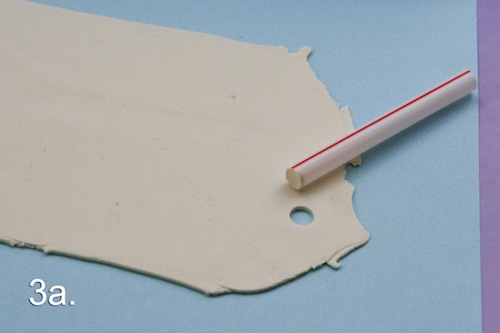
3a. Polymer clay will be inside straw.
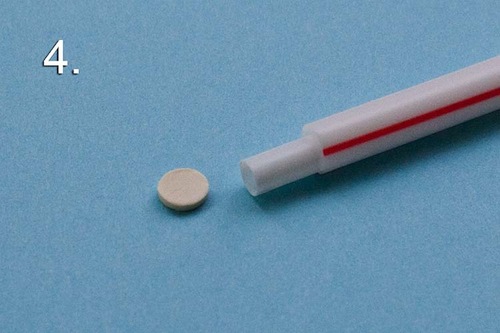
4. Using a smaller straw or flat-ended dowel, push polymer clay disk out onto paper-covered Styrofoam tray.
5. Cut tiny square of paper and insert pin through it.
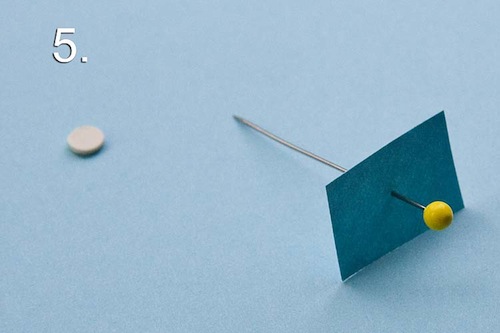
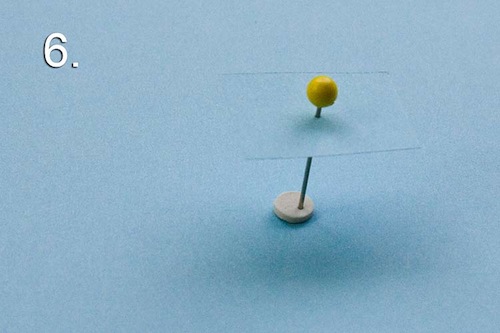
6. Insert pin through polymer clay disk right down through Styrofoam tray in order to make first button hole.
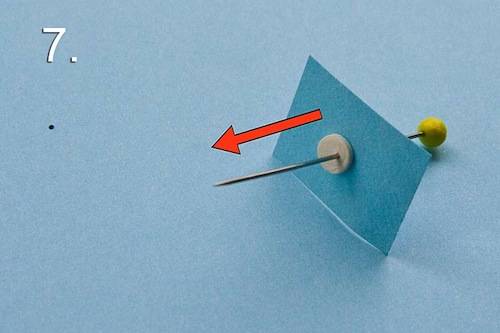
7. When you pull the pin up out of the Styrofoam, the polymer clay button will stick to the pin. Use the small piece of paper to gently push the button off the pin back onto the paper-covered Styrofoam.
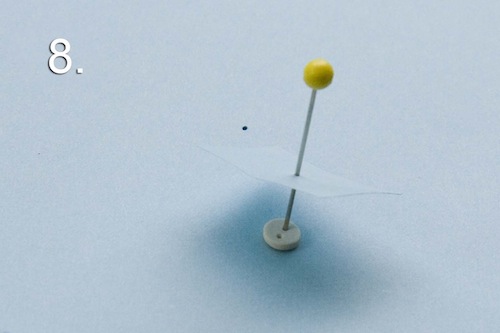
8. Insert pin back through paper, and poke second hole through button.
9. This time use paper to gently push button onto paper-towel-covered baking dish.
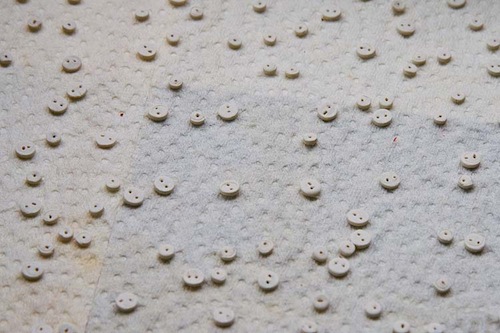
10. Make as many buttons as you need. *It’s actually wise to make more than you need as some buttons may end up slightly deformed, or even discolored by the baking process.
Pre-heat oven to 265, then turn down to 250 after putting dish in oven. Bake for 8 minutes. Let cool thoroughly.
~~~~~~~
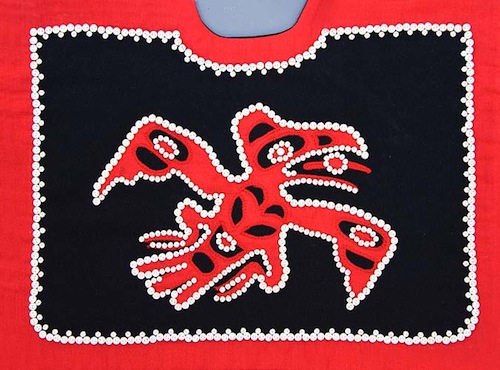
A. Completed Button Blanket. The buttons have been sewn around the traditional Raven design, and around the border. There are two sizes of buttons: larger ones with two holes and very tiny ones with just one hole.
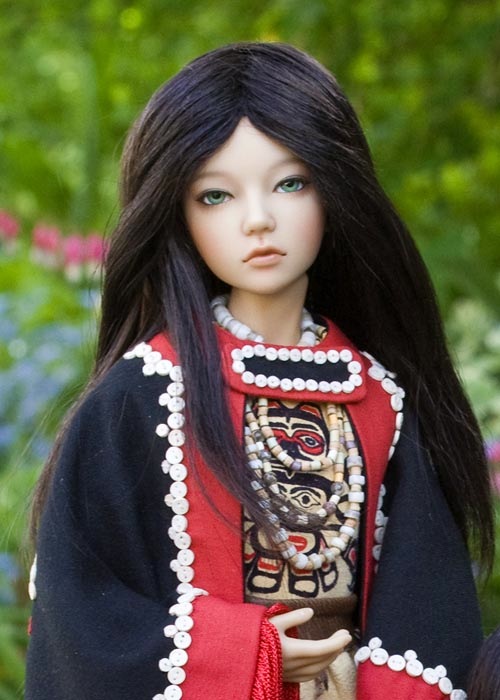
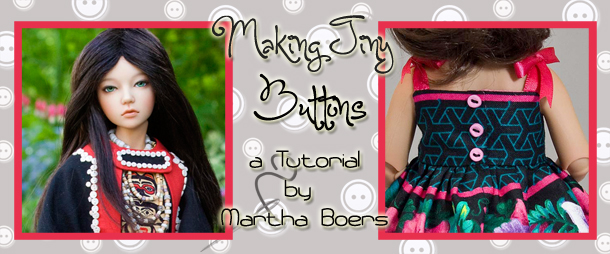
B. Asa (Iplehouse JID) wearing the button blanket
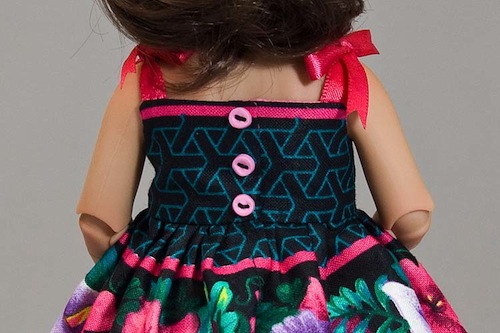
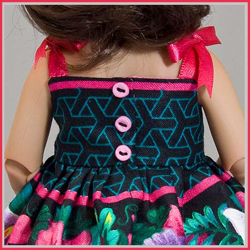
C. Buttons on back of BID sundress
Featured Article
Thanks so much for sharing your knowledge. I haven’t sewed in years but hope to begin again.
Hey, great tutorial. I hate having to use 1/4 inch buttons on doll clothes. Did you use Original Polymer clay or Sculpey 3? It looks like I have to buy a pound if I want original, & I’ll never use that much in a life time! Thanks.
I think you can use almost any oven-hardened clay.
Well it looks like the sculpey 3 might be softer & therefore harder to handle with this project. But I’ve never used the stuff before.
Bonjour, vos poupées sont magnifiques.
J’aimerai m’inscrire pour recevoir de vos nouvelles, mais je ne trouve pas ou le faire.
Pourriez s’il vous plait me répondre.
dentellestissus.canalblog.com
lafeeviviane2912@orange.fr
A bientôt
VIANETTE
Thank you for you tuto. I tried it and I find it very useful because it’s true that fimo is soft and when you touch the button it distorts very easily. Paper is very useful.
Found the tutorials via Pinterest. Great! I can never find the color or size buttons I need for my doll clothes. Such an immense help!