
By Martha Boers of Antique Lilac.
Picot beading is a wonderful way to finish a neckline or sleeve edge on that special outfit. It’s also a great way to camouflage thick bodice fabric at the neck opening.
For best results use tiny round beads or uniform-sized seed beads. The picot edging can be entirely worked in one colour – or two for added interest.
First completely finish your doll garment. Then choose seed beads.
You will need:
– finished doll garment
– seed beads – one or two colours to compliment garment
– beading needle
– thread in a matching colour
– scissors
Instructions
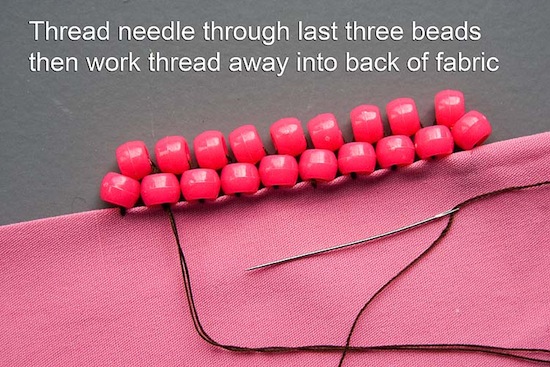
* for demonstration purposes I am using large pony beads, a large needle and thick, contrasting-coloured thread.


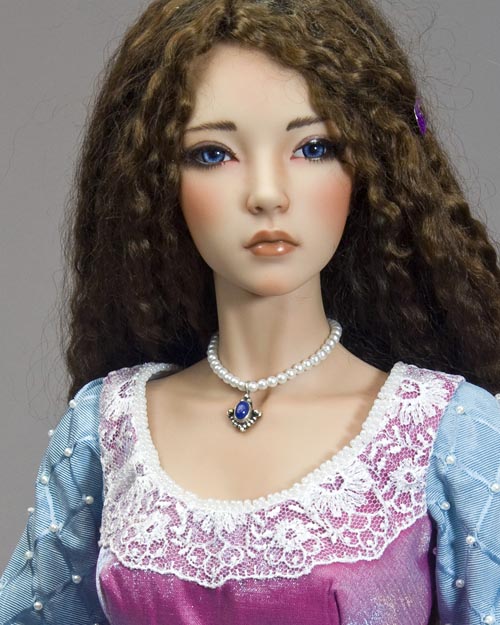
Examples of single colour picot edging:


Two-tone Picot Edging
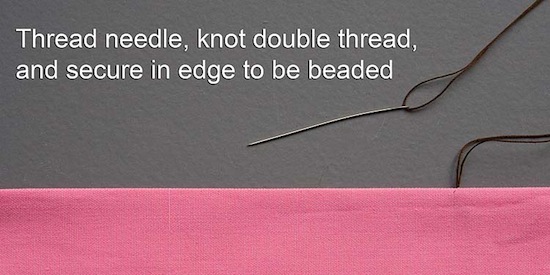
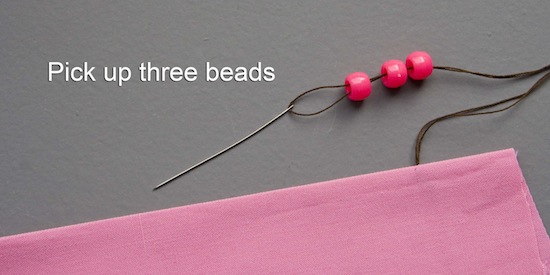
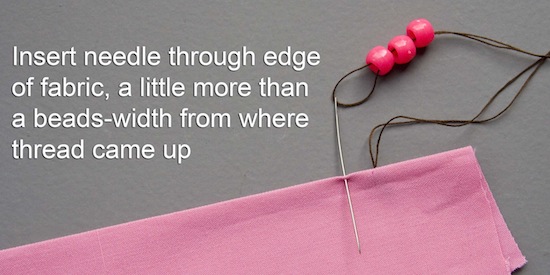
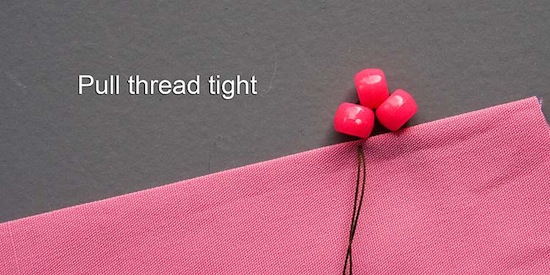
A. As in step 1 above, secure threaded needle in edge to be beaded. Pick up three beads – the first and third beads in the colour you want directly against the fabric. Insert needle through edge of fabric a little more than the width of a single bead
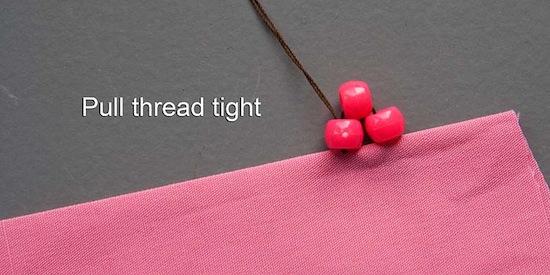
B. Pull thread tight, then insert needle back up through last bead
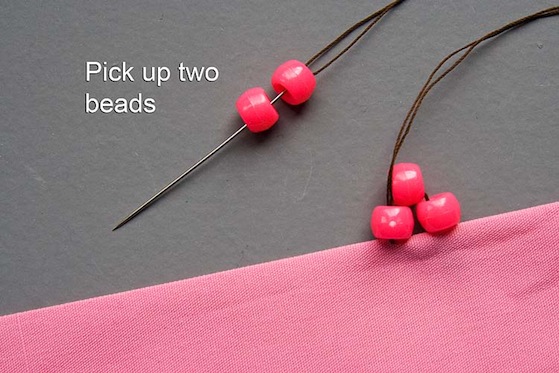
C. Pick up two beads, paying attention to colour order, then insert needle through edge of fabric a little more than a bead’s width from last stitch
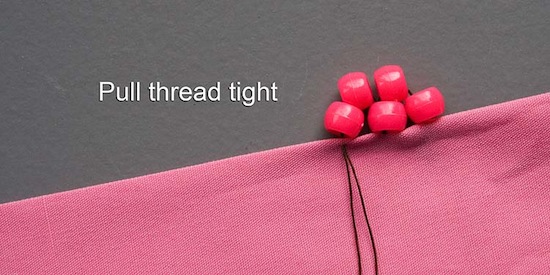
D. Insert needle back up through last bead.
E. Continue to work picot beading along edge of fabric. To finish off, see steps 12 & 13 above.
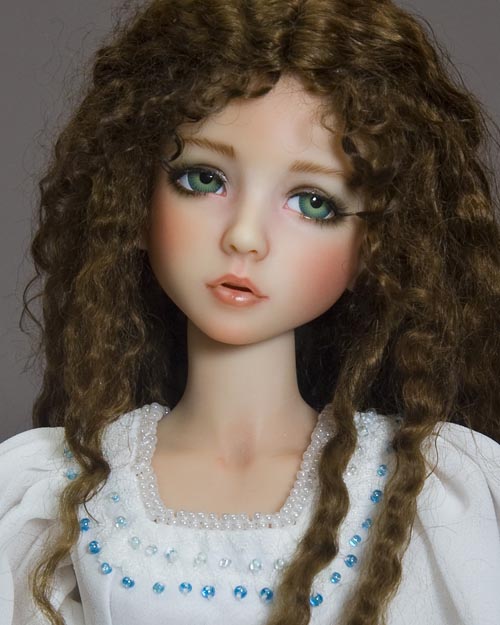
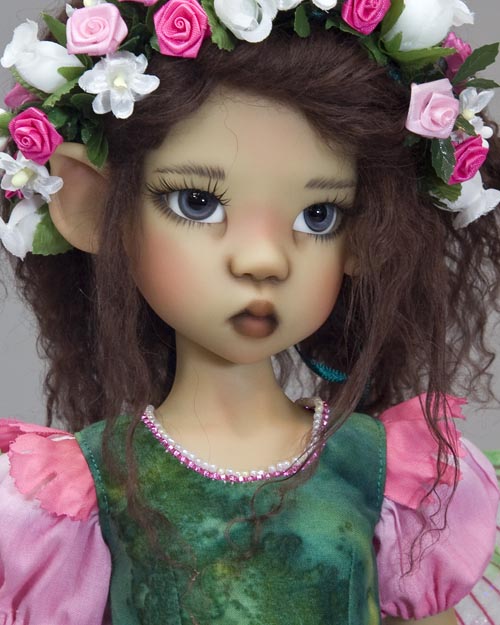
Examples of two-tone picot edging :

What an easy way to finish the edge of a garment. Thank you for breaking down the instructions along with pictures!! Love your web-site! You are a fantastic artist!
j aime beaucoup ce que vous faite ça va m aider pour ma couture merci
you are one awesome talented crafty person I have ever seen. Such Beautiful work in all the things you create. you are a master in your crafts…
I don’t understand the order of this tutorial. Are the pictures in the wrong order? And do you have several of the same picture posted twice in the wrong sequence? This is extremely confusing.
It looks right to me. All of the photos with instructions are in order.
Perhaps you have a browser issue?