

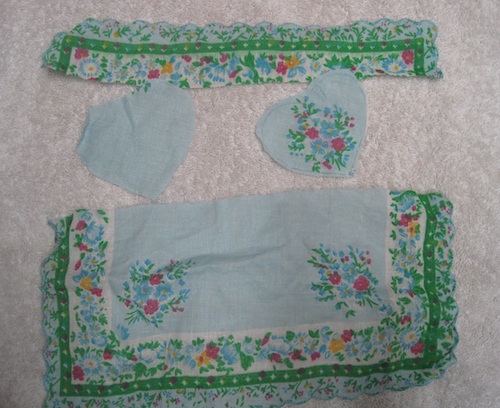
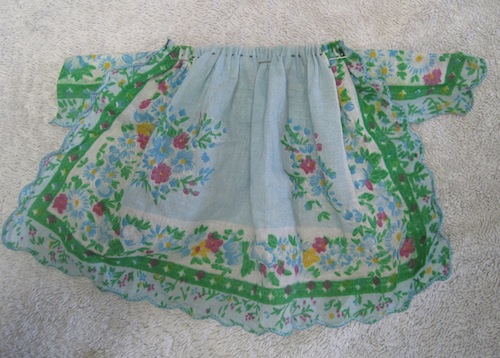
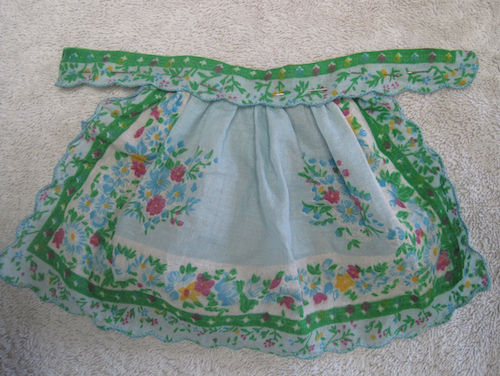
This Heart Handkerchief Apron was designed for 1/4 size dolls. This project uses most of the material in a standard-size handkerchief. Lovely vintage hankies can be found on Etsy and elsewhere, or new reproduction handkerchiefs can be purchased online for this project.
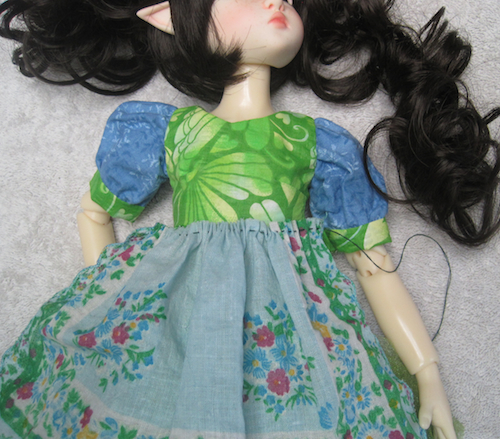
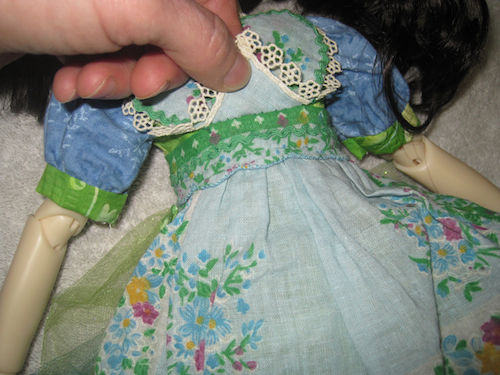
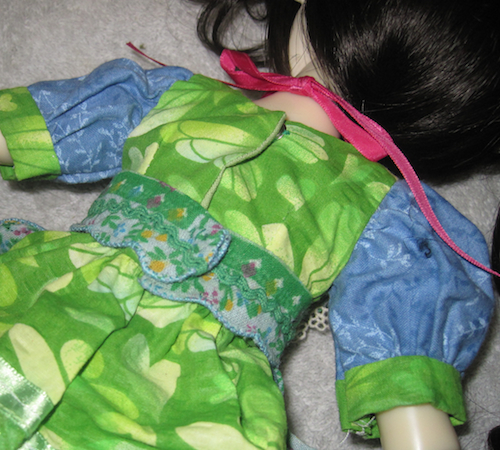
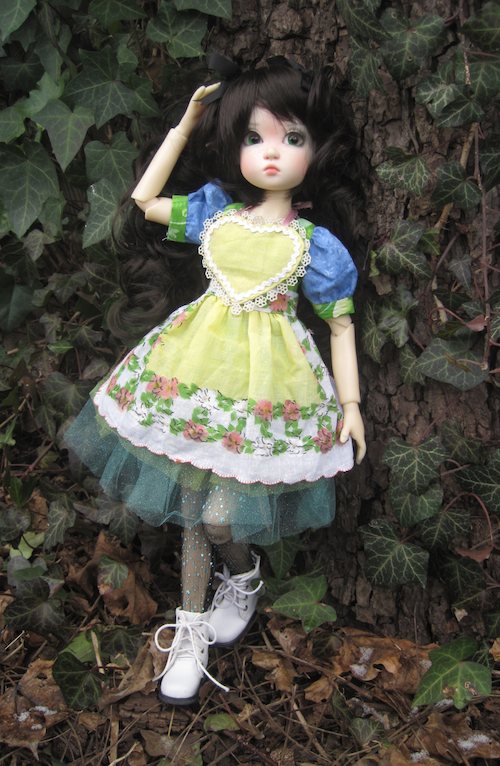
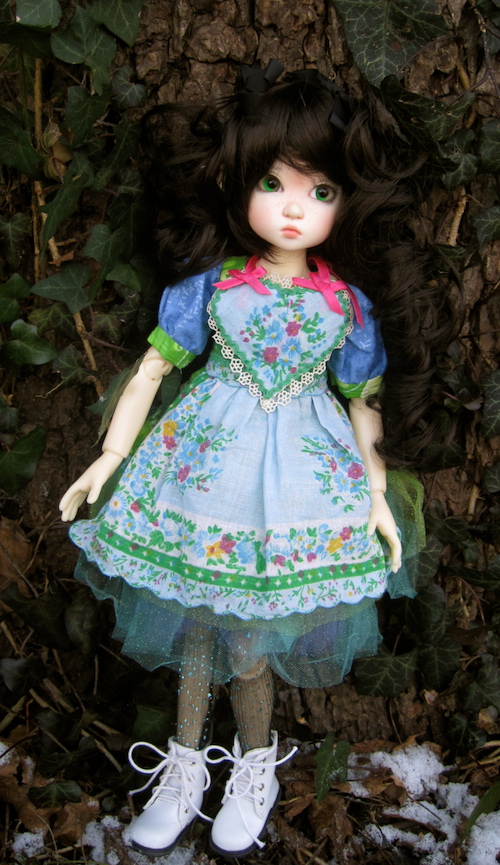
Doll in photos, Kaye Wigg’s doll KazeKidz Annabella, dress and tights by Nancie of Nankatts Etsy Shop.
Materials:
1MSD-heart-pattern(1) – PDF download
1 handkerchief ( mine came from Giftwagon)
Narrow lace and rickrack trim as desired
Fray Check (optional if needed)
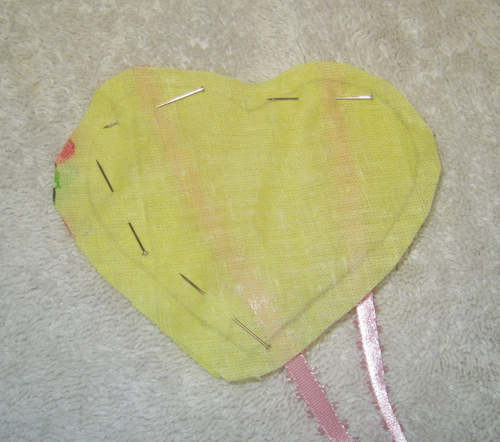
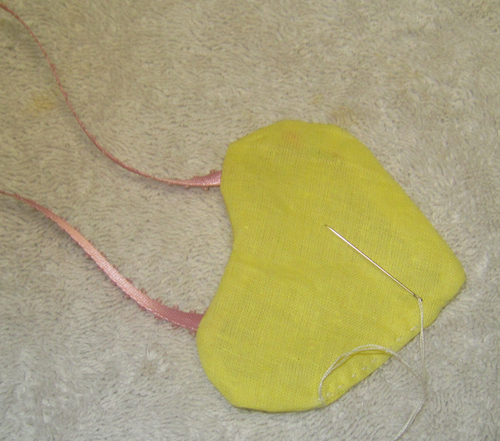
Step 1: Fold your handkerchief and cut it in half. One half is for the apron skirt. Cut a 2 inch wide strip for the waistband. Cut 2 hearts using the PDF pattern. Trace lightly around one of the hearts onto the back of the material. Use the lines as a guide to sew the two heart pieces together.
Step 2: Before sewing the heart pieces, sandwich two pieces of ribbon inside for the ties. Sew the hearts together. Leave a 1 1/2 ” opening. Cut small slits around the top of the heart especially at the indentation. (Be careful not to cut the thread.)
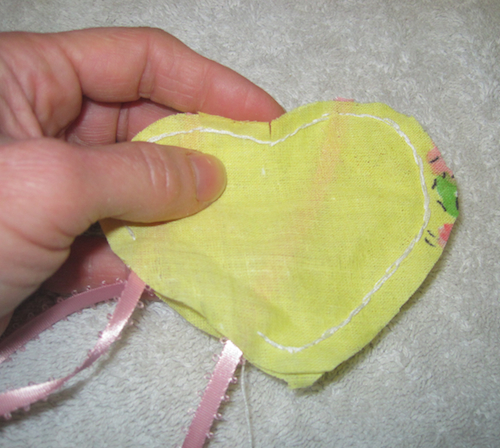
Step 2 b: Turn the sewn heart piece inside out. Fold over the edges of the opening and stitch the opening closed.
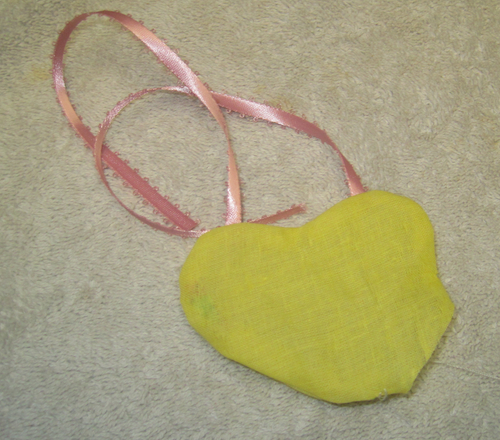
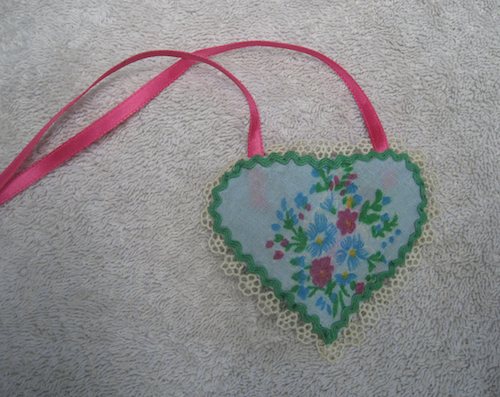
Step 3: Once the heart is finished, it’s time to decorate it with lace and trim. Sew the lace onto the back side of the heart all the way around.
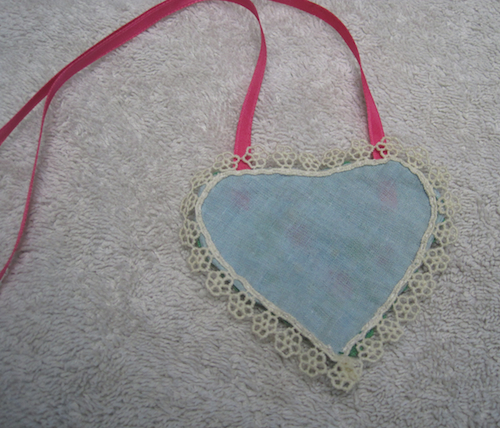
Step 3 b: Sew the rickrack or other trim on the front side.
Step 4: Use a basting stitch to gather the material together for the apron. Hold the skirt up to the body of the doll to measure the length of the gathered material so it is long enough to go from under one arm to under the other. Knot the basting thread to mark the length.
Step 5: Wrap the waistband around the waist of your doll allowing an over-lap for a snap and a little additional to fold over the edges at the ends. Cut to size. Pin the gathered material to the band as shown. Stitch the apron skirt to the apron band.
Step 5: Fold the band over. Since I want the leave the scallops on the edge showing in front of this apron, I pinned it down as shown. If your band doesn’t have an interesting finished edge, fold it over again to conceal the edge (see band on the yellow apron). Fold the ends of the waistband inward and stitch the ends ( rather than folding both of the ends, I left the scallop on my bands showing at one end for added decoration.)
Step 5 b: Fold the waistband over to the front of the apron as shown. Sew the front of the band to the skirt.
Step 6: Stitch the heart bib to the apron waistband from the back of the apron as shown. Sew only through the back layer of the bib. Attach it along the top edge of the waistband.
Step 7: Sew a snap onto the band in the back. (I used the end with the scallop for the top of the snap)
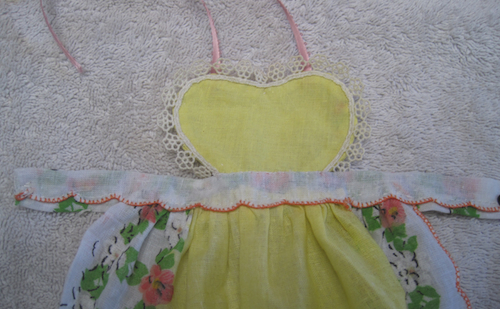
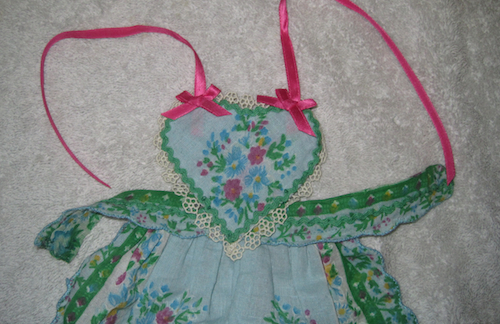
The finished aprons:
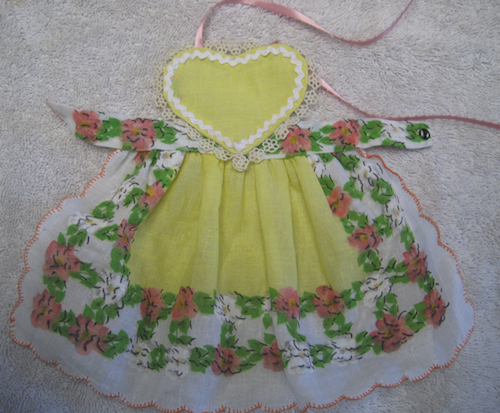
Optional: Add additional trim or decorations as desired. I added a bit more rickrack on the waistband and two bows to the heart bib on this apron.


The link to the heart PDF pattern doesn’t work.
Thanks
Fixed! Try it again.
Thanks so much!