~Revisiting a previous project from this year, this time with new holiday designs~
Holidays are the perfect excuse for your dolls to wear something out-of-the-ordinary, something flamboyant! (if they don’t already.) The following hats are all based on the previous moss hat and wig project presented here last summer. The basic technique for these hats is the same.
Dolls used in project: KazeKidz Pip by Kaye Wiggs, DollZone Orlando, and ImplDoll ImpModel Tdelia. Glass eyes worn by the first 2 dolls are from Jpopdolls, Tdelia wears acrylic eyes from Safrin Doll.
Materials:
Paverpol or other material stiffener
Thick glue or hot glue gun
Dried moss
Feather trim (boas) from craft store
Felt
Ribbon
Decorations of your choice
~~~~~
Directions:
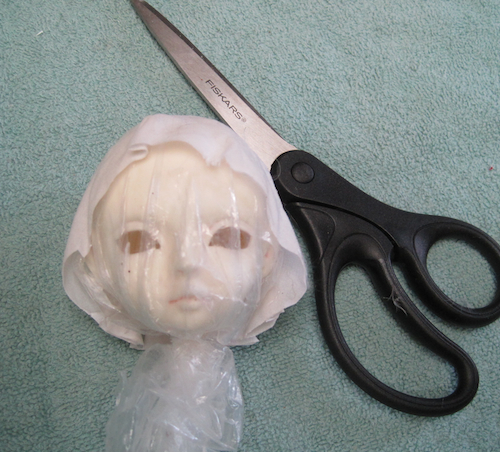
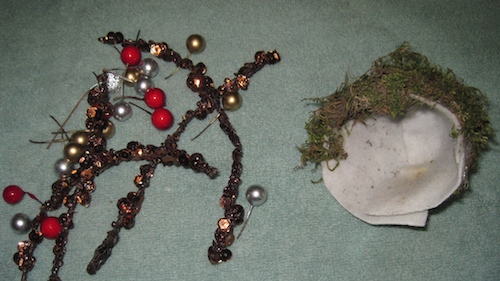
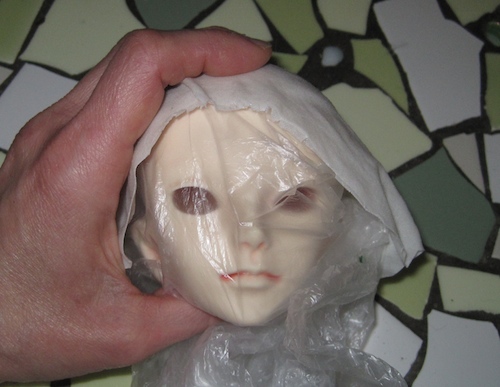
The directions for these hats are basically the same as the directions in the original Moss Hat & Wig project. The hat bases are made of material covered in Paverpol or a similar material hardener. See the original project for the instructions on how this is done. The hats below are listed from the simplest to the hardest to make, but none are excessively difficult. I made 3 forms. Two are shown in the picture below. The third one was made with thicker material and formed into a rough cone-shape on the 1/4 size head.

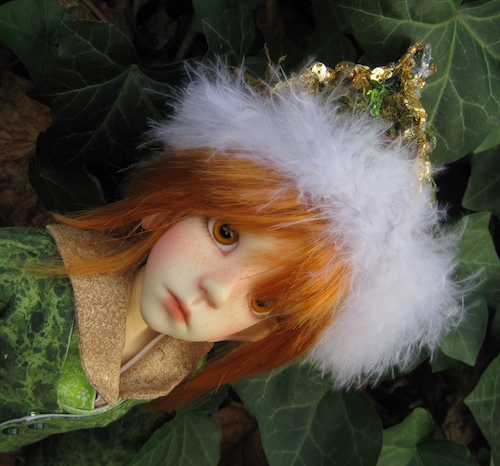
1. Simple Elf hat: Cover dried and trimmed hat form evenly with moss . Use wired branches to form the point on the top of the hat. Glue down the branches. Fasten the branches together at a peak on the top of the hat. Trim the edge of the hat with a piece of feather boa.

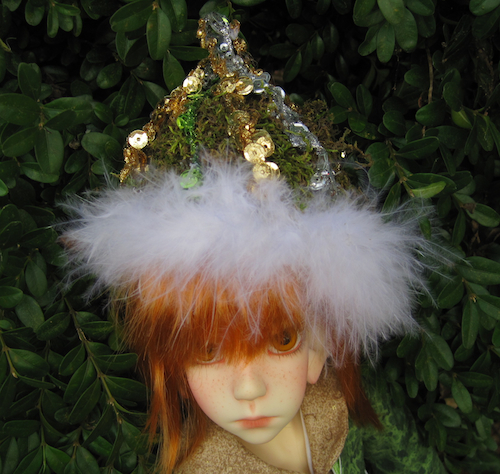
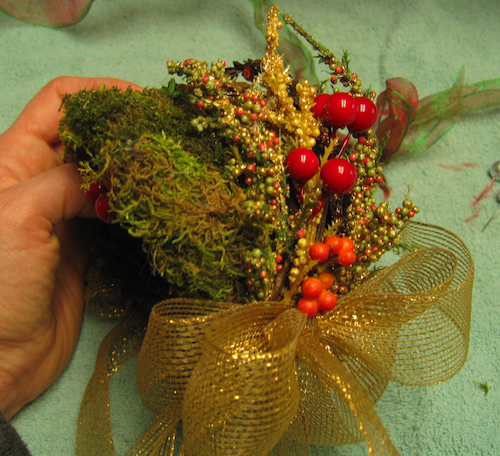
2. Christmas tree elf hat: Cover the outside of the pointed form with moss. (extra moss pieces can be built up to fill in any indentations.) Find items for the tree topper and ornaments. Glue them into place. Glue 2 pieces of ribbon inside the hat to tie the hat on the doll’s head. Glue the feather trim onto the bottom of the hat.
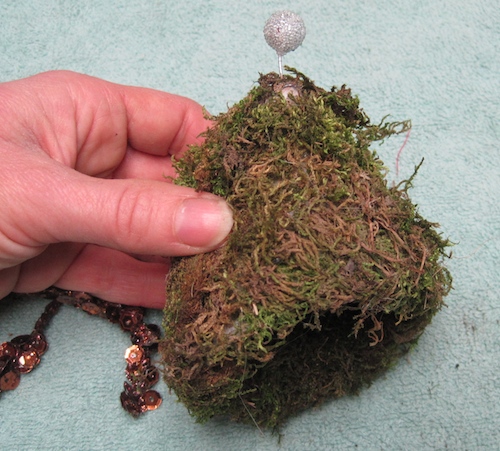
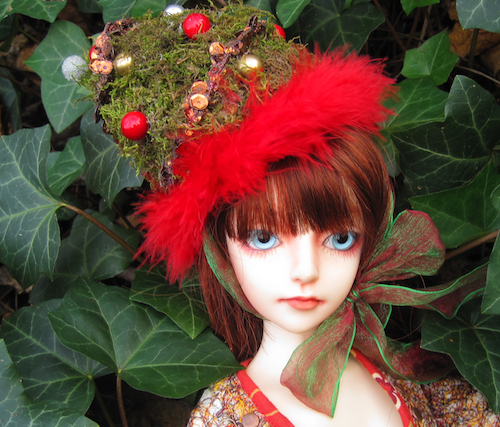
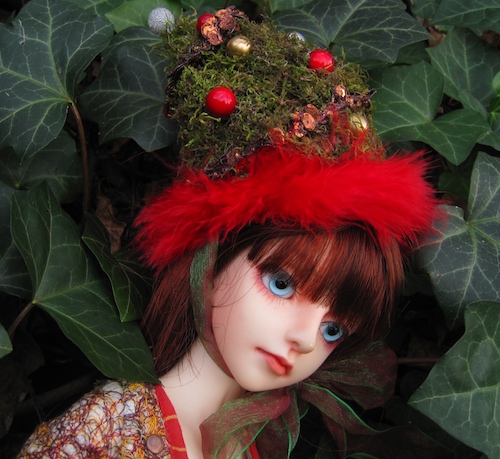
This hat form was shaped on a 1/4 size doll head. It fit a variety of 1/3 and 1/4 doll heads, but I liked it best perched on the head of a 1/3 doll.
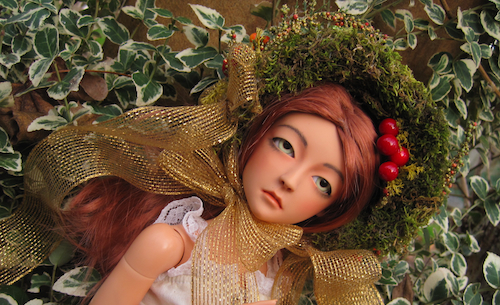
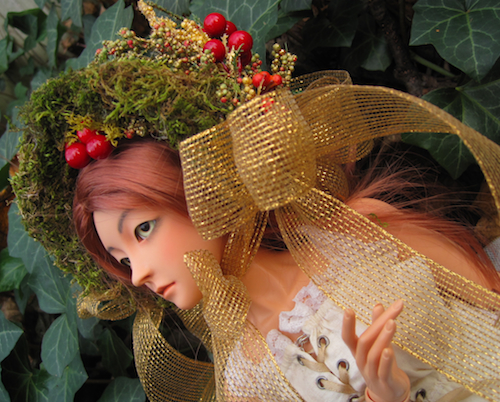
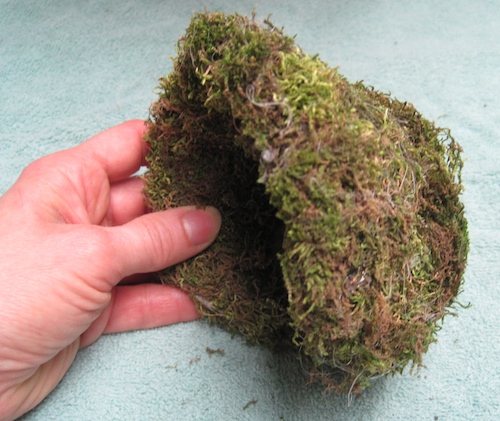
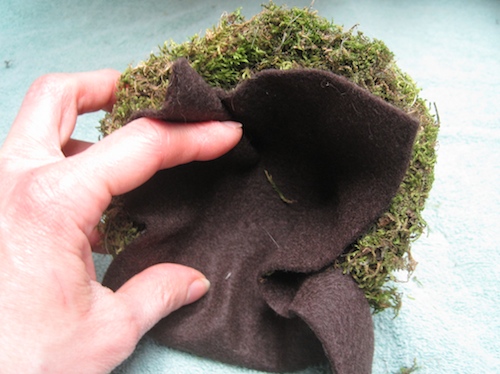
3: Moss bonnet: When the sticky Paverpol covered material is draped on the head, it usually flares outward at the bottom. To make this hat, I took advantage of this and turned the hat around so the flare became a bonnet brim. The hat is covered on the outside with moss, and the inside “brim” is covered with moss as well. I then lined the inside of the bonnet with felt. To do this, I took a square of felt big enough to fit inside, trimmed off the excess and glued it in. Folds formed, and I moved all of them to the back of the hat and trimmed off the excess material.
When a hat is made with moss and felt lining the inside as well as the outside, the head opening is smaller. It will then fit best on a doll smaller than the head-size you used as a mold. I used a larger 1/3 girl head to make the hat form and it fit a smaller 1/3 girl head.
Before full gluing down the felt, if you want ribbon ties, the ribbon ends can be glued under the felt.
The bonnet can be decorated as simply or elaborately as you wish. Use your imagination.