Easy and fun to make…!
Here’s a fun and easy project! Making Paperclay eyes for your doll is very simple. The eyes shown here were colored using pencils and acrylic paint, but feel free to explore other materials and use your imagination! The Paperclay used here was purchased at an A.C, Moore craft store, and it is easy to find at art and craft supply places. The Mr. Super Clear used to seal the eyes came from Junkyspot. The paints and pencils came from Dick Blick.
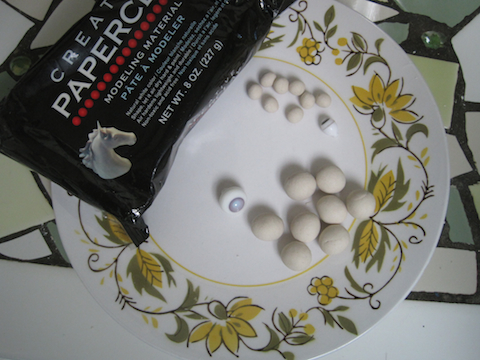
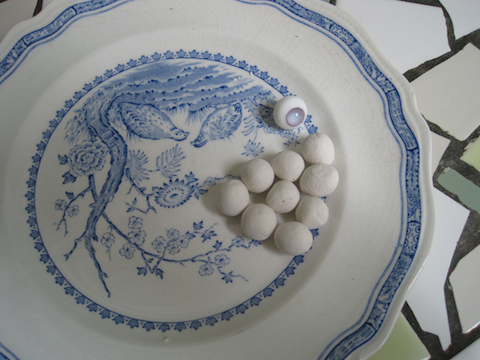
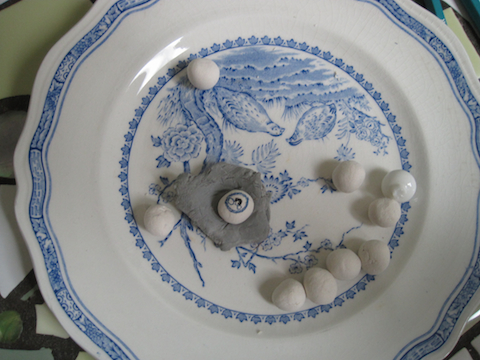
1. Roll some Paperclay into little beads. Since this takes very little time and uses very little clay, I made a bunch of paper beads. To gauge the size of the beads, I compared them to a doll eye of the same size I wanted to make. I then set all my beads aside to dry. Mine dried in one day, but drying may take longer depending on bead size and atmospheric conditions.
2. Select two balls close in size to use for the eyes. You can test them in the doll first to see how they fit.
To work on them, I found it helpful to stick the bead in a kneaded eraser which held it in place.

3. A screw or nail head can be used as a guide to trace an iris onto the bead. Compare the screw or nail head size to the iris of a doll eye of similar size to see whether it is the right size for your project.

4. Draw or paint your eye. Here is one in-progress. This one is being colored with pencils.
5. After I finished both eyes, I sprayed them with Mr. Super Clear flat lacquer. This protects the eyes. The eyes could also be glossed. Many art materials can be used in making your eyes, and the looks you can achieve are limitless.
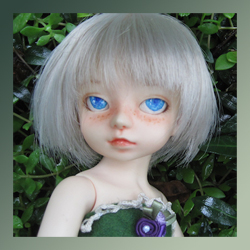
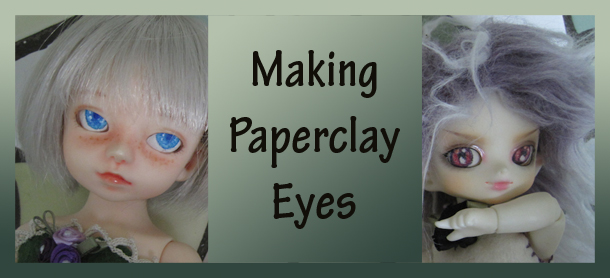
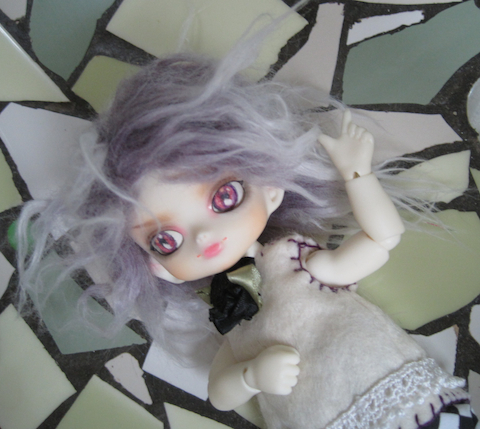
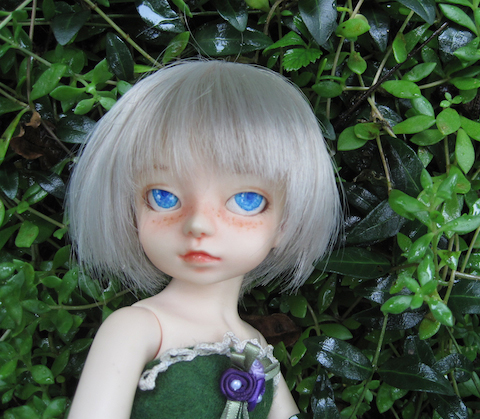
Here are a some eyes being modeled by a few of my dolls.
I am new at working with paper clay so I was thrilled to find your Site. Thanks so much for the help.
You make lovely dolls!