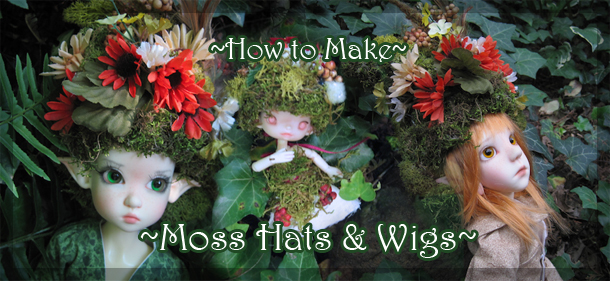
This project was inspired by the material hardener Paverpol and by the Fairy House project from last Autumn. Paverpol was used to make a hard head cap which was then decorated with moss, lichen and and silk flowers. A larger one was created to fit 1/4 size dolls KazeKidz Annabella and Pip, and a tiny one was made for 1/12 size Dream High Studio Mimi.
For Mimi’s cap, I used muslin, and for the KazeKidz-size cap I used a scrap of wool felt. Many materials can be used, but a larger cap may require a heavier material.
Materials:
Cloth for head cap
Paverpol material hardener (or other fabric hardener)
Hot glue gun and glue sticks or tacky glue (Aeeline’s works well)
Dried moss
Decorations: for my wigs, I used lichen (which can be found through model and train stores. It is used to make miniature trees.), fabric flowers and feathers. Many other items could be added,; nuts and seeds, tiny mushroom birds, butterflies or bugs, assorted grasses, etc… Use your imagination!
Optional: felt for lining
The Paverpol was purchased from Dick Blick. The remainder of the items came from various craft stores. The dolls used, KazeKidz Pip and Annabella, are Limited Edition Kaye Wiggs dolls. KazeKidz dolls are sold exclusively from Jpopdolls. LE Dream High Studio Mimi came from the company’s exclusive retailer Luxour Academy. The clothing shown on Pip and Annabella were custom made by Nankatts.
~~~~~
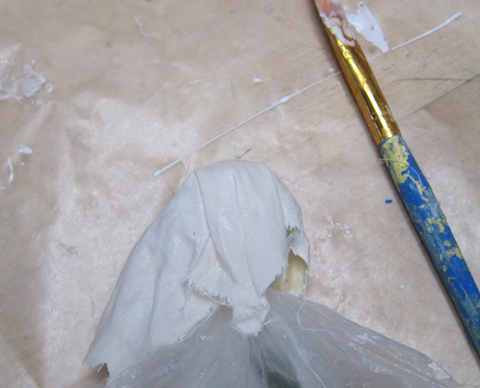
Step 1: Making a cap. To make the cap, create a form to cover with the fabric (a ball of polymer clay was used for Mimi, a Styrofoam shape could be used as well) and wrap it in plastic, tying off the excess plastic at the bottom. Alternately, a doll’s head can also be used as a form. (For the larger wig, a Bobobie head was used as a mold.)
-
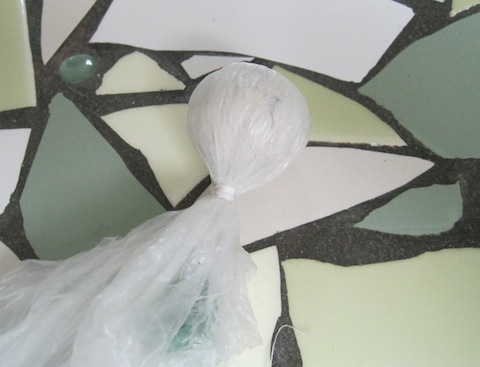
Ball used for Mimi’s cap 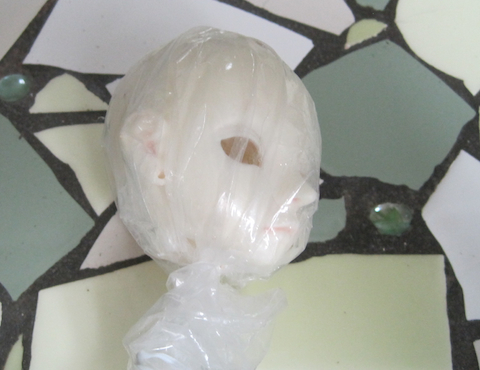
Bobobie head covered in plastic was used for the 1/4 size mold Step 2: Cover a piece of fabric on one side with fabric hardener. Wrap the material around the mold glue-side-down and spread glue on the other side. Let dry overnight.
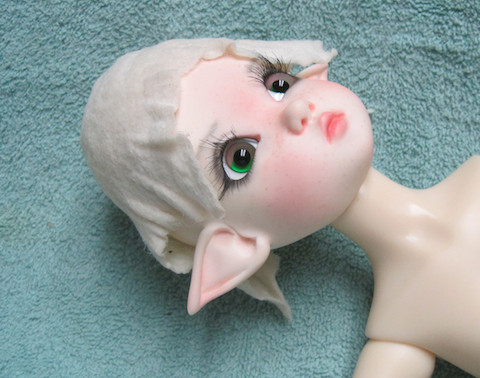
Step 3: cut the cap so the face is viewable. (For Mimi, the cap was cut all around like a bowl. The big cap was only cut to avoid obscuring the face.)

Step 4: Cover the cap with moss. The moss should be built up to cover the whole outside of the cap and wrapped around the edges and glued around the inner edge as well. Moss can be glued onto moss easily, so layers can be to built up to add more volume to the cap. The large cap has a moss-sculpted elf hat point added at the top. Dried and fabric flowers, lichen and a feather-pick decoration were added. The tiny cap has little flowers attached.
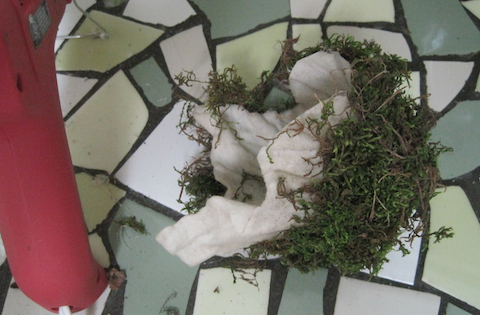
Moss being added to larger cap 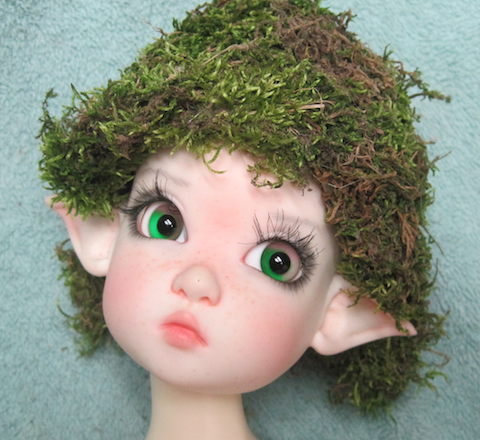
Cap covered with moss 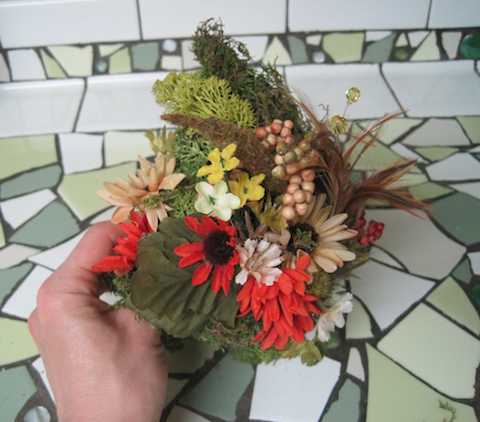
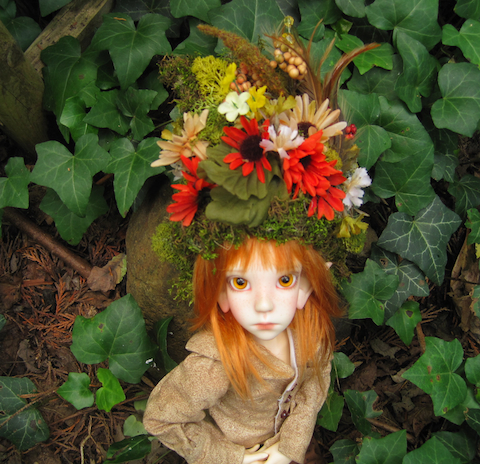
Moss built up to a point, wig/hat decorated 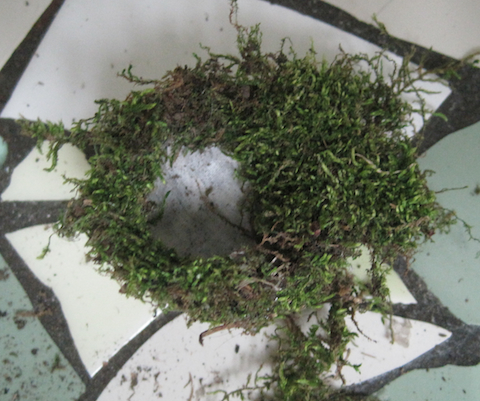
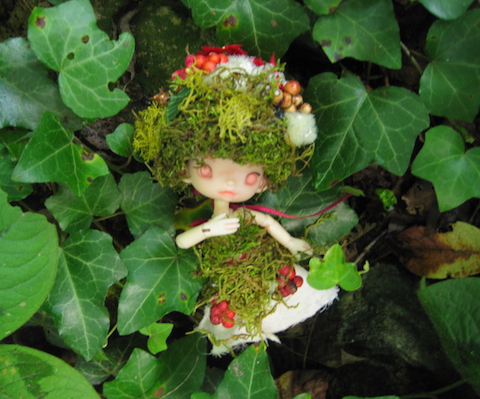
Mimi’s cap covered with moss 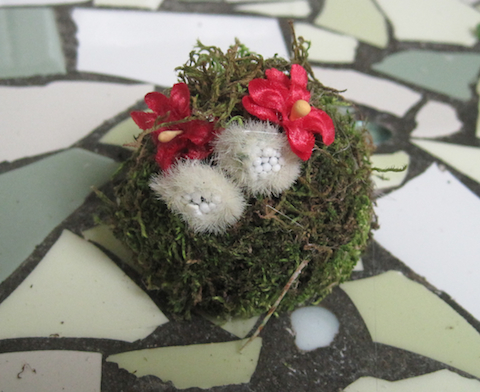
Step 5 (optional) line the lower portion of the wig/hat with a strip of felt. (Make sure the felt will not show when the hat is worn. ) I did not line my caps, but it would be easy to glue a strip of felt around the inner rim if desired.
Shown below:
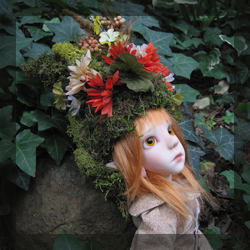
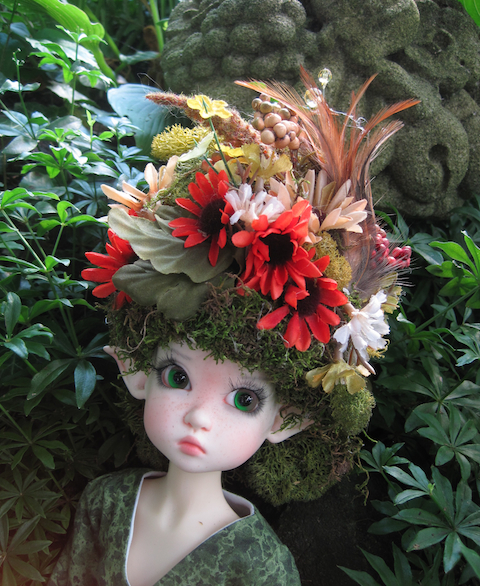
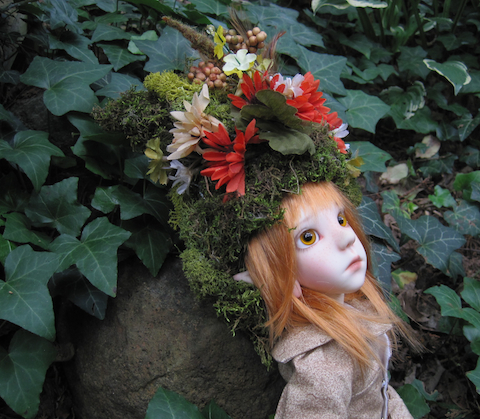
Annabella is wearing her mossy headgear as a wig. Pip is shown wearing the same cap as a hat over a wig. Make sure the cap mold is sized to fit close to the head to work as a wig or more loosely to accommodate a doll wig, whichever is desired. (SInce Pip has a smaller head, the same moss cap worked for both.)
Mimi has a dress made of stiffened fabric decorated to match her hat. The dress is held on by the ribbon sash.
This is beatuiful thank you always looking for ways to make my dolls very informative good work