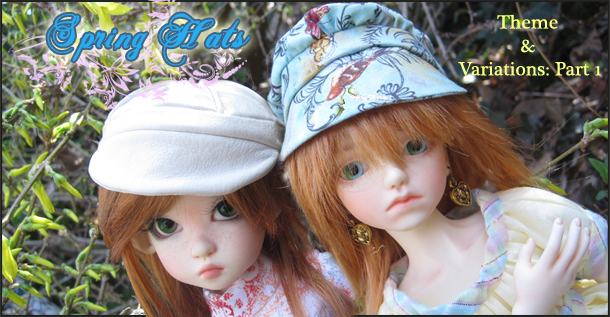
This is part 1 of a 2-part project. Part 2 can be found HERE.
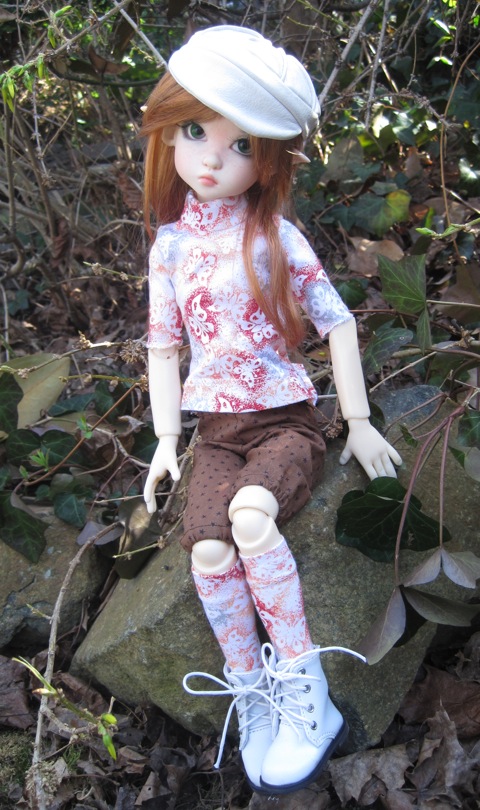
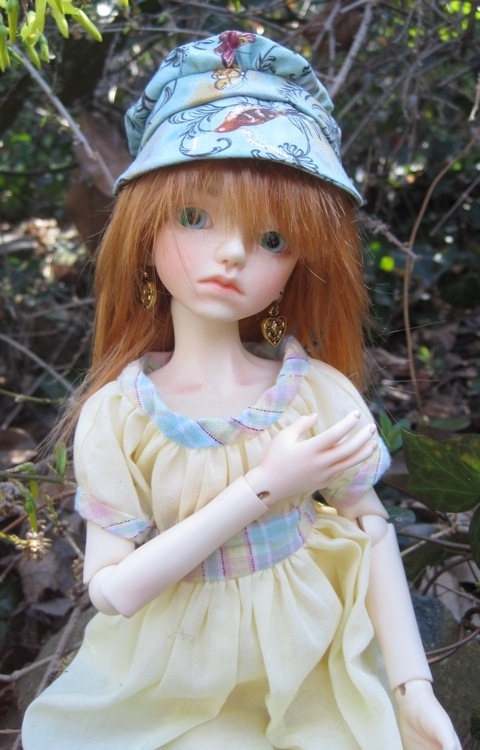
The basic hat pattern available here was created by Nancie of Nankatts. Nancie created 2 versions of brimmed hats; one newsboy-style in white leather with a visor and one bonnet – like style in cloth. The Downloadable pattern for the hats is available, or the pattern can be reproduced with a compass and ruler. (The circle used for the hats is 4 1/2 ” wide or 11.4 cm. The brim is 5″ long or 12 cm and 1/12″ or 1.3 cm wide at it’s highest point. The circle-in circlepiece is for the hat that will be shown in part 2) The hats made by Nancie were created for 1/4 size dolls. To go with the newsboy hat, Nancie sent an outfit made from gracefaerie designs patterns. The T-shirt is from #50 Kaleidoscope and the knickers from #42 Planet Luxe. The bonnet goes with an outfit Nancie made for BJDcollectasy previously. That dress is from gracefaeries’s #45 Seasons for MSD.
Hat with brim PDF:
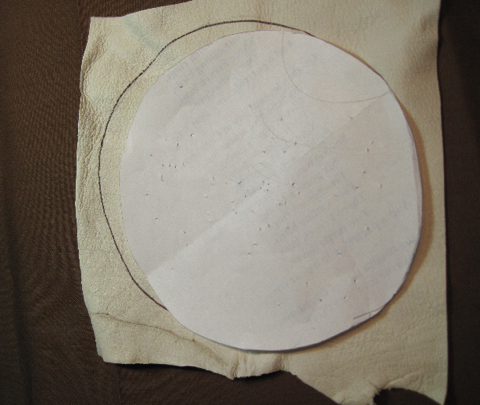
1. Trace a 4 1/2″ circle and brim patterns on the material or use pattern from the PDF. Cut out the pieces. (Material used here is thin white leather.)
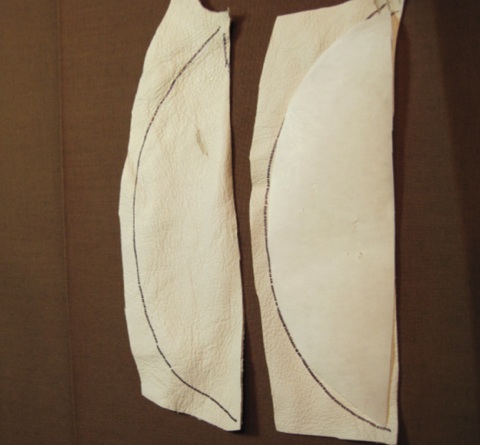
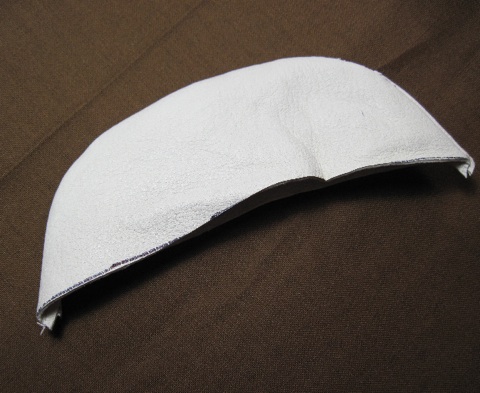
2. Sew brim pieces together and turn them right side out. (If you are using cloth, use Heat ‘n Bond iron-on adhesive in the brim. This will stiffen the brim so it holds it’s shape.)
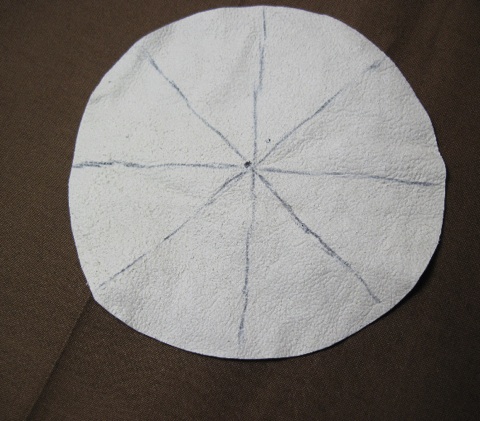
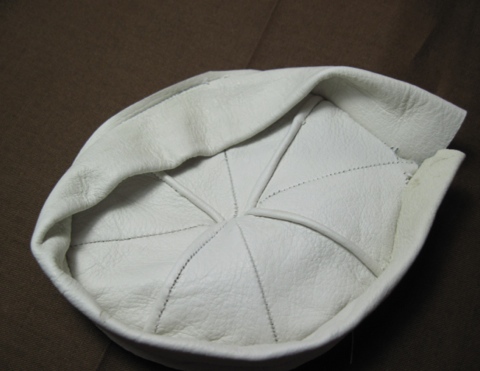
3. Next, trace lines dividing the circle into 8ths.
4. Sew seams from the underside as shown and sew seams on the top side as shown. The hat crown will then look like the photo below.

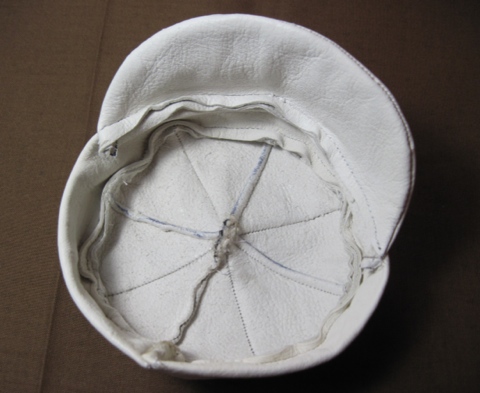
5. Fold a 11-12″ long by 1/1/2 wide strip for the band and sew it to the crown around the outside. Cut off excess left over from the band and sew the ends ogether on the inside. A little Heat’n Bond can be optionally used to tack the seam down inside.
6. Sew the brim onto the band of the hat opposite the seam on the band. For a finished look, Heat’n Bond can be used to tack down the tips of the brim to the band inside the hat.
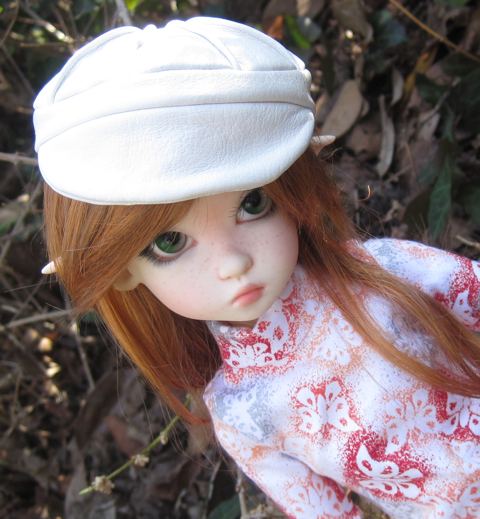
Finished leather hat:
From Nancie:
I have made some other versions of this idea and would like to share them also. One I added a layer of light weight heat and bond to the inside of the first circle and this added a bit of stiffness to it, then proceeded to use it as a whole circle for the top. Another idea I tried was to make the circle a bit larger and gather it at the edge and sew it to the band and then add the brim that I had made using the pattern for the newsgirl cap. The size of the circle can be changed to fit other dolls by measuring the circumference of the head and then make the band to fit correctly. You all might like to try some adaptations of your own for different looks.
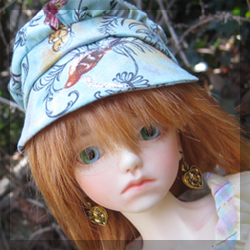
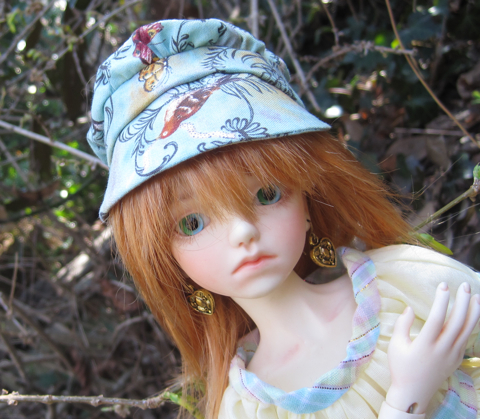
Below is Nancie’s variation using a larger circle for the crown and gathering it to the band rather than sectioning it. (Circle size will depend on how full and gathered a crown is desired. The larger the circle, the more puffed the crown.) This version has a brim stiffened with Heat’n Bond. The band was made a little wider.
The hats with outfits: