By Martha Boers ~ a project specially created for BJDcollectasy
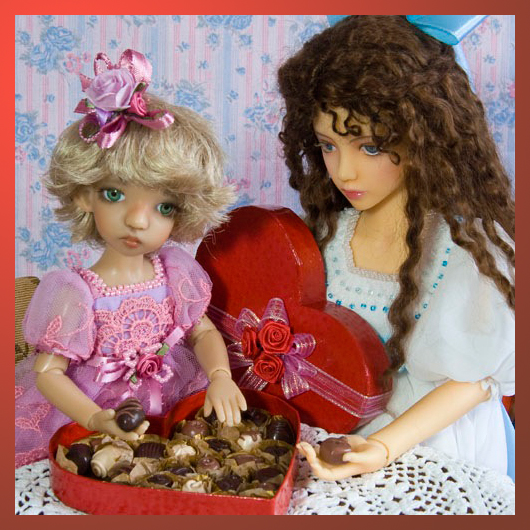
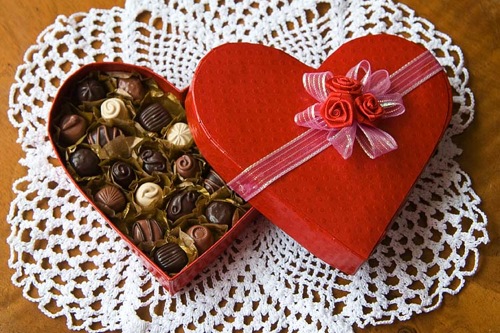
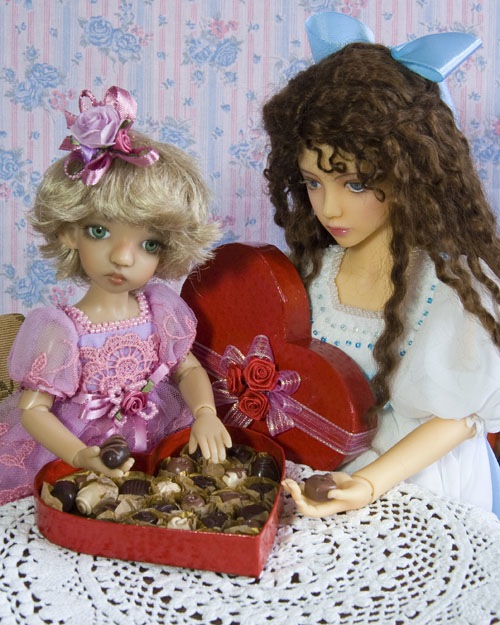
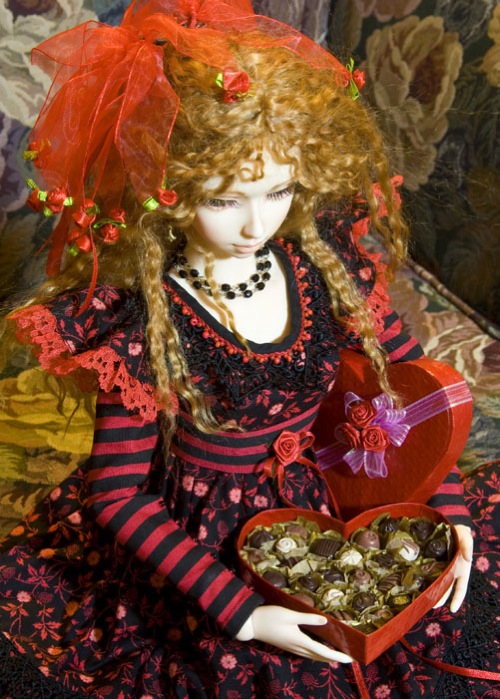
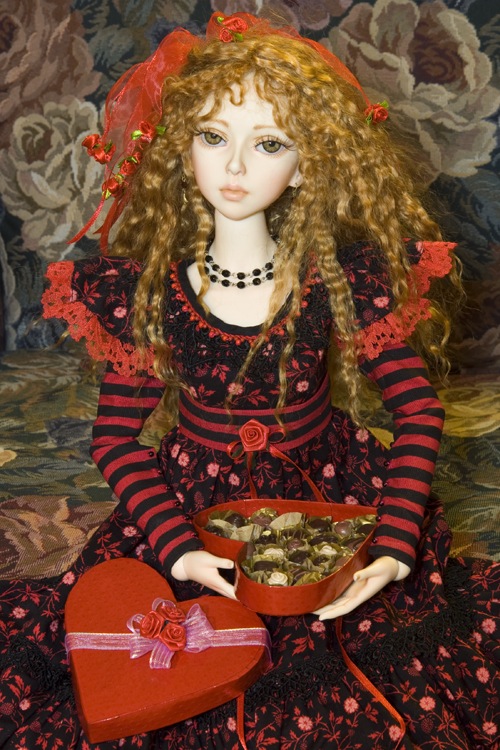
You can make your dolls a miniature box of chocolates for Valentine’s day by following this tutorial from the talented Martha Boers of Antique Lilac. This is part two of a two part project. The first part which shows how to make the heart-shaped box can be found HERE. The chololates and box were designed to the scale of 1/3 size dolls, but the pattern can be re-sized for many other dolls.
~~~~~
Part Two – the Chocolates
Materials Needed:
– polymer clay – dark brown, medium brown, beige (optional colours; small amounts of black, white, translucent & yellow)
– aluminum foil
– baking dish lined with paper towel
– satin water-base varnish
– soft brush
– sheet of gold tissue paper
– (optional) a box of real chocolates for inspiration
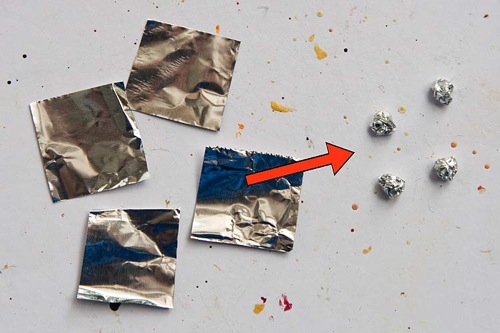
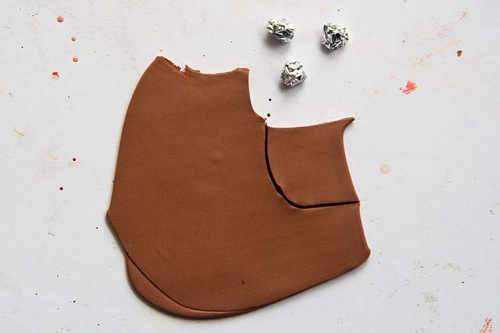
1. To keep the chocolates a consistent size and reduce the amount of clay required, cut 1″ squares of aluminum foil and scrunch them into small balls.
2. You may use polymer clay in the colours it comes directly from the store, but for more accurate ‘chocolate’ colours, it is necessary to blend custom colours.
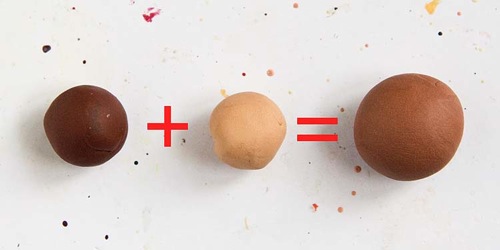
a. For dark chocolate, blend a little black polymer clay into the brown to get a darker brown.
b. For Milk chocolate, blend the medium brown polymer clay into an equal part of tan/beige
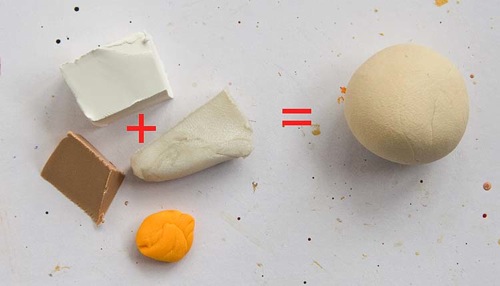
c. For ‘white’ chocolate, mix equal parts white and translucent with smaller bits of tan and yellow.
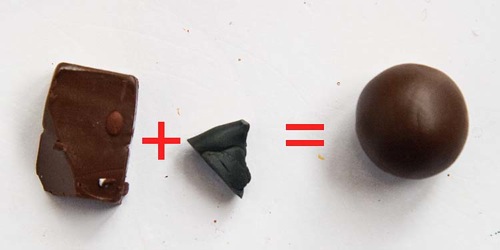
3. Roll out chocolate-coloured clay to 1/8″ thickness. Cut a piece approx 3/4″ square.
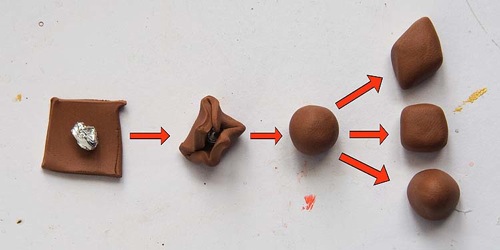
4. Place foil ball in center of clay, smooth clay around foil, and roll into a smooth ball in the palm of your hands. Using your fingers shape the ball into a diamond, square, or gumdrop shape.
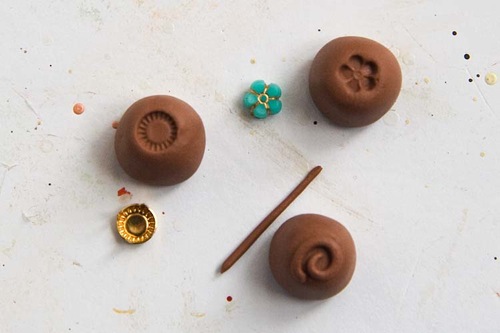
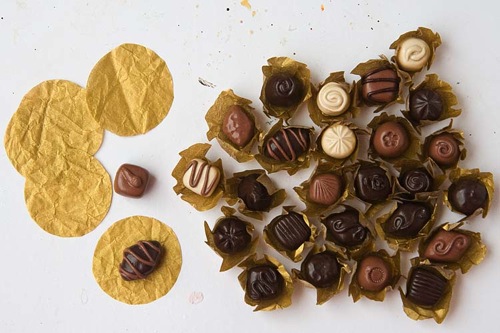
5. Decorate the tops of the ‘chocolates’ – this is where a real box of chocolates comes in handy (for ideas). The three chocolates shown were embellished by: imprinting with a flower-shaped bead, imprinting with a metal stud, rolling a fine thread of polymer clay and making a spiral on the top.
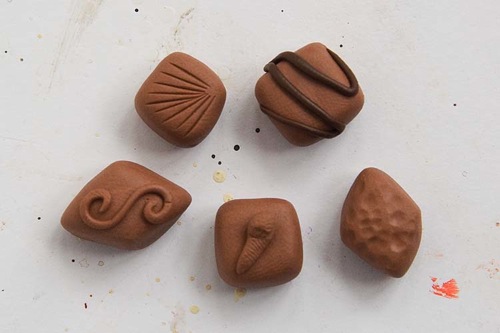
6. More decorating ideas; press line designs with a knife, dent the chocolate all over with the rounded end of a brush handle, add ‘dark chocolate’ lines.
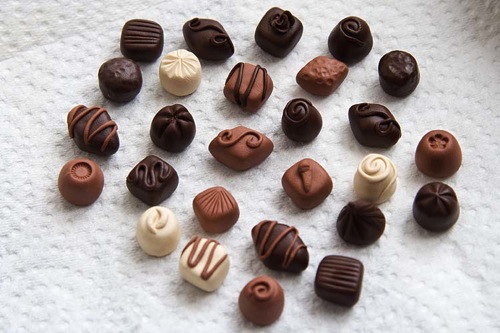
7. Chocolates ready to go in the oven. To avoid burning, bake in a pre-heated oven at 250 degrees Fahrenheit for 10 minutes, then turn oven off and let sit in oven for 5 more minutes. Let cool.
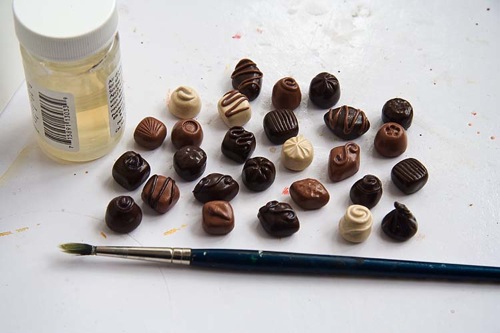
8. When totally cooled, varnish with two coats of satin water-based varnish. *This is a very fiddly job, but well worth the results, since it gives the chocolates that ‘finished glow’. *Tip – apply varnish to top and only 3/4 down sides, let dry, then flip over and varnish bottom and remaining half of sides. Repeat.
9. Cut 1 1/8″ circles from gold tissue paper.
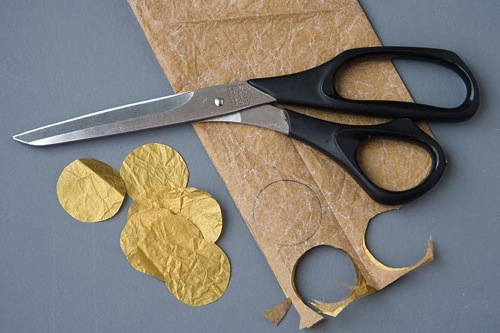
10. Place each chocolate on a gold tissue circle and ‘scrunch’ to create paper cup.
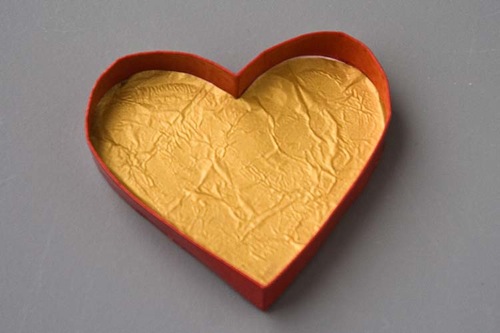
11. Trace bottom of box onto gold tissue, cut out, and glue into bottom of box.
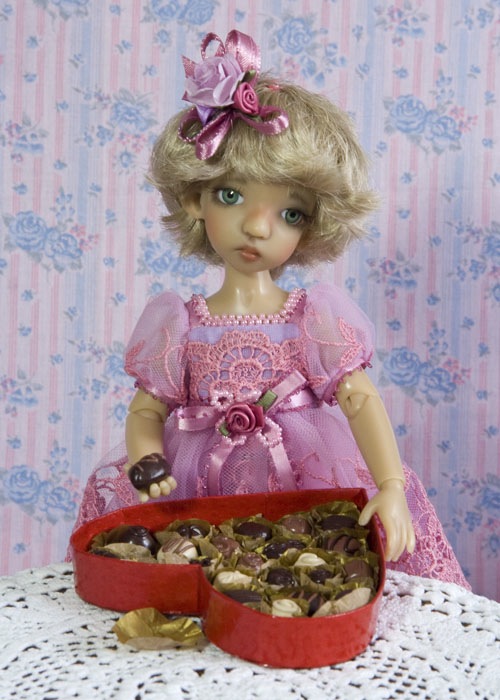
12. Place chocolates into box. Optional – you can glue the papers and chocolates into the box or leave them loose.
~~~~~

This is awesome. I just found your blog. Wonderful!
Also, for “dusted” truffles (round truffles rolled in cocoa powder) you can coat with varnish, and while it’s still wet, roll the truffle in chocolate colored chalk pastel powder (remember kids, mix your colors), let the varnish dry then spray the thing with MSC matte to avoid staining.
I am delighted with your dolls and your works! Bravo!
Magnifique , j’adore! Merci .