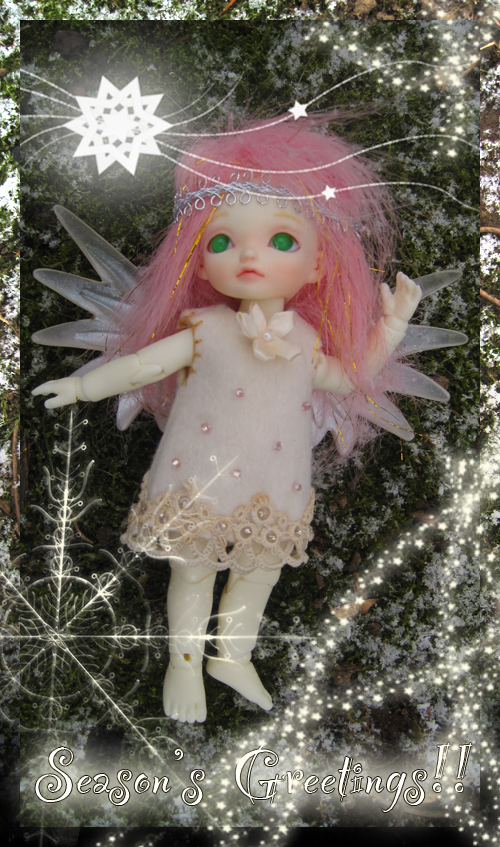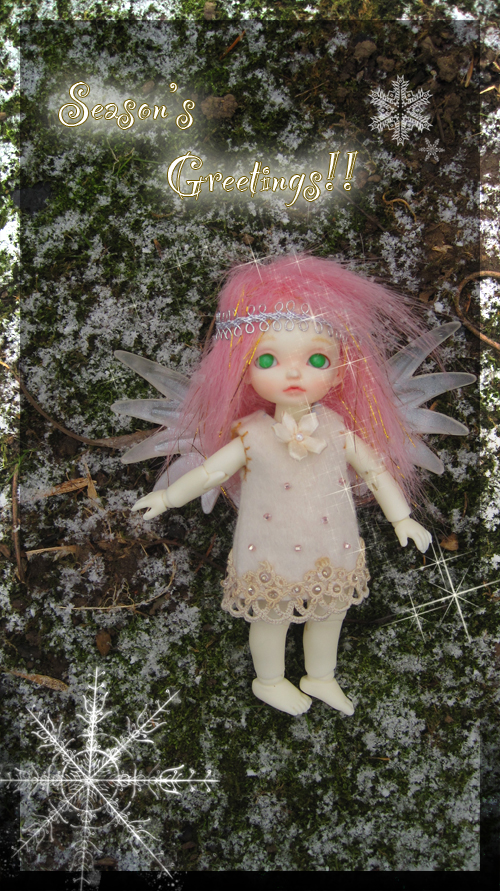
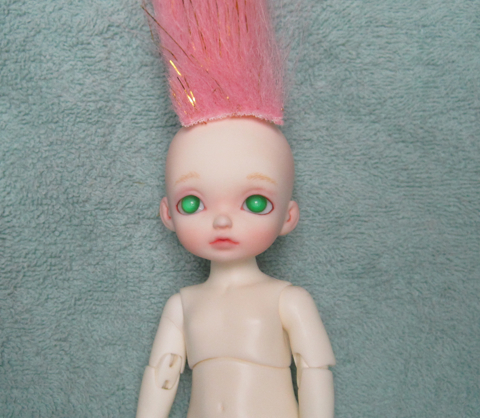
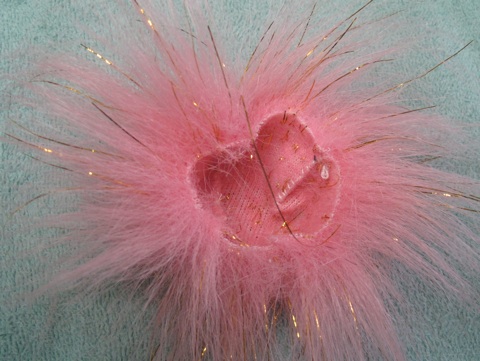
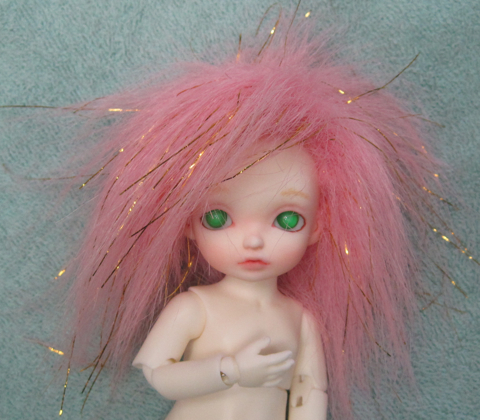
My Asleep Eidolon Peppermint tiny doll (a Mint on Card Exclusive) is all dressed for Christmas as an angel. Her outfit was for the Patchwork Pansy re-sizing project from last week (which can be seen HERE). The wool felt hand-sewn shift has a ribbon flower and antique crocheted lace and now is also embellished with tiny glass beads. I hand sewed the pink wig to fit Peppermint’s head.
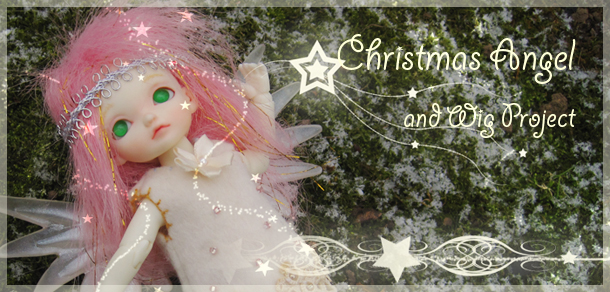
Simple instructions on making custom-sized wigs for tiny dolls are shown below:
Fur wigs work very well for tiny dolls. The small scale of the dolls allows a variety of lengths of fur pile to be successfully used for different hair lengths and styles. This wig is made from a $1 square of plush fur fabric from Distinctive Fabric.
Step 1:
Cut a strip of fabric wide enough to cover the center of the doll’s head in a wide “Mohawk”. (When cutting, be careful not to cut all the fur off. Slide the scissor points below the fur to cut.) The length of the 1st piece should go a little further than the scalp to the bottom of the dome of the skull. A small amount on either end will be folded over to finish the wig.
Step 2: Cut 2 pieces approximately square that will cover either side of the head. Cut the corners off at the top. Three sides of each piece will be sewn to the long strip of fur.

Step 3:
Sew the sides to the top strip as shown. I usually sew an overhand stitch.
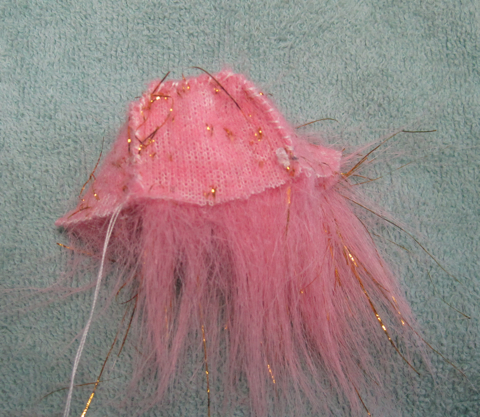
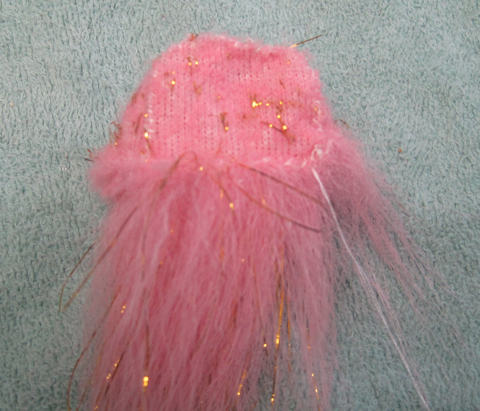
Step 4:
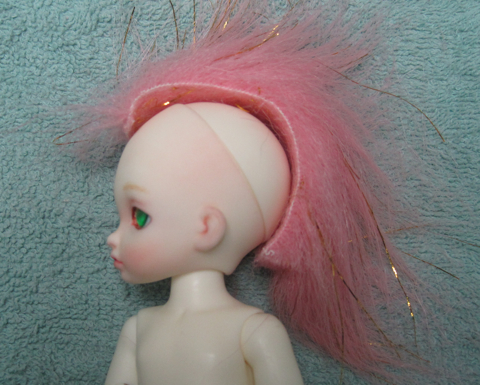
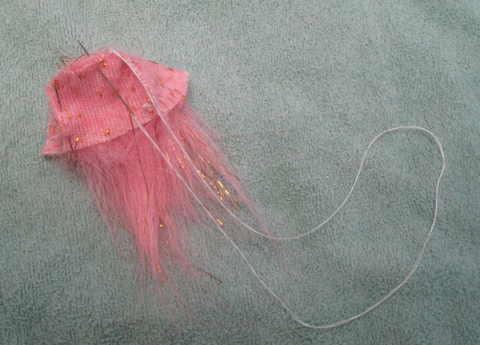
Fold the edges over once and, using an over-hand stitch, sew the hem.
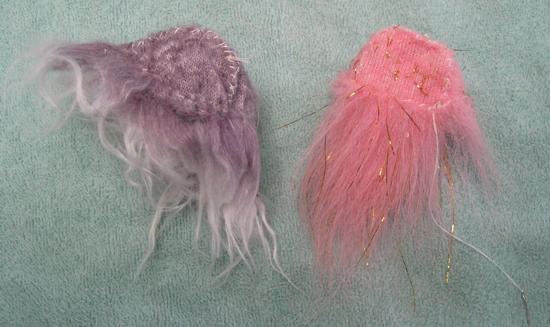
If your wig is loose:This next step allows you to tighten the sides to customize the fit of your wig. Baste the hem on the side panels. Carefully pull the thread on each side and allow it to gather. When the gathers are tight enough to allow the wig to be slightly snug, knot your thread and cut off the remaining thread. (See the purple wig in the photo on the left.) The goal here is to make a wig that fits the doll head well and is snug, but easy to put on and remove.
~~~~~